How to Configure an Entity?
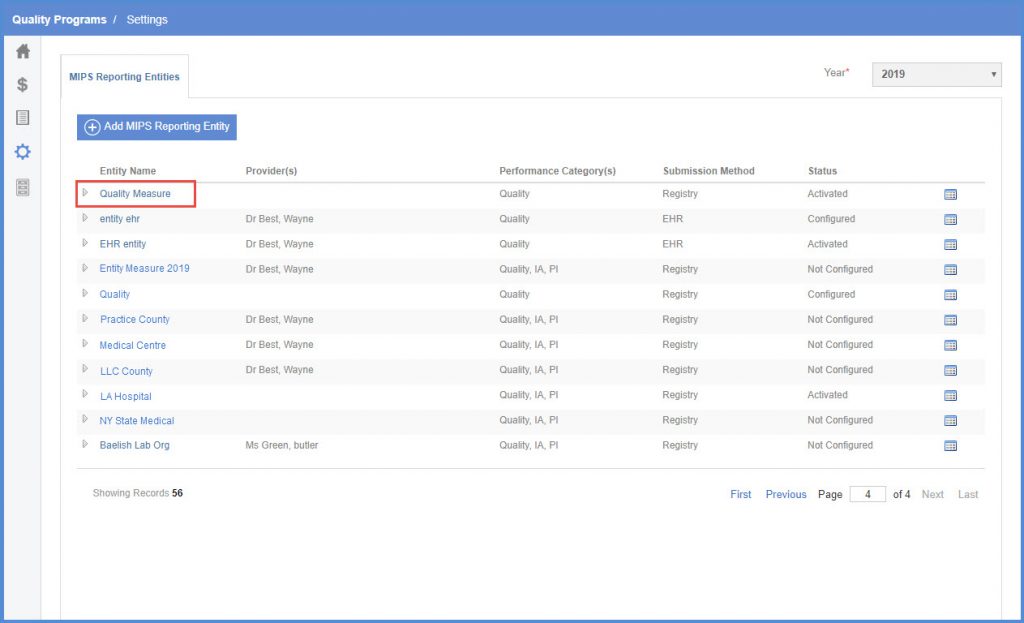
Follow the above mentioned workflow to land on ‘MIPS Reporting Entities’ tab on ‘Settings’ page.
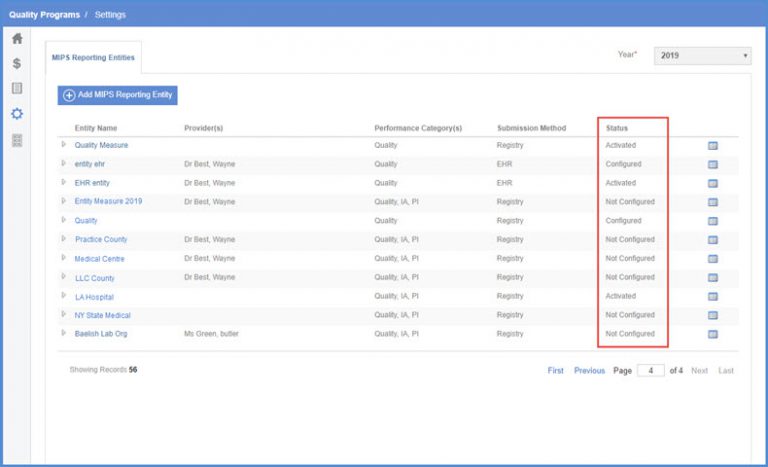
All the created entities are listed on this page. Also, the deactivated entities are displayed in black text.
An entity must be configured first in order to get activated. Status column shows if an entity is ‘Activated’, ‘Configured’ or ‘Not Configured’.
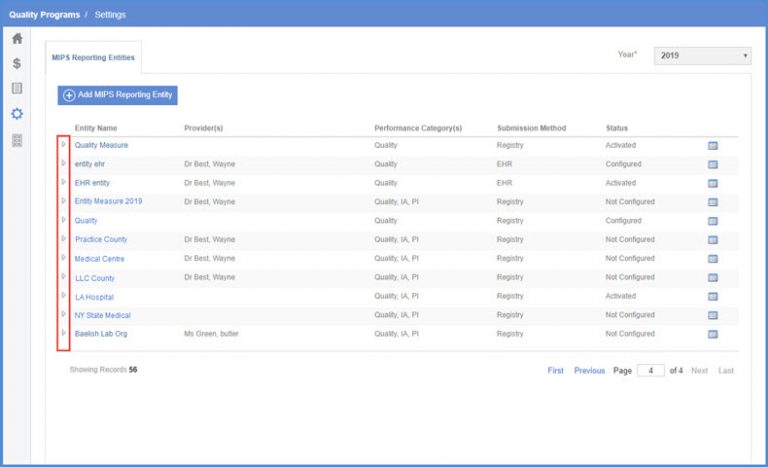
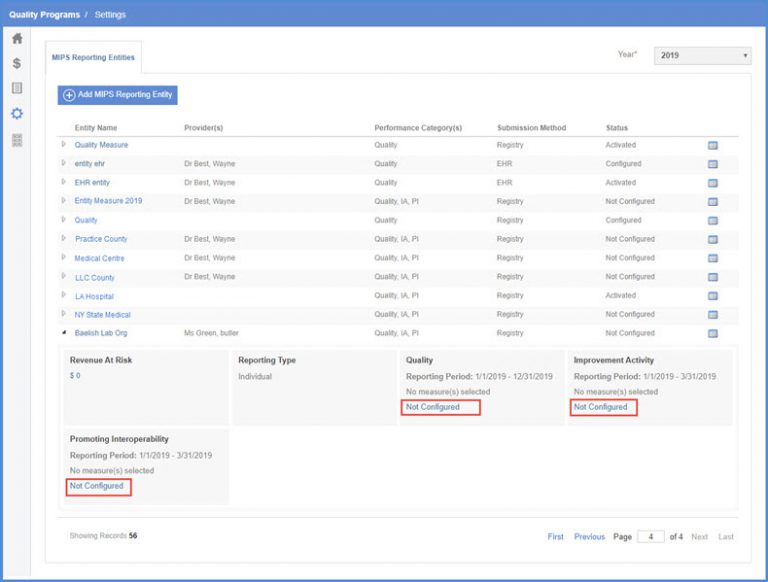
Expand the respective entity to view the categories included in that entity.
Click the respective ‘Not Configured’ button.
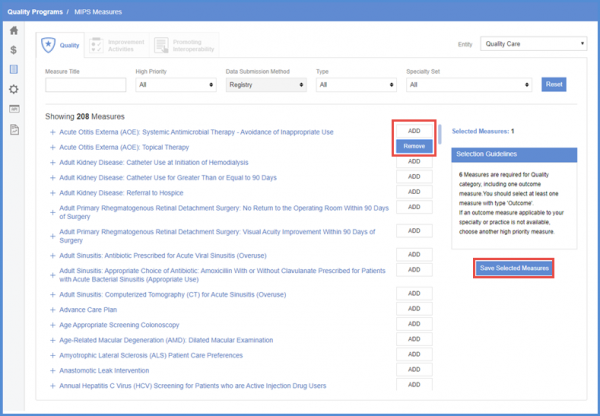
Doing so navigates the user to respective tab on the ‘MIPS Measures’ screen. Here, user can search for measures using the search criteria or select from the list.
Click the ‘Add’ button in front of a measure to add it to the entity. Once added, if user wishes to remove the added measure, the button is renamed to ‘Remove’. To know more about this, click here.
Once done, click ‘Save Selected Measures.’
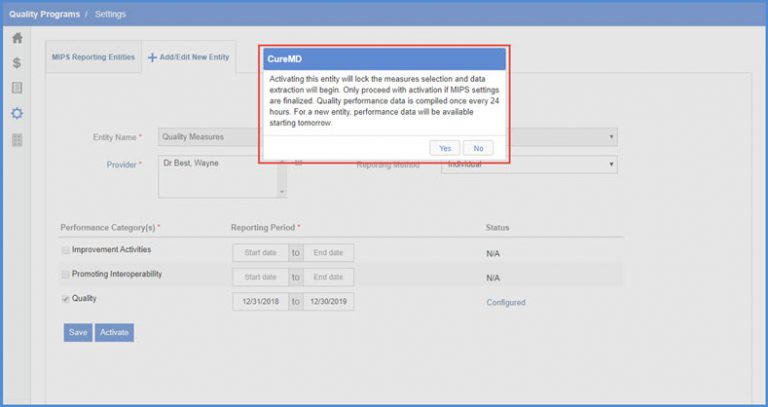
To activate, go back to the entity list and click the entity name.
From the “Add/Edit New Entity” page, click ‘Activate.’
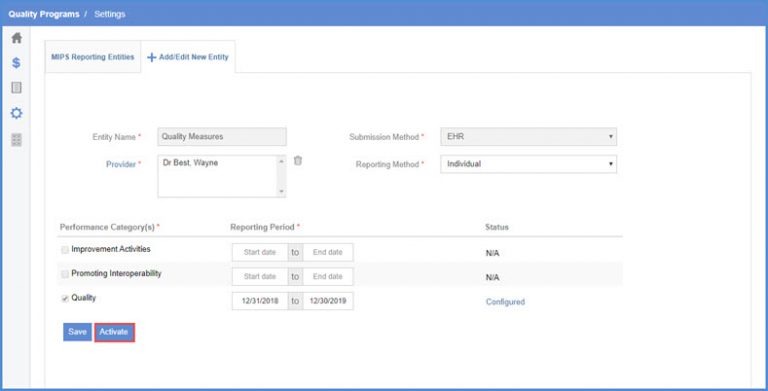
From the confirmation pop-up, click ‘Yes’ to activate.