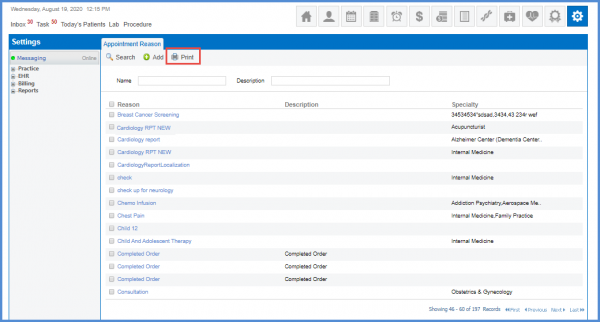
How to Print Appointment Reasons?
Mark the check-boxes against the required reasons to select them.
Then click ‘Print’.
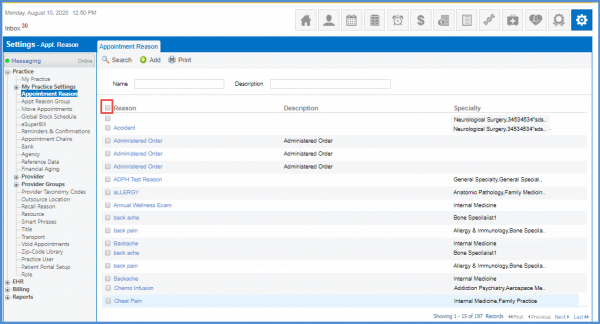
User can select records on all appointment reason pages.
Mark the master checkbox to select all the records at once.
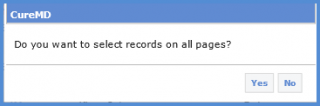
On clicking ‘Yes’, the records across all pages are selected. If the user clicks ‘No’, only the records on the current listing page get selected.
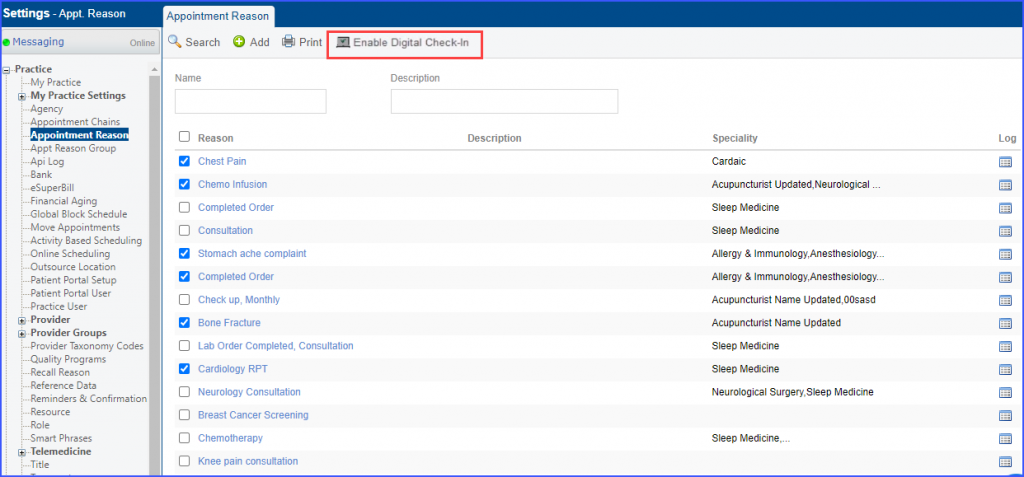
Digital check-in can be enabled for multiple appointment reasons from the listing page.![]()
Users don’t have to manually check-in every appointment reason separately.
To do that, mark the checkboxes of the appointment reasons from the listing and click on the ‘Enable Digital Check-In’ button on the top bar.
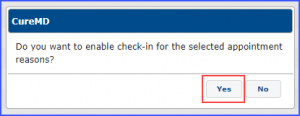
The system displays a confirmation pop-up stating:
‘Do you want to enable check-in for the selected appointment reasons?’
Click ‘Yes’ to enable digital check-in for all the selected appointment reasons.