What is the Treatment Plan?
The ‘Treatment Plan’ is a treatment management system that aims to provide personalized care to patients. Its efficient workflows effectively reduce manual effort and click fatigue.
In order to access the ‘Treatment Plan’, the user should create a provider note by selecting ‘Treatment Plan’ from the Note Template dropdown.
In order to see how to select a note template while adding a provider note, click here.
Furthermore, to see how to add the ‘Treatment Plan’ flag to a provider note template, click here.
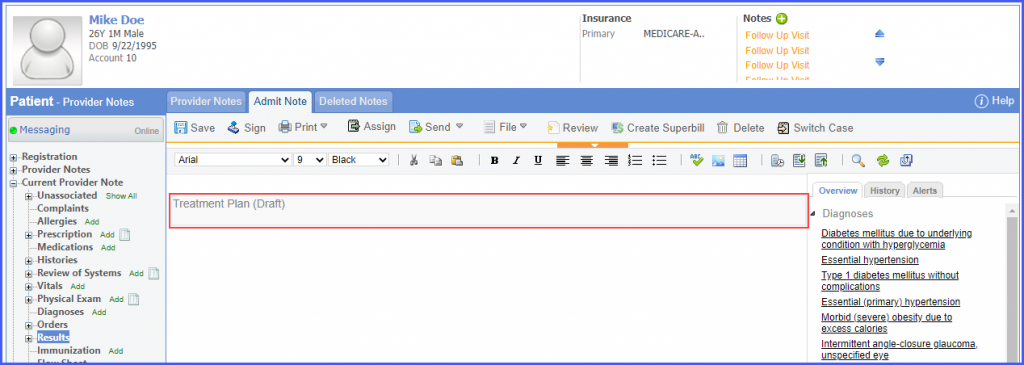
Once a provider note is created, click the ‘Treatment Plan’ component in the provider note.
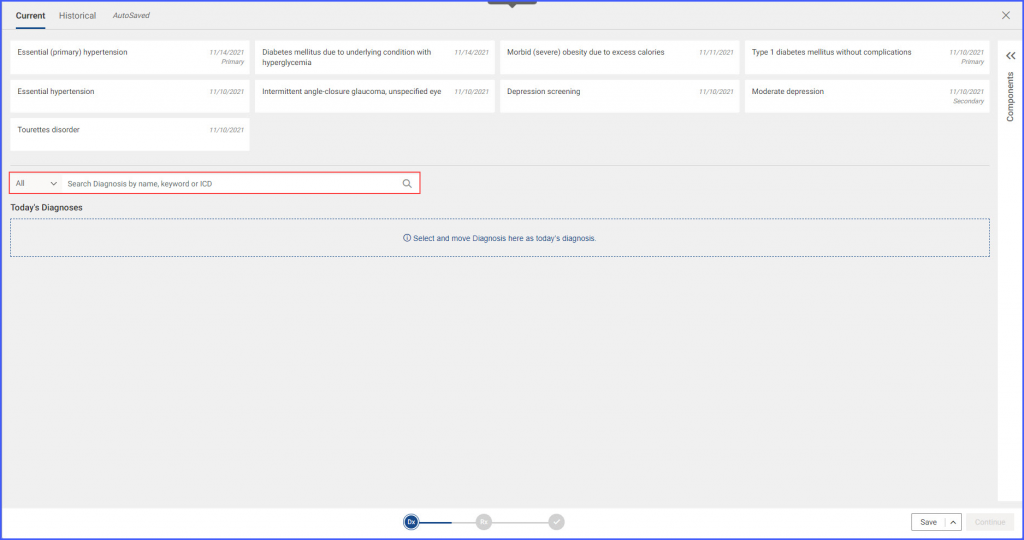
The user is navigated to the diagnoses (Dx) screen of the treatment plan. By default, the ‘Current’ diagnoses tab is selected.

The ‘Current’ diagnoses pane in the main ordering frame contains the current diagnoses of the patient.
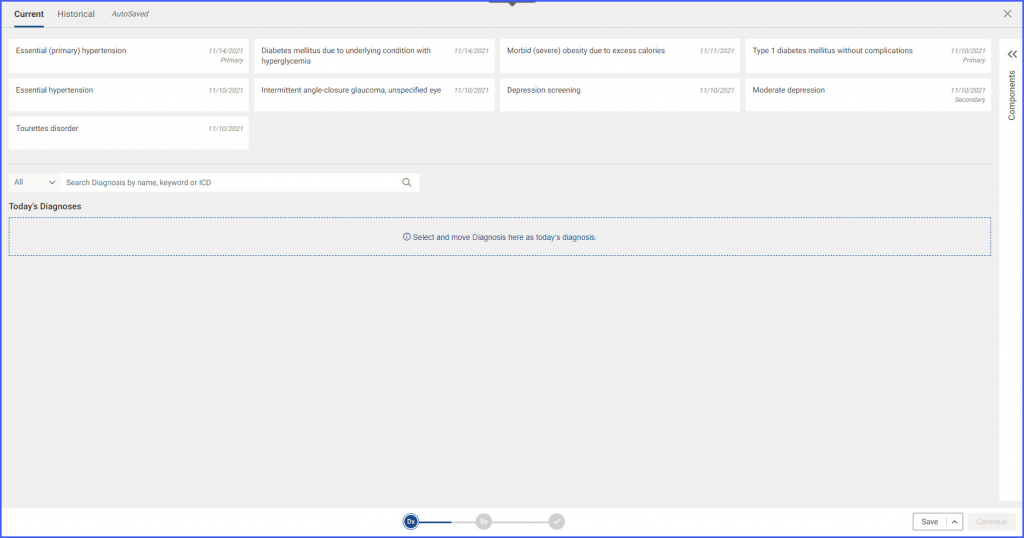
The user can click on ‘Historical’ to view the patient’s past diagnoses.
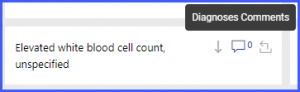
Hovering over a diagnosis in the current diagnoses pane displays the following icons:
- Move to Today’s Diagnoses (
 )
) - Diagnoses Comments (
 )
) - Move Dx to past (
 )
)
Users can hover over an icon to view the tooltip displaying its purpose.
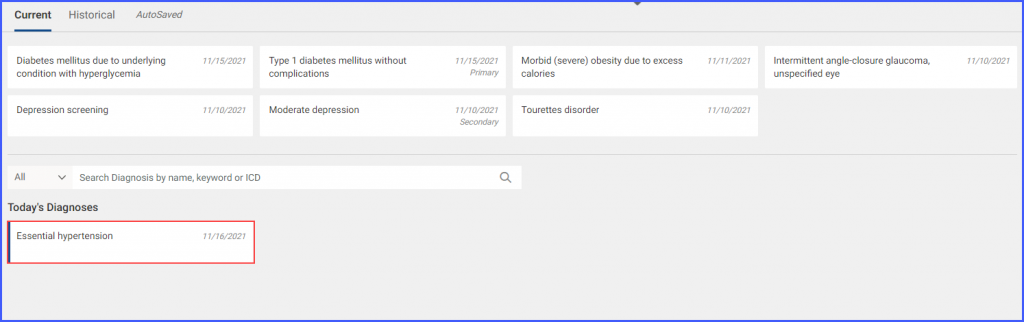
If the user clicks on the ‘![]() ’ icon, the system moves the current diagnosis to the ‘Today’s Diagnoses’ section. Users can also drag and drop a current diagnosis to ‘Today’s Diagnosis’. The ‘Today’s Diagnoses’ section displays the diagnoses for the current encounter.
’ icon, the system moves the current diagnosis to the ‘Today’s Diagnoses’ section. Users can also drag and drop a current diagnosis to ‘Today’s Diagnosis’. The ‘Today’s Diagnoses’ section displays the diagnoses for the current encounter.
Clicking on the ‘Diagnosis Comments’ icon displays a pop-up where the users can add their comments.
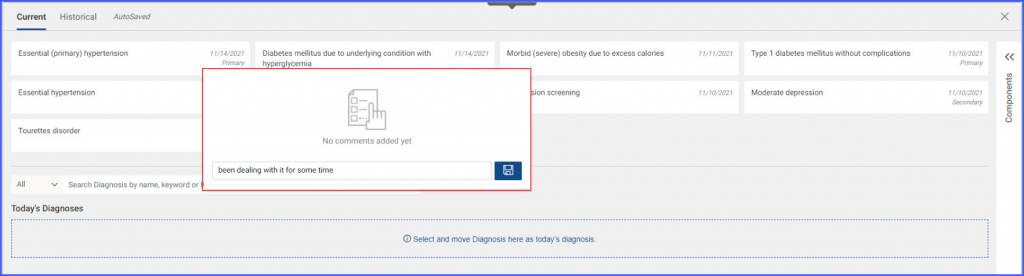
Clicking the ‘Save’ buttons saves the comment. The saved comment, the name of the user who made the comment along with the comment date are displayed after the user clicks on ‘Save’.
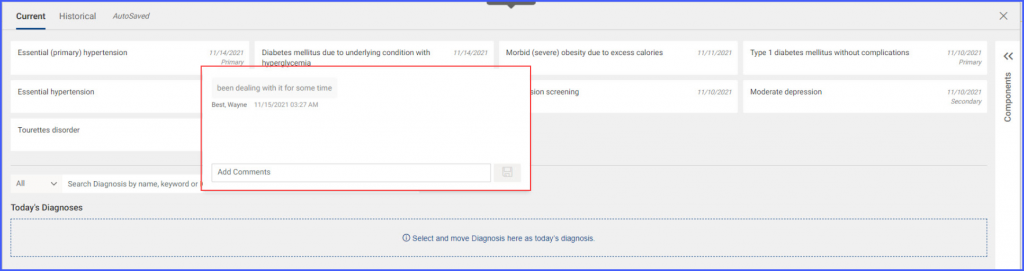
The counter next to the ‘comments’ icon displays the number of comments made against the diagnosis.

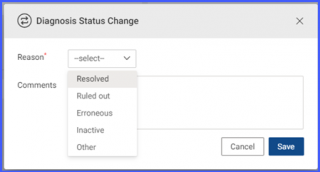
Clicking on the ‘Move to past’ icon displays the ‘Diagnosis Status Change’ pop-up. The user is asked to add a reason from the ‘Reason’ dropdown and add comments if desired. Clicking ‘Save’ moves the Dx from the ‘Current’ tab to the ‘Historical’ tab and the change is reflected on the mainframe as well.
A diagnosis can be searched from the search bar. A diagnosis can be searched by name, keyword or ICD.
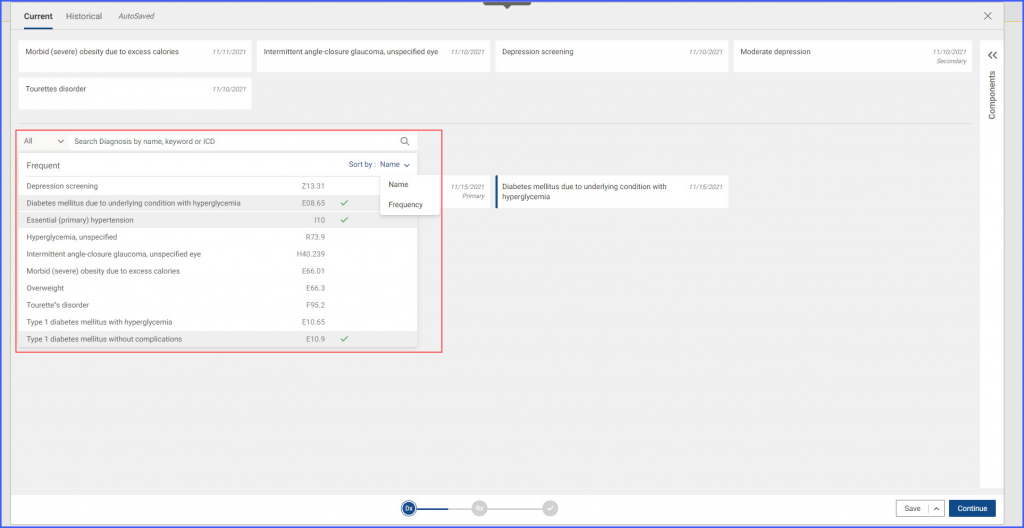
Once a user clicks the search bar, a list of ‘Frequent’ diagnoses appears. This list contains a list of diagnoses that the user frequently adds. Diagnoses search results can be sorted by name or frequency by selecting ‘Name’ or ‘Frequency’ from the ‘Sort by’ dropdown. A ‘![]() ’ is displayed next to the diagnosis which is already present in ‘Today’s Diagnoses’.
’ is displayed next to the diagnosis which is already present in ‘Today’s Diagnoses’.
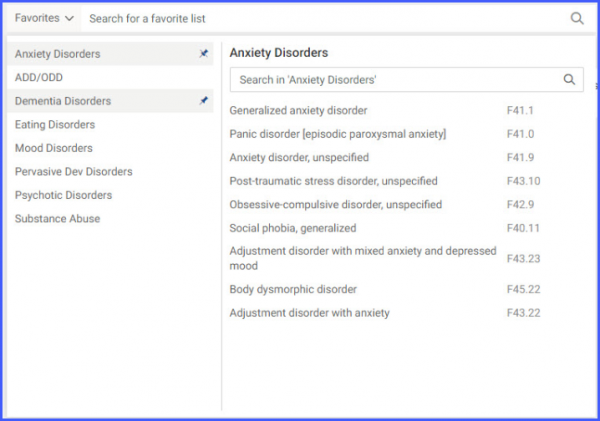
Additionally, users can search for a diagnosis from the ‘Favorites’ lists. Select ‘Favorites’ from the dropdown present on the left of the search bar.
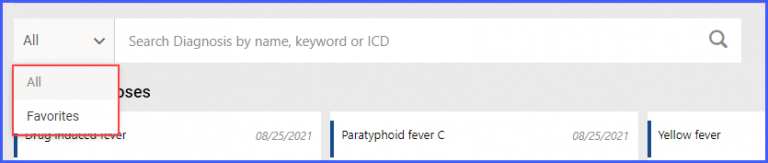
Select a favorites list from the left pane and then search for a diagnosis from within the chosen list in the right pane. A favorites list can be pinned on top by hovering over it and clicking the ‘![]() ’ icon.
’ icon.
A newly added diagnosis cannot be moved to the ‘Historical’ tab. If the user hovers over the ‘Move to past’ icon, a tooltip with the following message
‘Cannot move newly added Dx to past’ is displayed:

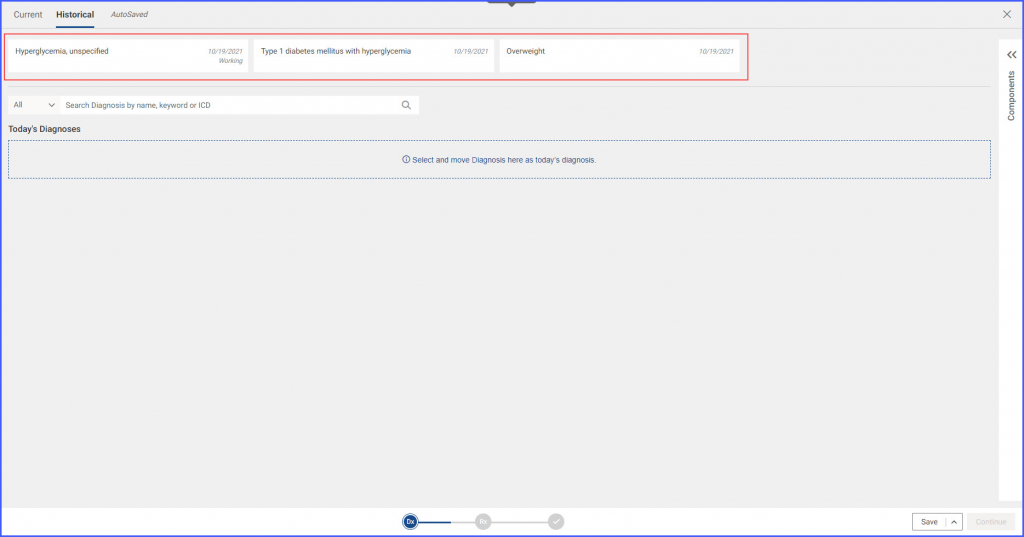
To view the past diagnoses of the patient, open the ‘Historical’ tab.
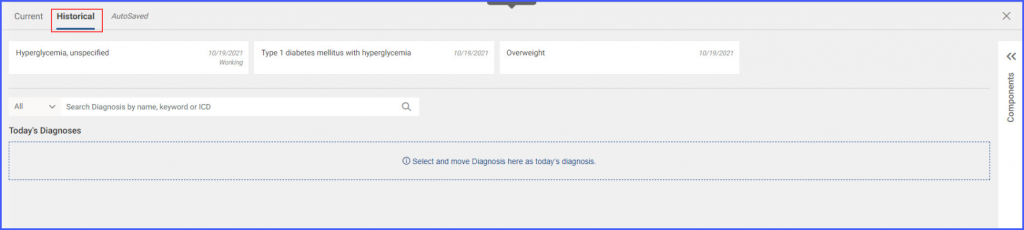
From the ‘Historical’ tab users can move a diagnosis to ‘Current Diagnoses’ or ‘Today’s Diagnoses’, and add comments to a historic diagnosis.
To move a past diagnosis to current diagnoses tab, hover over a diagnosis and click the ‘Move to current’ icon.

In order to add diagnosis details, click on a diagnosis in any of the sections. Once the diagnosis details have been added, click ‘Save’.
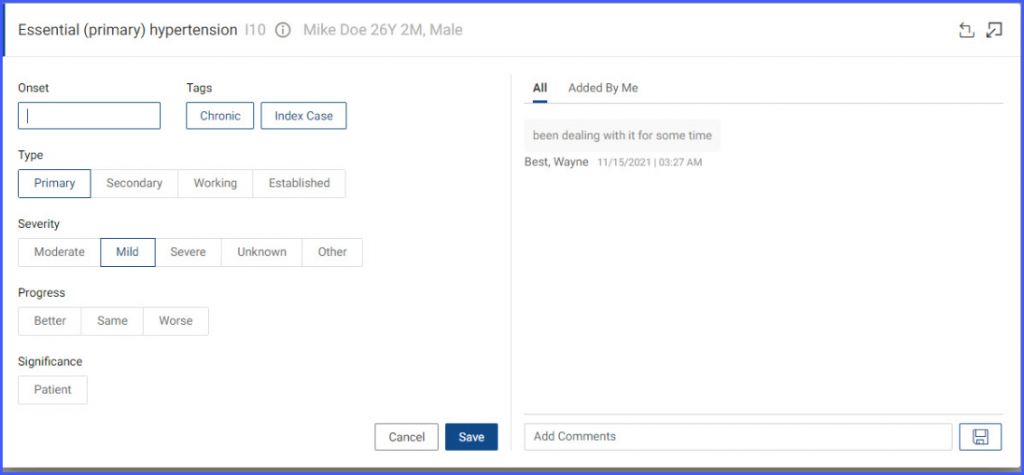
Users can click the information icon, to view further information pertaining to the selected diagnosis.
Treatment plan is auto-saved after an update is made in the plan.
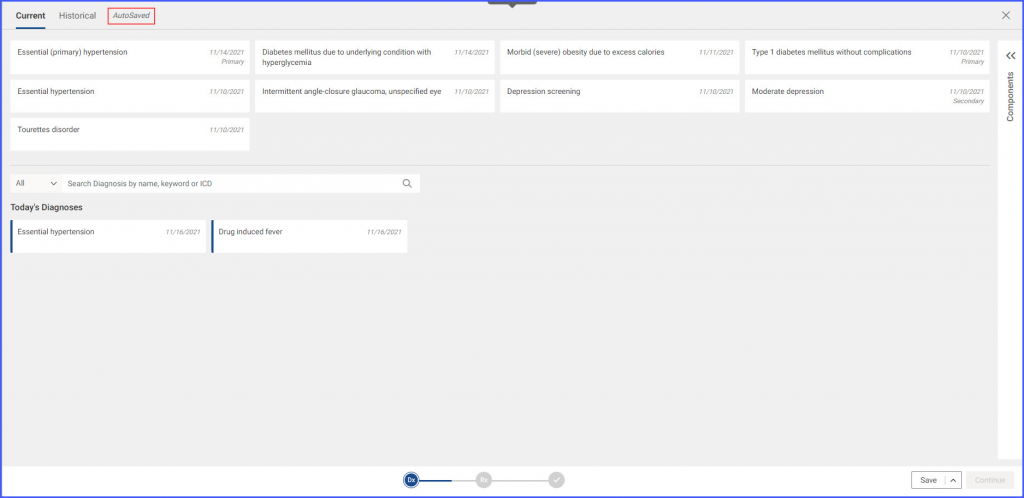
After the diagnoses have been added for the patient, users can click ‘Save’, ‘Save & Close’ or ‘Continue.
The ‘Save’ button saves the current treatment plan in its current state. ‘Save & Close’ saves the treatment plan and the patient is taken back to the original provider note where the treatment plan SOAP text is present in draft state.
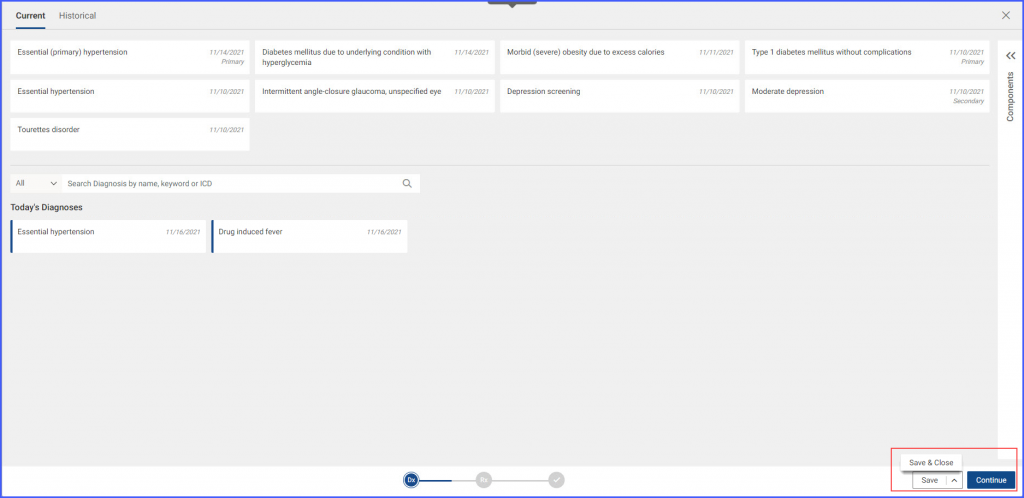
Clicking on ‘Continue’ navigates the patient to the ‘Orders’ screen. In order to view the ‘Orders’ screen, click here.
The frequency label and sorting options are combined and the sort by order option is added.![]()
This provides a better interface experience to users.
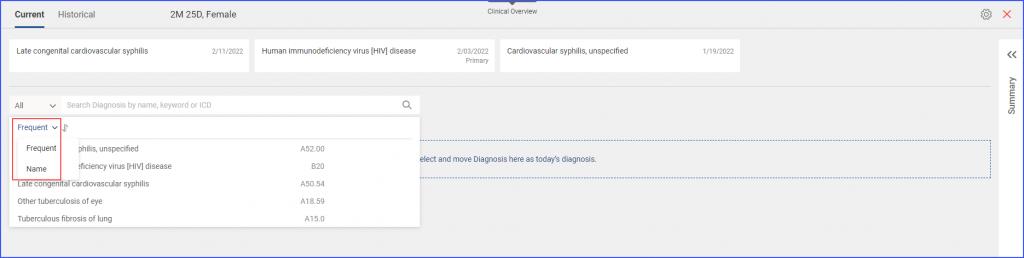
Click on the Dx Search bar to open the search control.
Users can sort their frequently used diagnoses by selecting the ‘Frequent’ dropdown to organize by either frequency of use or by name.
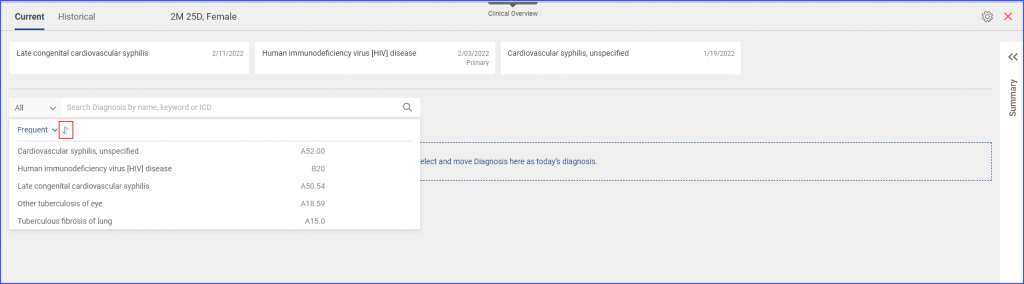
Diagnoses can be further sorted in ascending or descending alphabetical order by clicking on the arrow button next to the ‘Frequent’ dropdown.
The users can move diagnosis to historical without adding a reason for it, which was previously mandatory.![]()
This removes the compulsion of giving a reason and saves time of the user.
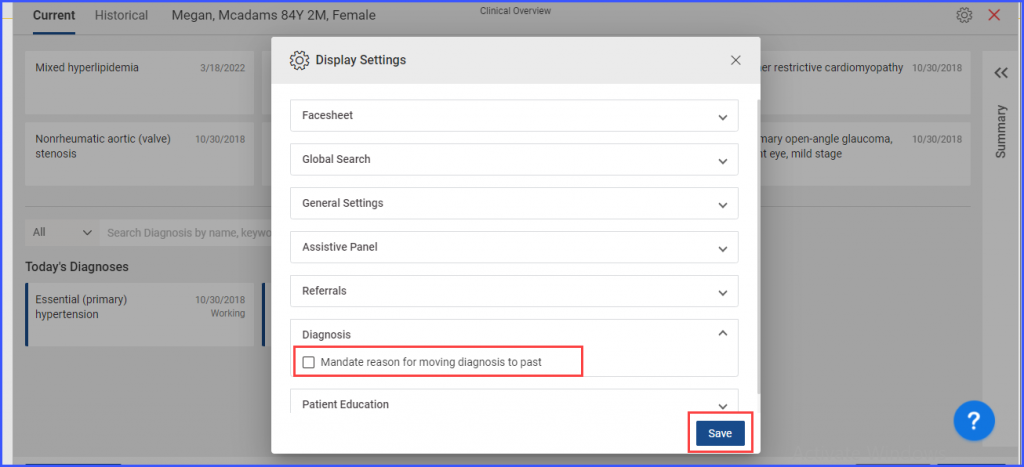
Clicking on the ‘![]() ’ icon opens up a ‘Display Settings’ pop up where a Diagnosis drop-down appears.
’ icon opens up a ‘Display Settings’ pop up where a Diagnosis drop-down appears.
Clicking on this drop-down displays the ‘Mandate reason or moving diagnosis to past’ checkbox. Disabling this checkbox removes the condition of adding a reason for moving a diagnosis to historical.
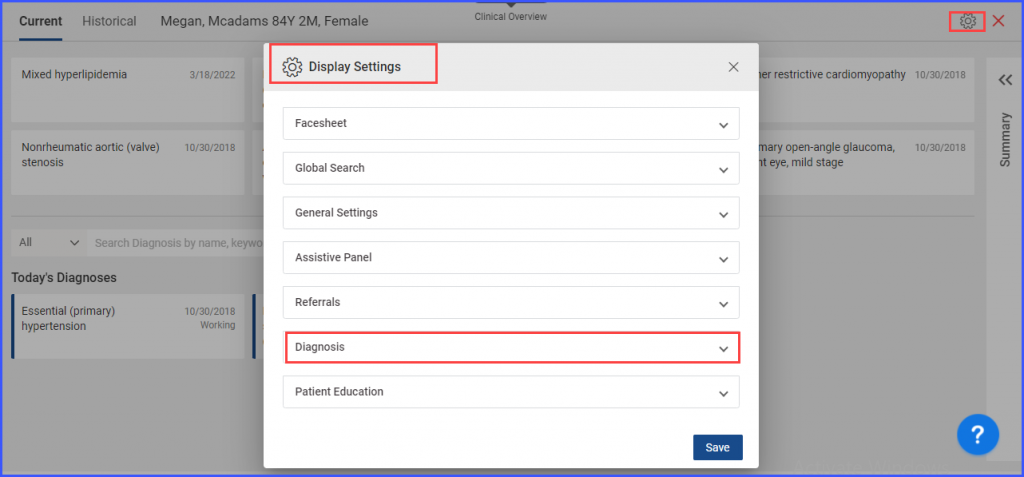
Click ‘Save’ to apply the settings.