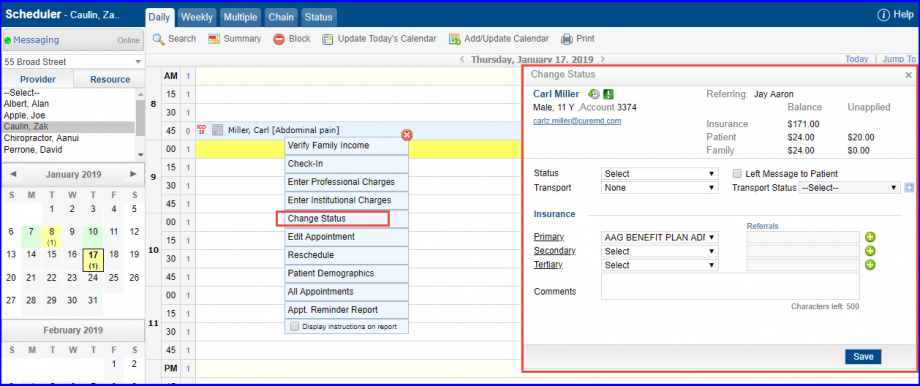
How to Change Status of an Appointment?
Users can change the appointment status by clicking the appointment and choosing ‘Change Status’ from the popup.
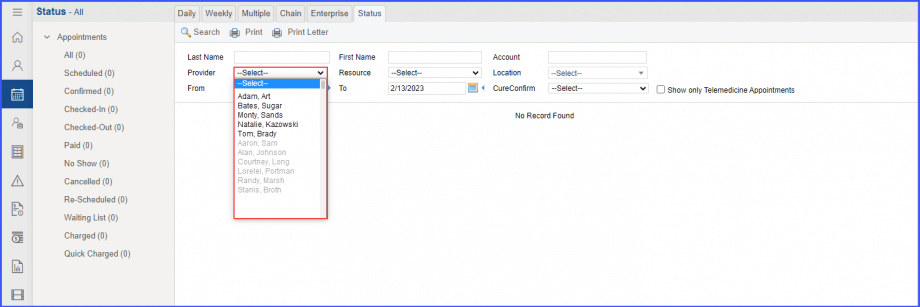
Inactive providers and resources are displayed at the end of their respective lists in grey text.![]()
This ensures that users can clearly distinguish inactive providers and resources from active ones.
When the user clicks on the ‘Provider’ dropdown, the system displays the inactive providers at the end of the list in grey text.
Similarly, the inactive resources in ‘Resource’ dropdown are displayed at the end of the list in grey text.
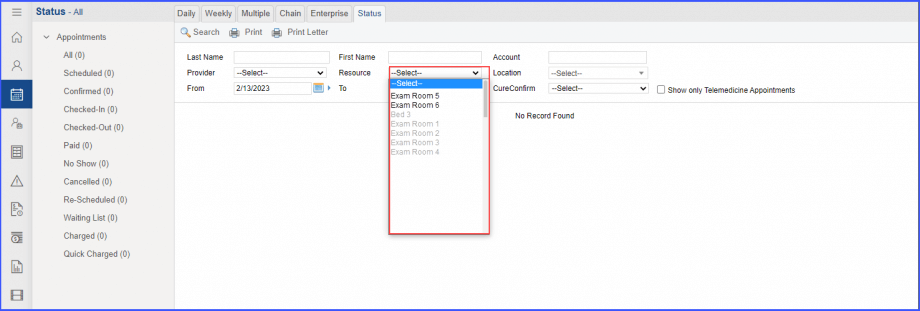
Once the user selects a resource or a provider from their respective dropdowns, they can search for appointments associated with the selection.
A similar enhancement has been made in the ‘Today’s Patients’ node in the ‘Personal’ Module. Click here to view this change.
User has the ability to save reason for canceling an appointment.
Selecting ‘Cancel’ from the ‘Status’ dropdown displays another dropdown named ‘Cancel Reason’.
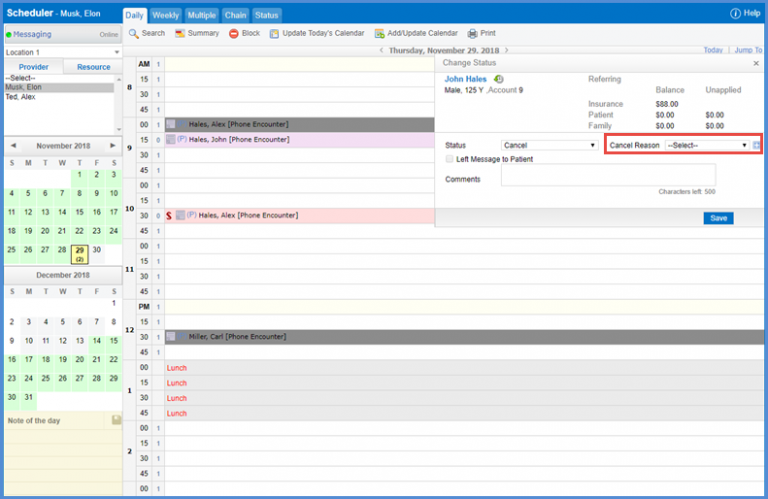
Here, select a cancel reason from this dropdown or add a custom reason.

Bulk changes to the status of scheduled, confirmed and wait listed appointments can be done from the ‘Status’ tab on the ‘Scheduler’.
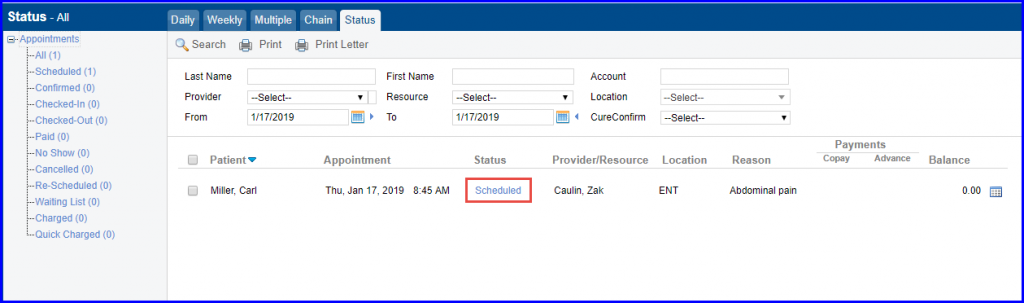
Clicking appointment status opens ‘Update Status / Transport’ pop-up. ‘Cancel Reason’ dropdown is added to the ‘Update Status/Transport’ popup.
Similar changes have been made to the ‘Appointment Status’ in ‘Patient’ module. Click here to see how it is added.
