How to update demograhics?
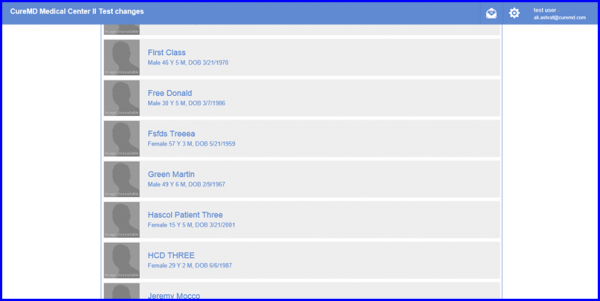
On opening the Patient Portal, the user can login by adding his username and password. After logging in, a list of patients appears and the user selects the patient whose Demographics are to be updated.
After selecting the Patient, the patient’s profile screen appears and the user clicks on the Home tab from the menu bar at the top.

The Demographics of the patient are displayed on this screen.
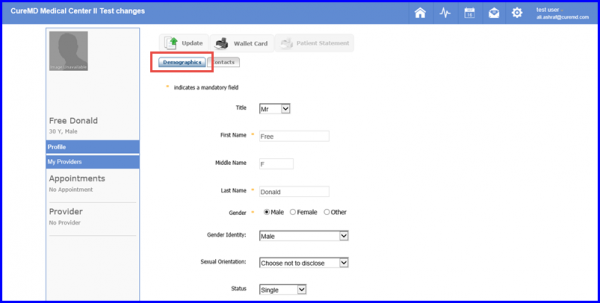
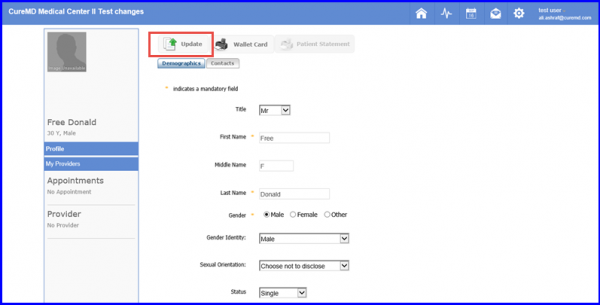
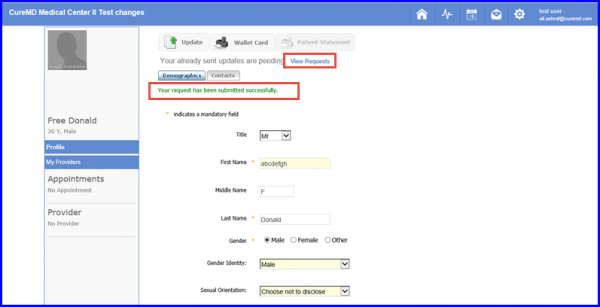
Here the user can change the information according as per requirements. When done, the user clicks on the Update button on the top of this screen.
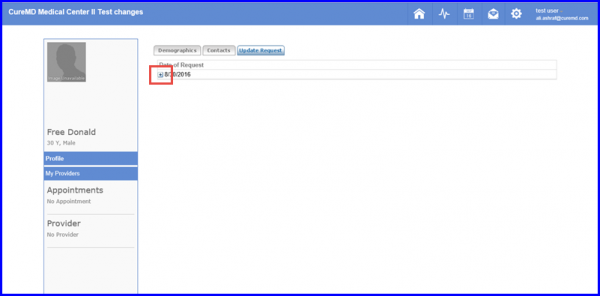
This will display green text notifying that the request has been submitted successfully. The user can view the details of the request by clicking on the View Request button.
When the user clicks on the View Request button, this screen appears. The user can click on the arrow located on left of the request date to view change details.