How to Schedule an Appointment?
Patient portal users can schedule and book appointments on the basis of available resources and providers.
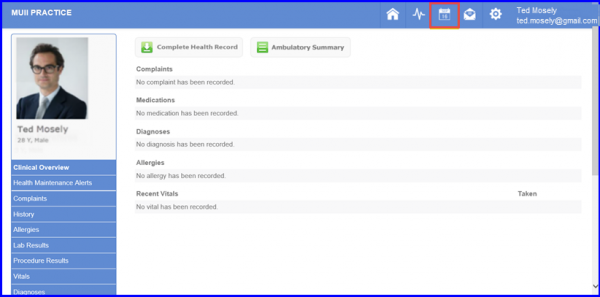
Click on the ‘Appointments’ icon to schedule an appointment.
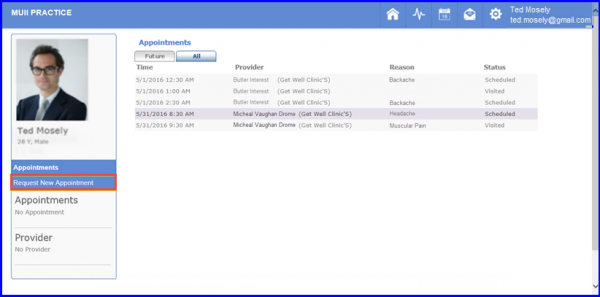
A list of the scheduled appointments of a patient appears on this screen along with the provider’s name / resource, time, reason and status of appointment. To schedule a new appointment, user can click on ‘Request New Appointment’ from the left panel as shown in the figure below.
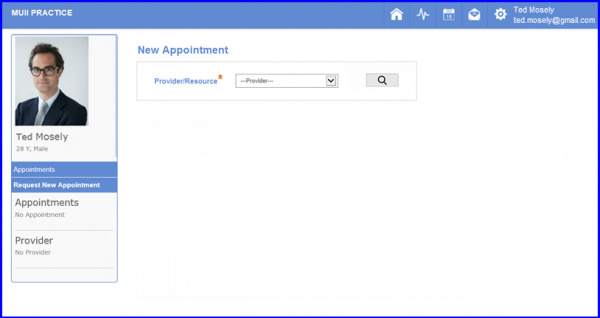
Once the user accepts the privacy policy an appointment screen appears. Now the user can select the desired Provider/Resources available from the drop-down menu.
This drop-down menu enlist all the available resources and providers user configured from the settings.
In order to configure available resources, please click here.
Once user selects the required provider from the drop-down menu, a list of all available appointments slots is displayed in the lower panel.
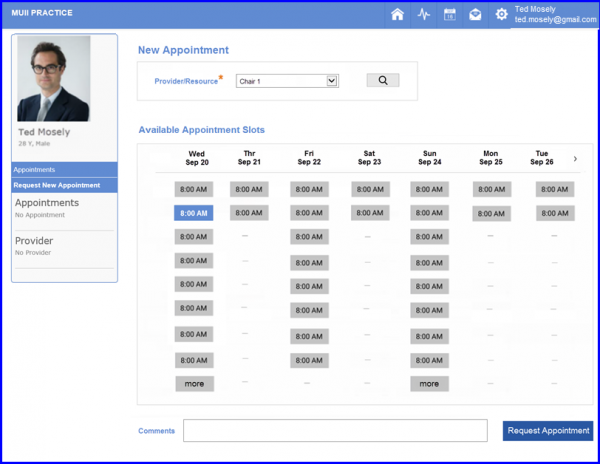
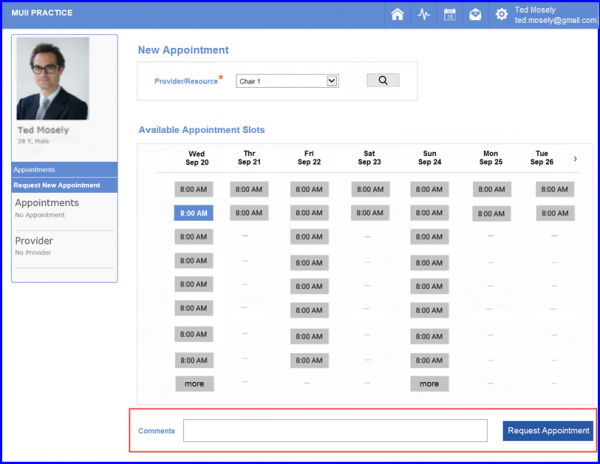
Now, user can select one of the available time slots and then click on the ‘Request Appointment’ button to send the new appointment request. The comment section on this screen is optional.
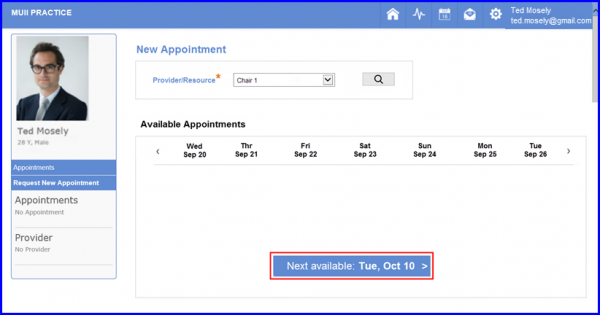
If an appointment is not available in the current week for the selected Provider/Resource, the system displays the next available date that takes user to the next available appointment.
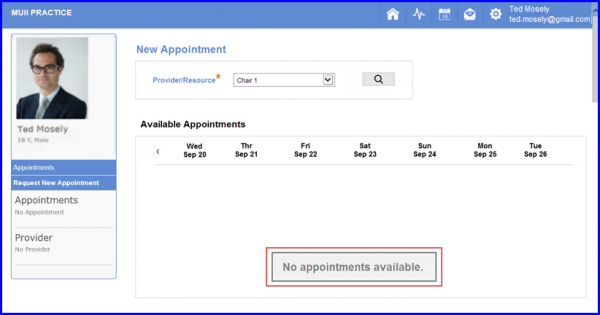
If there are no appointments available in the calendar for the selected Provider/Resource, the system informs the user that no appointment is available.
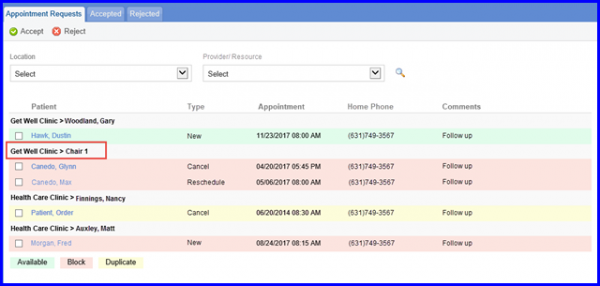
User can also view the appointment status on the patient portal.

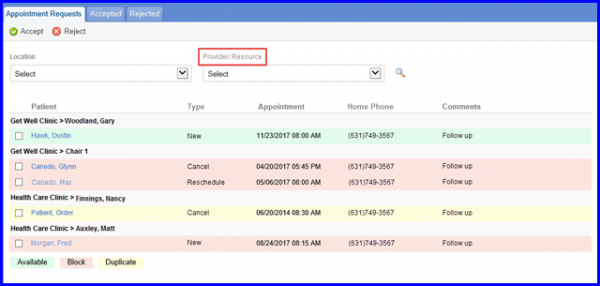
Furthermore, user can accept or reject these appointments by selecting their respective checkboxes and clicking the Accept or Reject option.
