How to Access the New 10g Layout?
What’s New, What Changed?
The new and improved 10g layout comes with a user-friendly interface with consolidated listings and maximum screen space utilization. Customization options for the main menu have been provided and users can rearrange the listing items as per their domain specific requirements.
How to Enable the New Layout?
The system displays the ‘Try the new 10g layout’ toggle button at the top bar.
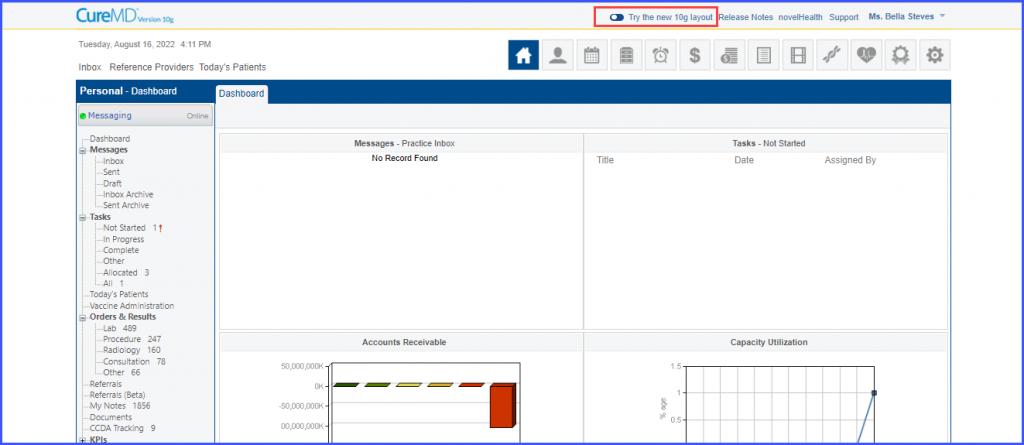
Enable the toggle to view the new 10g layout. The users can switch between old and enhanced 10g layout by turning ‘On’ and ‘Off’ the toggle button.
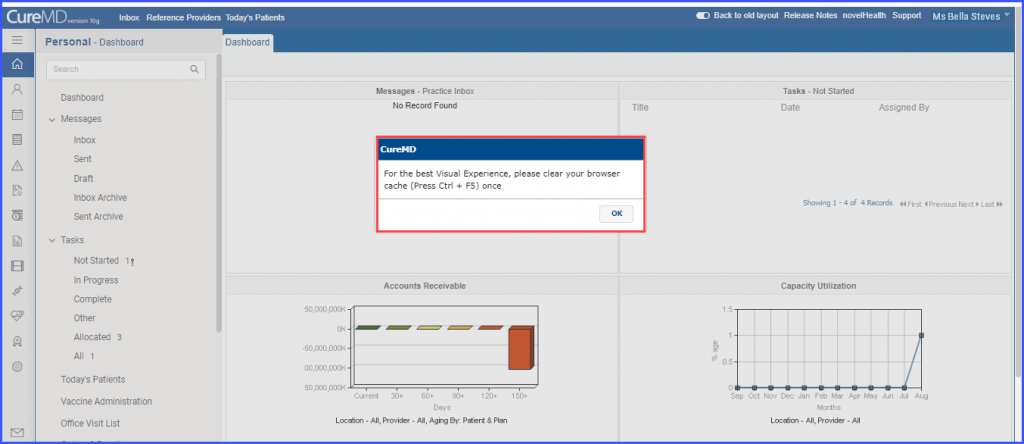
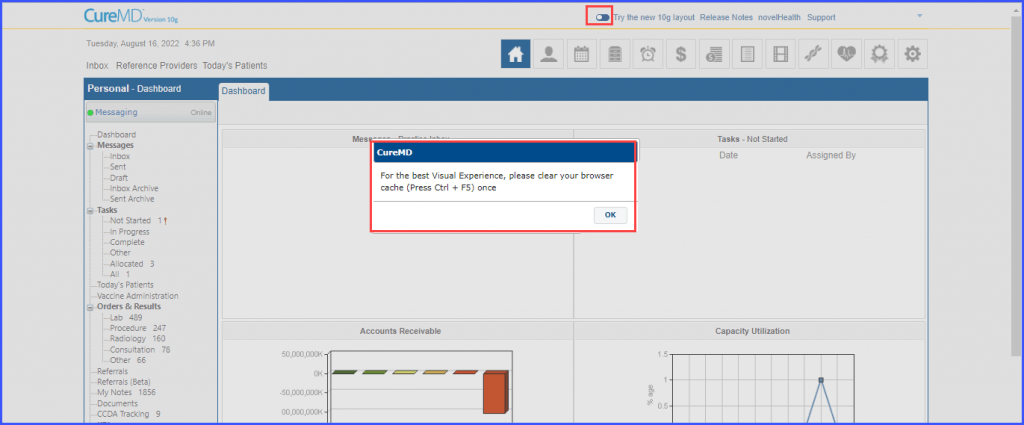
When the toggle is turned ‘On’, the system displays the enhanced layout in the background while a Pop-up is displayed on top stating:
‘For the best visual experience, please clear your browser cache (Press Ctrl + F5) once.’
Similarly, users can return back to the old layout by turning ‘Off’ the toggle button.
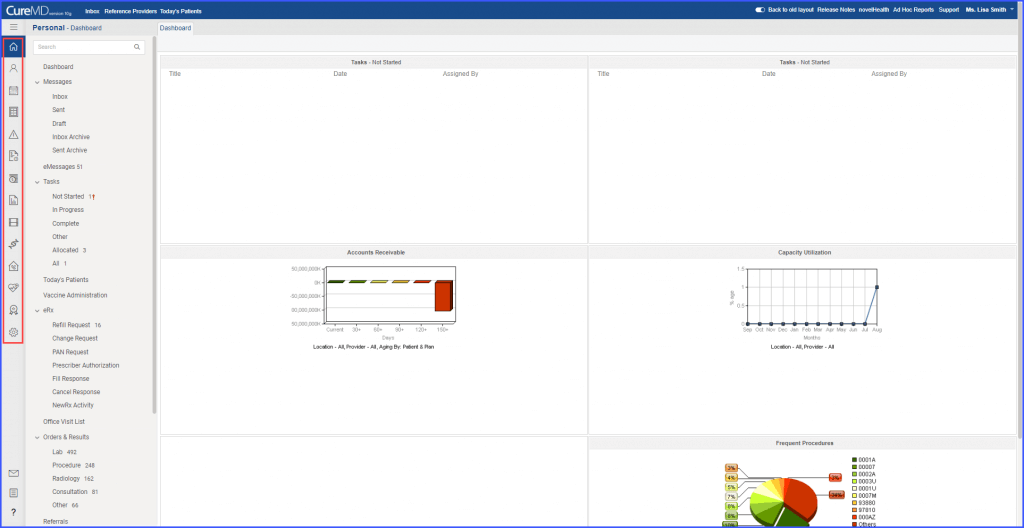
In the new layout, the main menu items are repositioned to the left-hand side of the screen in a single vertical view containing all the modules, listings, and customization options.
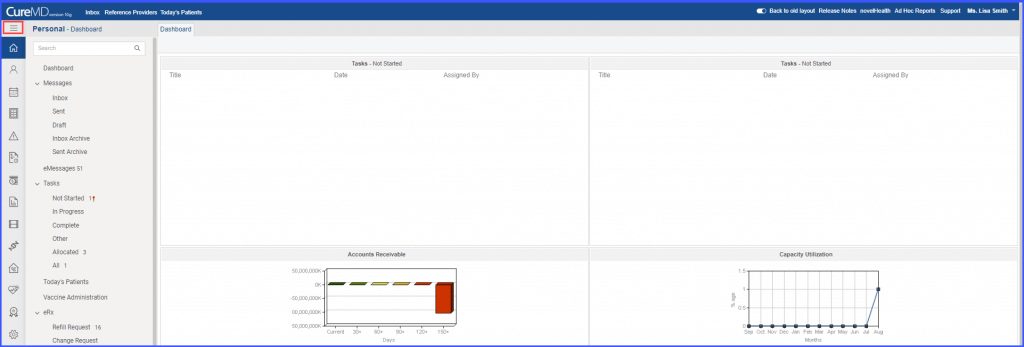
The ‘Toggle Menu’ can be used to expand or collapse the listing by clicking on it.
Users can customize the layout view from the ‘Customization Menu’ by using the following features:
• Add/Remove Menu Item
• Search Menu
• Rearrange Listing Items
• Learn Customization

Add/Remove Menu Item:
Clicking on the ‘Customization Menu’ button displays the ‘Add/ Remove menu item’ field.
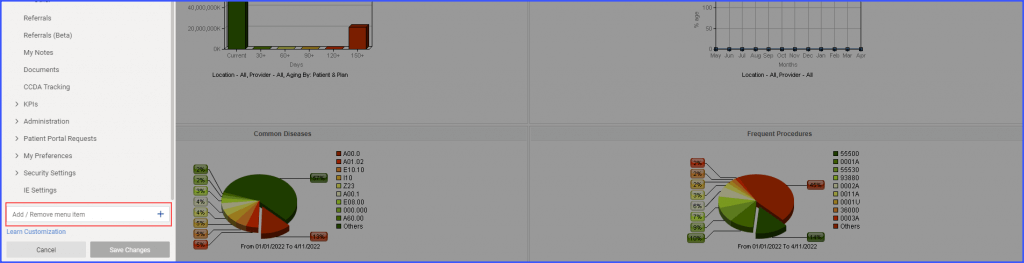
Clicking the plus ‘+’ icon displays the menu popup.
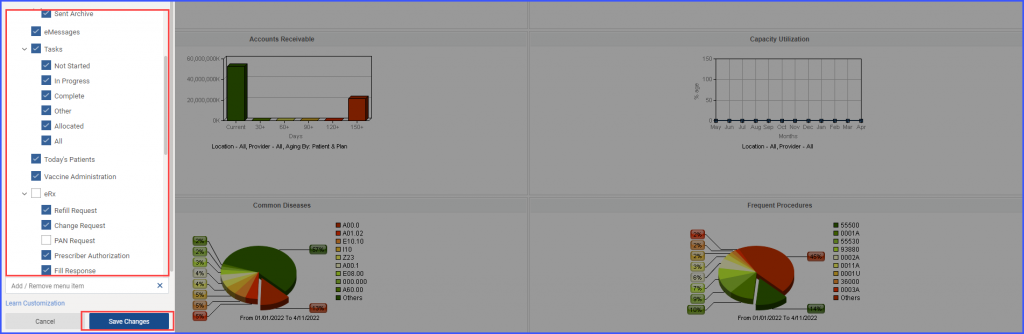
Items can be marked to add to the view list and unmarked to hide from the view list. After making the required selections, click on ‘Save Changes’ button.
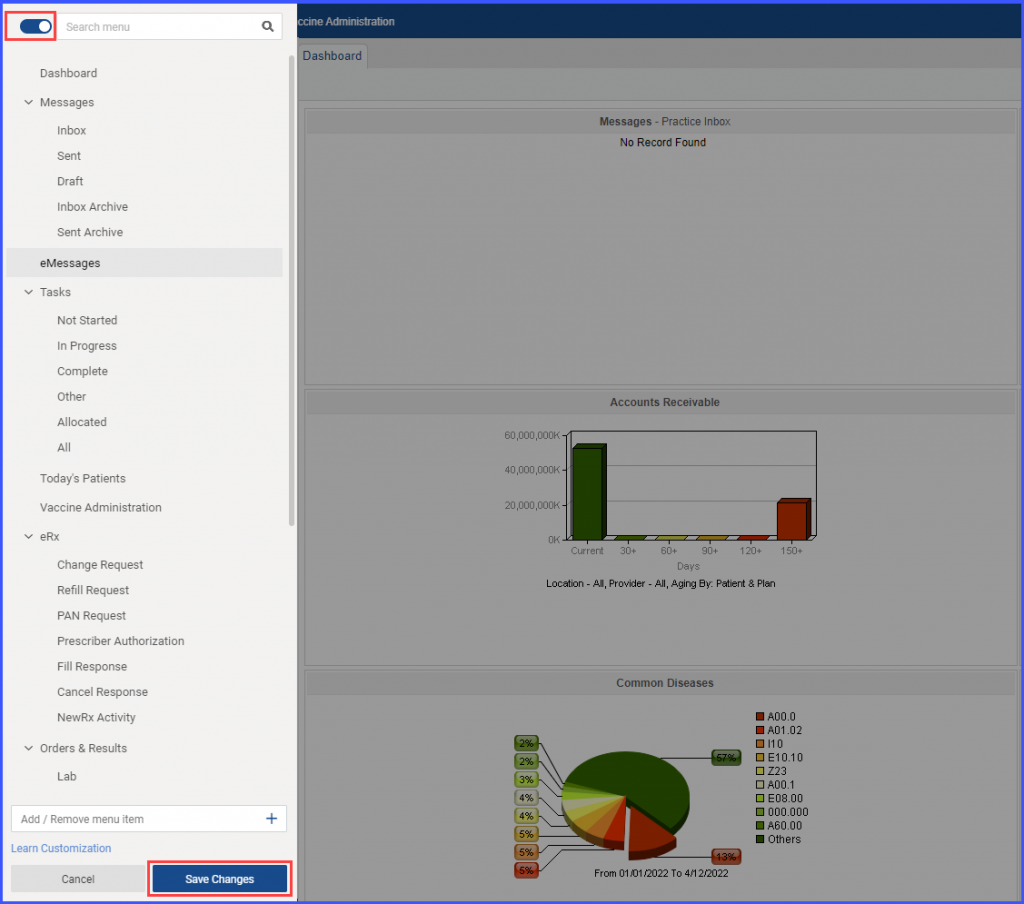
Search Menu:
Users can hide or display the ‘Search Bar’ in listing menu by turning toggle button ‘ON’ or ‘OFF’ that is present next to Search Menu. After making the desired change, click on the ‘Save Changes’ button.
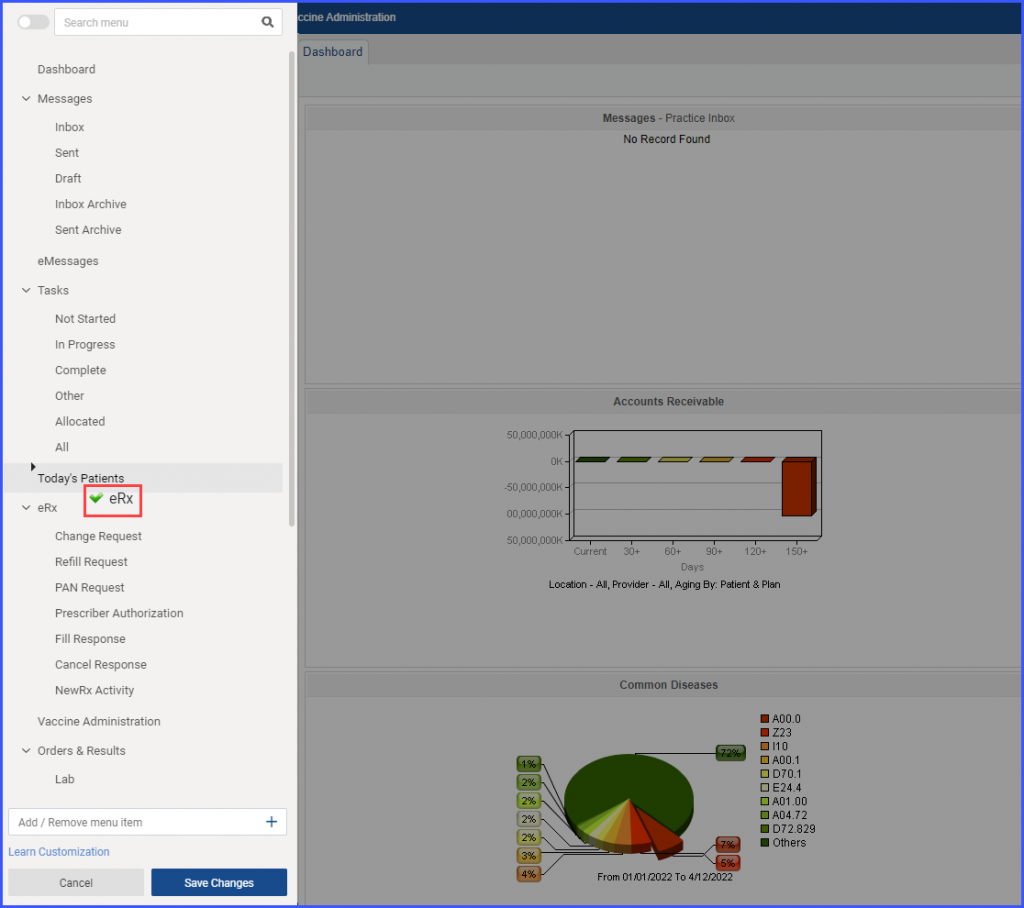
Rearrange the Listing Items:
Items in the listing can be rearranged by the users according to their specific needs. The items can be clicked, dragged and placed where required.
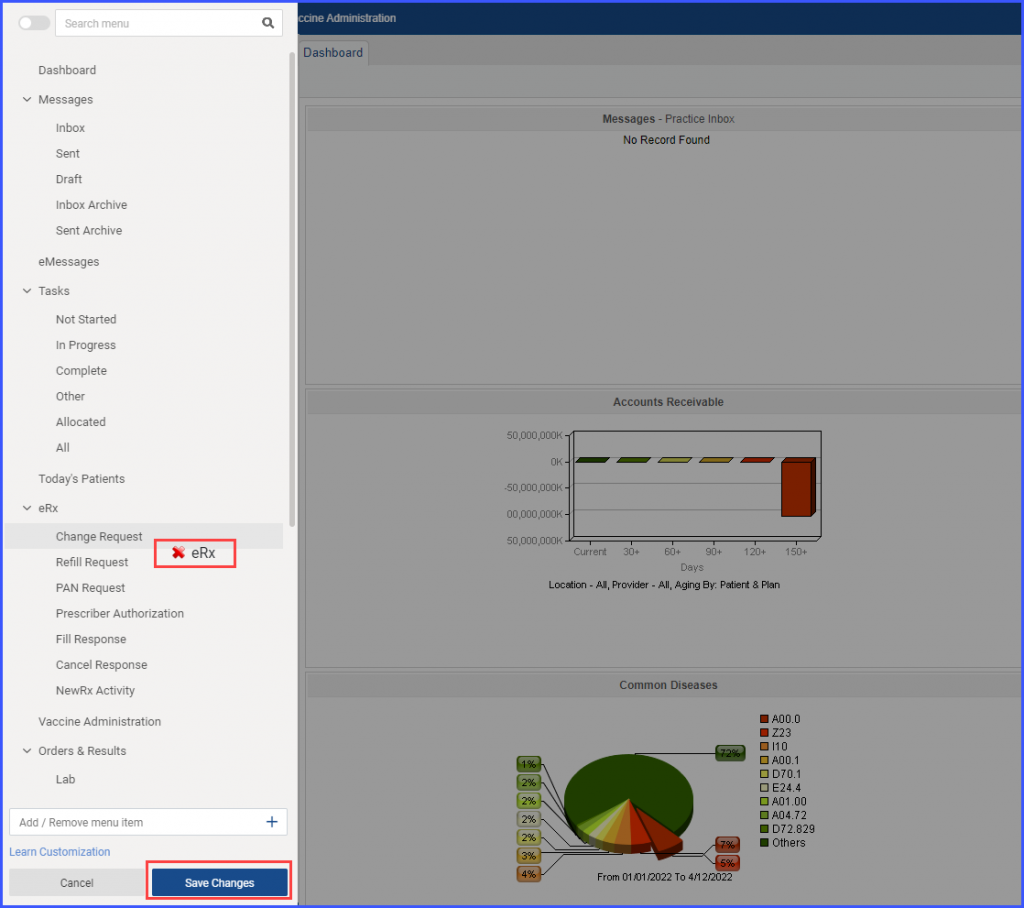
Whereas, the ‘Red Cross’ indicates that the item cannot be placed at the selected position.
After rearranging the items, click ‘Save Changes’.
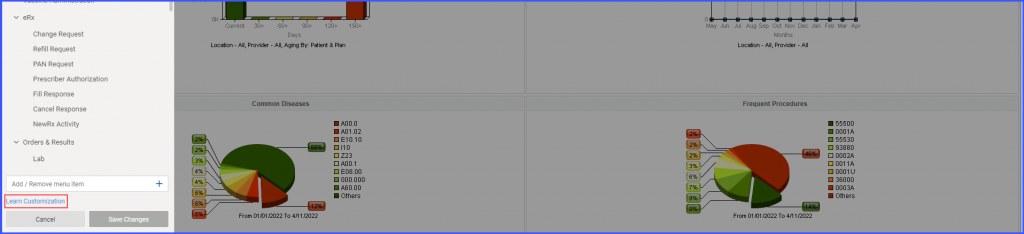
Learn Customization:
Users can click on ‘Learn Customization’ hyperlink at the bottom right of the listing to watch the video tutorial about how to use customization settings.
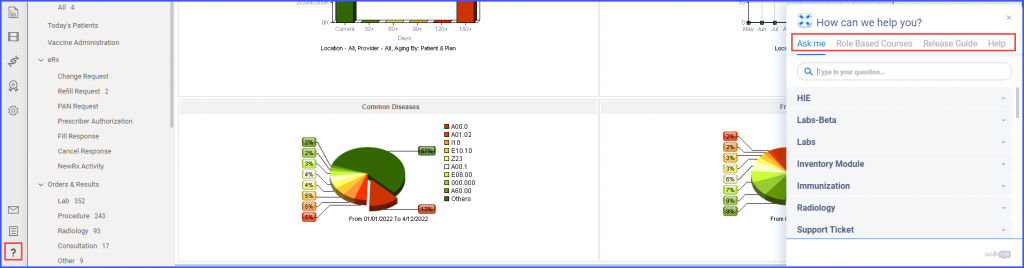
Furthermore, ‘Walk me’ has been repositioned to the bottom left corner of the screen.
Users can click on walk me icon ‘?’ to find help or more information related to different modules consisting of various sub-fields, including Ask me, Role Based Courses, Release Guide and Help.
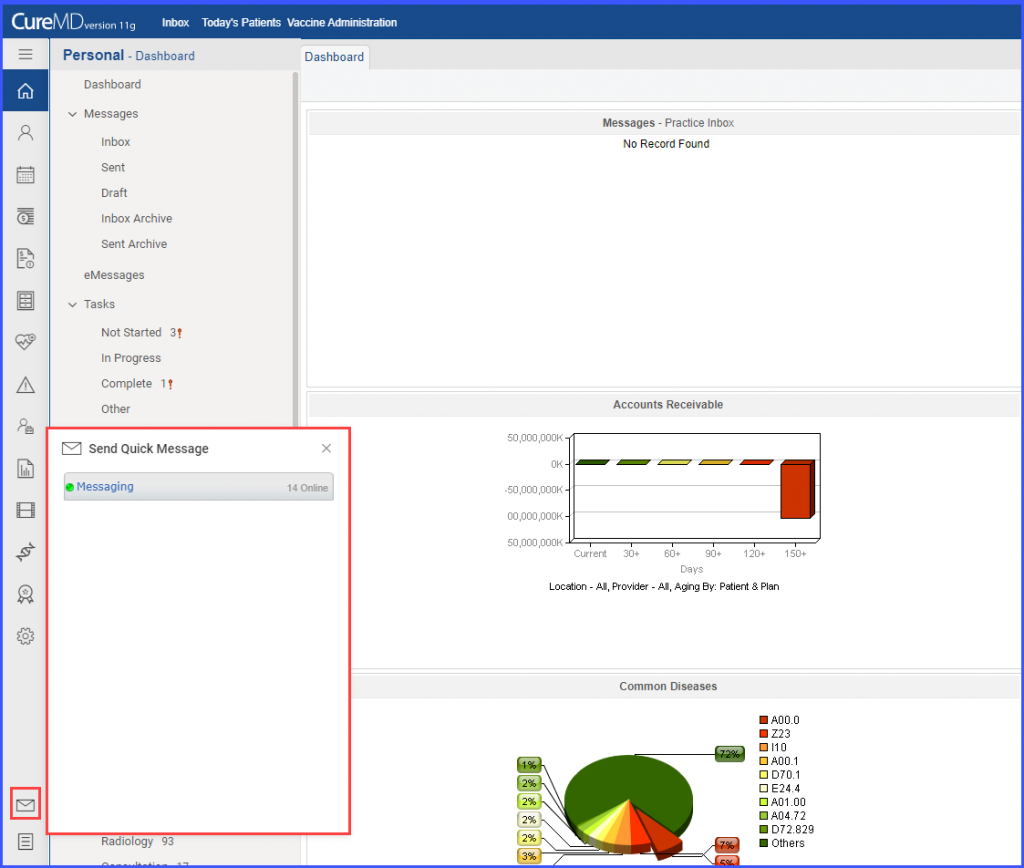
Additionally, messages icon has also been repositioned to bottom left of the screen in the menu.
Users can reach out to other users through the messenger by clicking on the messages icon.