How is Information Displayed on Appointments Dashboard?
Users can access patient plans by selecting a patient from the patient hotlist or they can click on the patient name in the appointments section of the ‘Home’ page.

Upon clicking the patient name, the user is navigated to the ‘Patients’ profile where the plan details can be viewed.
On the ‘Home’ page, the column titled ‘Schedulable’ shows the appointment resource.

In the ‘Care Status’ column, the user can mark a care status from the options in dropdown, which helps in effective tracking of patient’s journey.

The user can see status of administered drugs as well from the ‘Appointments’ section. When the user hovers over the green tick, yellow tick, or red cross icon, a tooltip is displayed which shows the Medication Administration Record (MAR) status.

The user can also view Patients’ Eligibility Status from the ‘Appointments’ section.

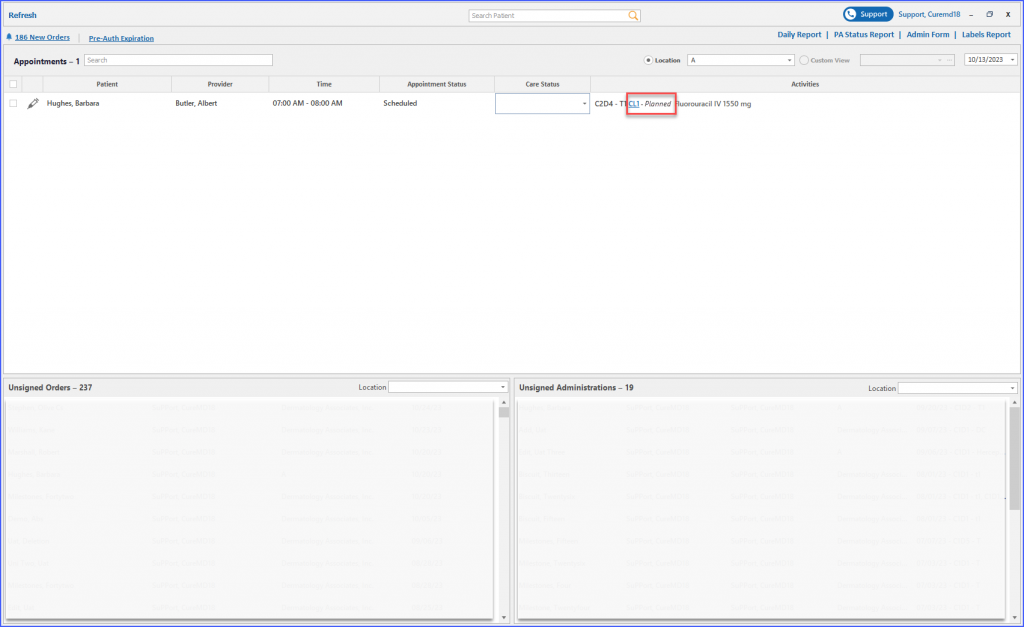
The system displays the activity status within the appointment remarks on the patient dashboard.
This feature aligns with the status shown in the Chemotherapy Manager’s schedule, ensuring coherent and comprehensive tracking of patient activities from the beginning of the treatment process.
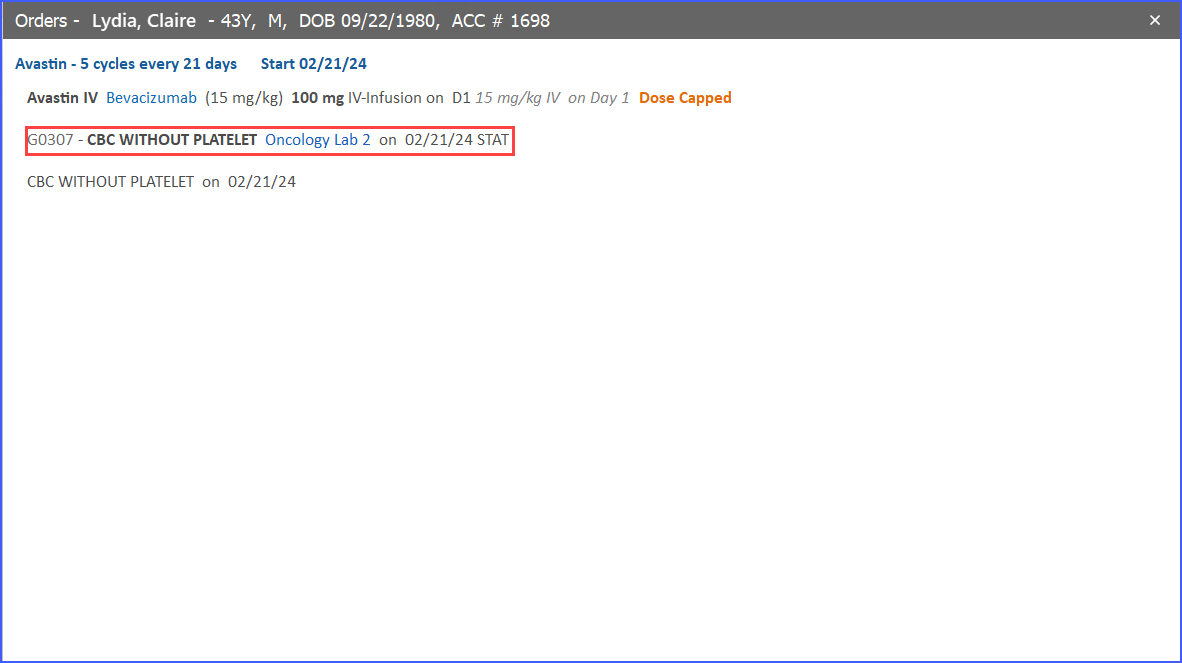
On the Home screen, when users navigate to ‘New Orders’, the orders screen includes lab and radiology orders alongside other treatment orders, offering a complete view of all active orders for a patient.
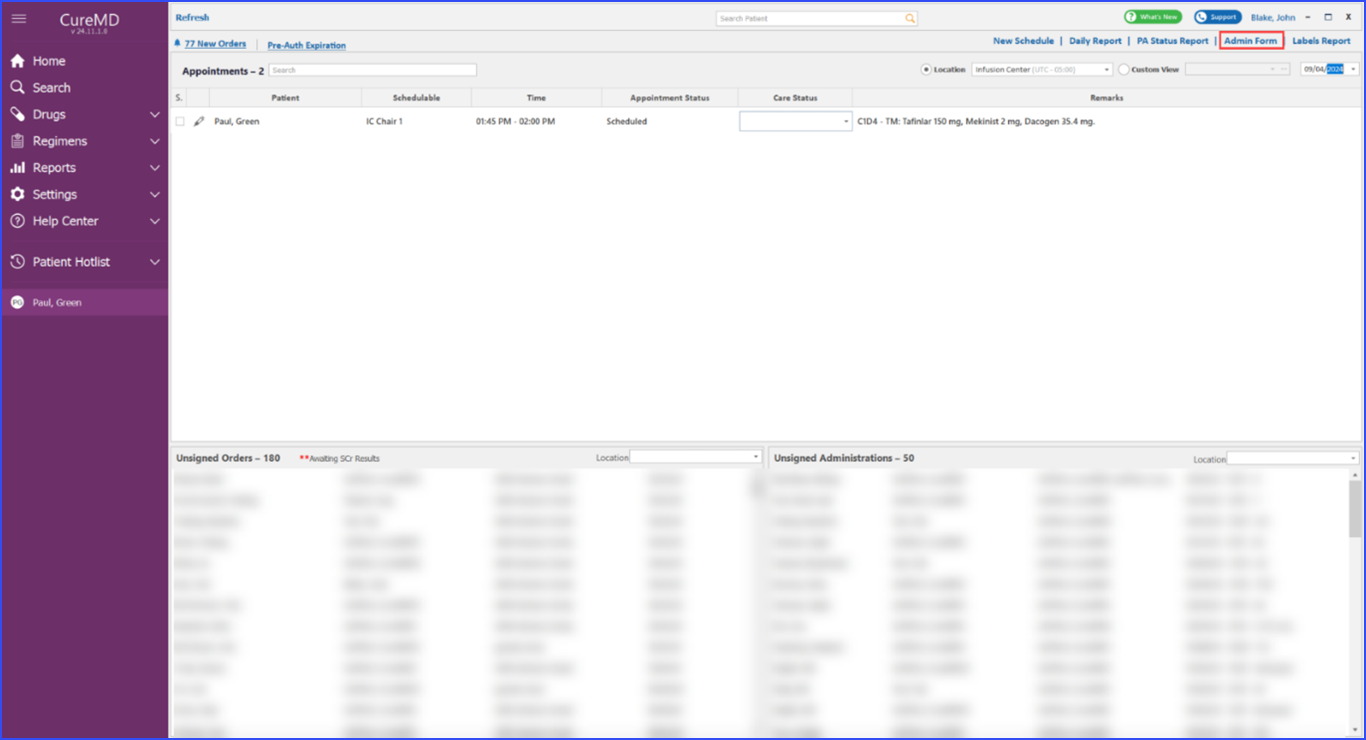
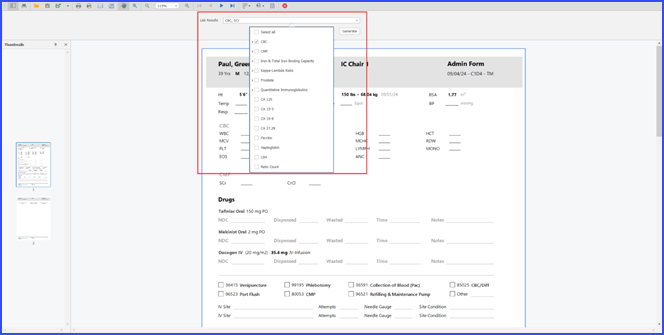
When navigating to the Chemotherapy Manager’s Appointment Dashboard, users can access the Admin Form and customize the lab results displayed. ![]()
A dropdown allows users to select specific lab results to be included in the report, with the default selection being the full CBC panel along with Scr and CrCl from the CMP panel. Once a user selects specific lab results for a patient, these preferences are saved and applied to future reports for that patient. If multiple admin forms are generated for the same patient, the lab dropdown does not appear, ensuring that saved preferences are automatically used, simplifying the process and ensuring consistency in reporting.
User clicks on Lab Results Dropdown and selects lab results and finally clicks on Generate Report
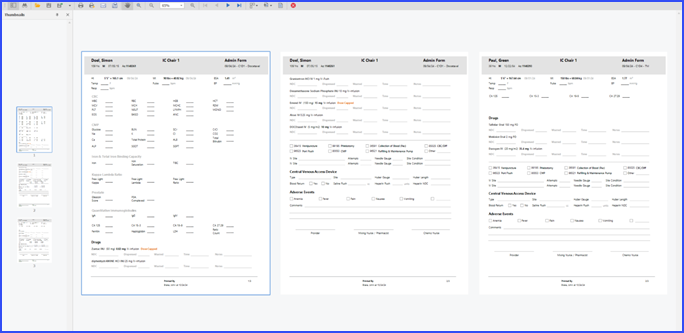
After which the selected lab results are printed
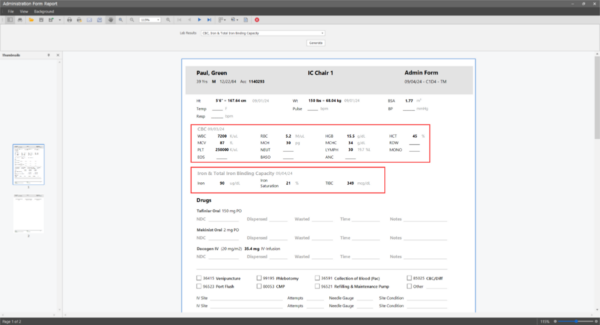
If Multiple Admin Form are printed, then each patient lab results are printed as per the saved preferences
