How to Setup ePad Signature Pads?
STEPS TO SETUP EPAD SIGNATURE PAD
These are the steps to setup ePad Signature Pads.
1- ePad Utility
Click here to download the installer.
After the download is complete, click on the downloaded file and to open the installer window.
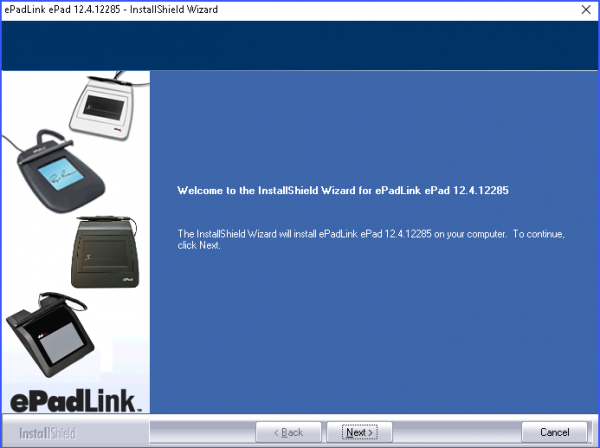
Click Next.
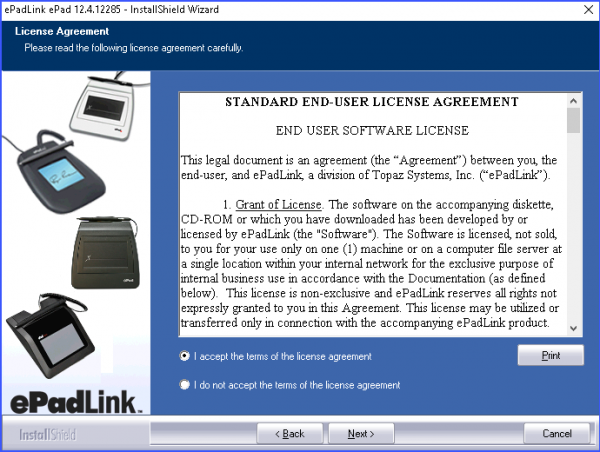
Accept the license agreement and click Next.
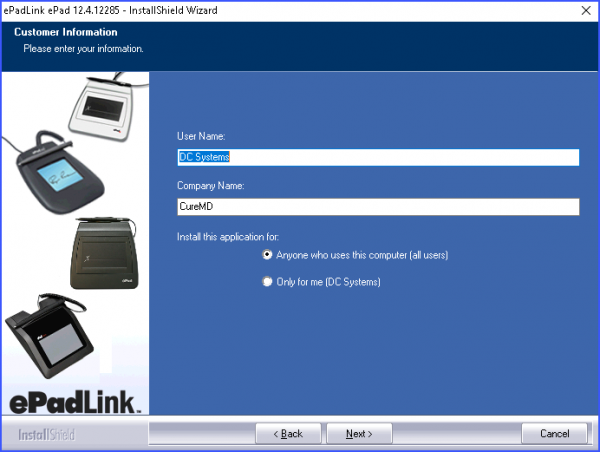
Click Next.
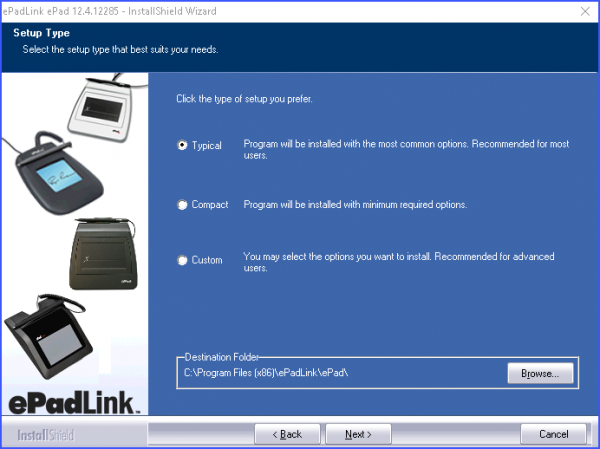
Click Next.
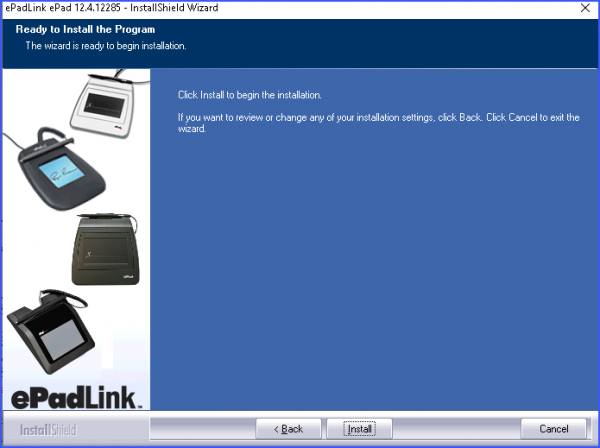
Click Install.
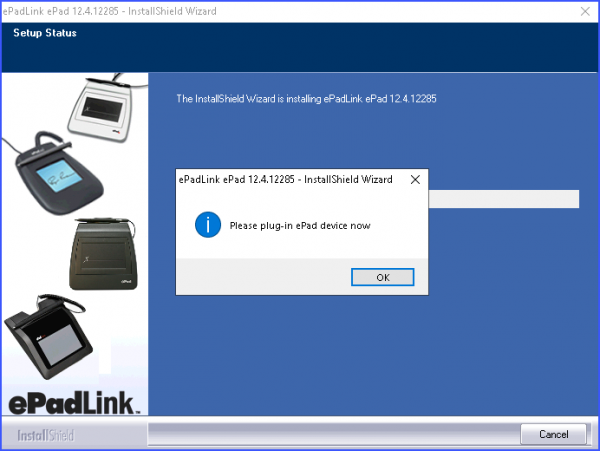
If you do not have the ePad device plugged in a prompt shown above is displayed. Please make sure to plug in your ePad.
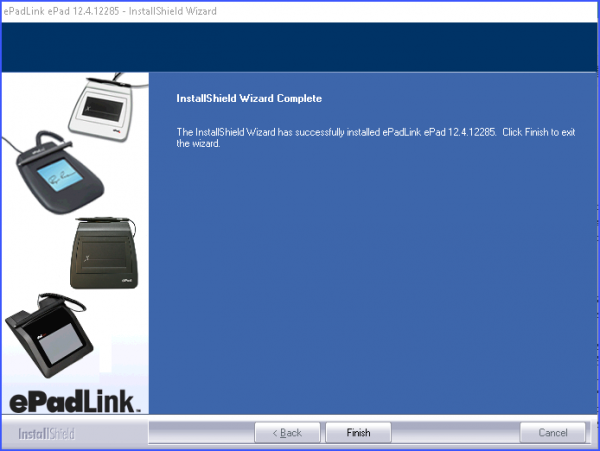
2- ePad SDK
Click here to download the installer.
After the download is complete, click on the downloaded file to open the installer window.
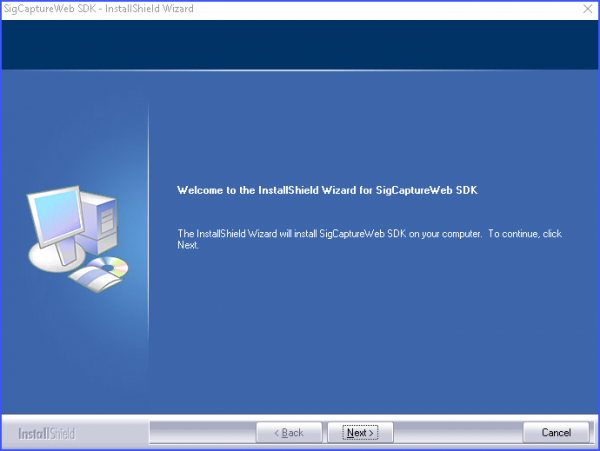
Click Next.
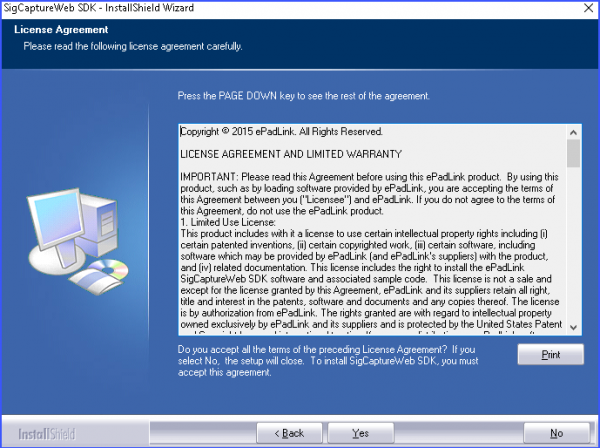
Click Yes.
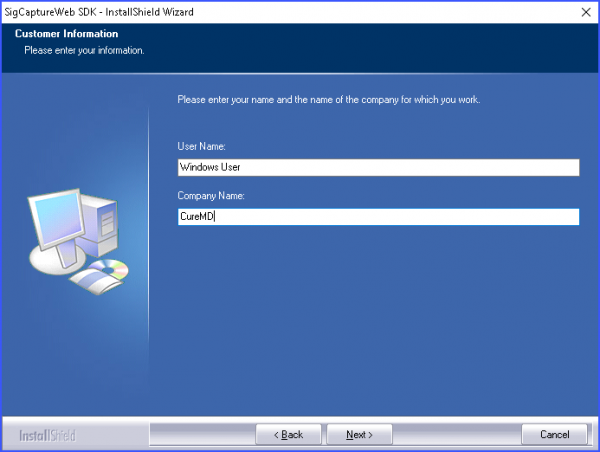
Click Next.
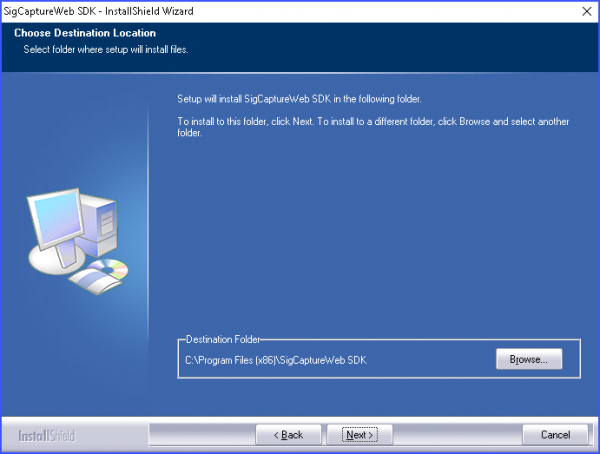
Click Next.
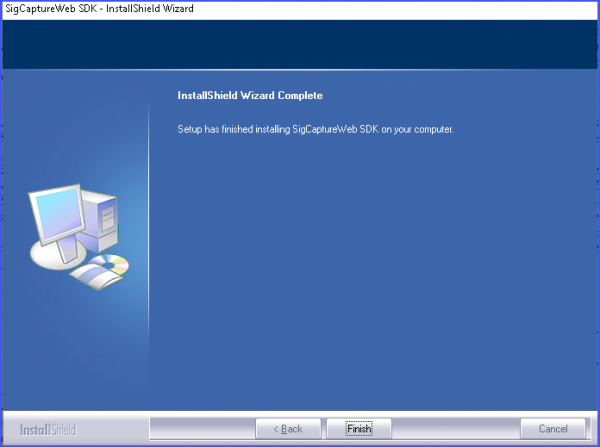
The installation is complete. Click Finish.
3- ePad extension for Chrome
Click on the following link:
https://chrome.google.com/webstore/detail/epadlink-sigcaptureweb-sd/idldbjenlmipmpigmfamdlfifkkeaplc
Click on the download link and the user is redirected to a new page.
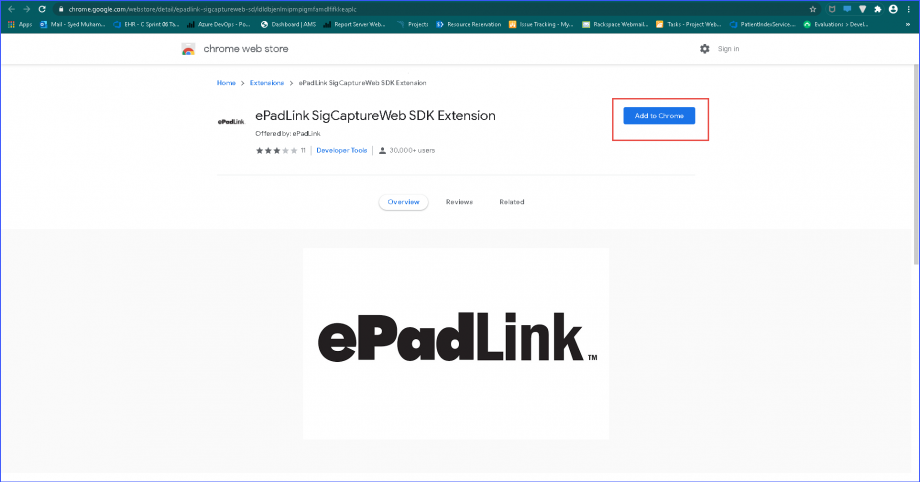
Click on Add to Chrome.
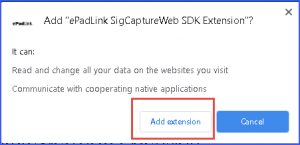
The prompt shown above appears. Click on ‘Add extension’.
After this step, users can use ePad on Chrome.
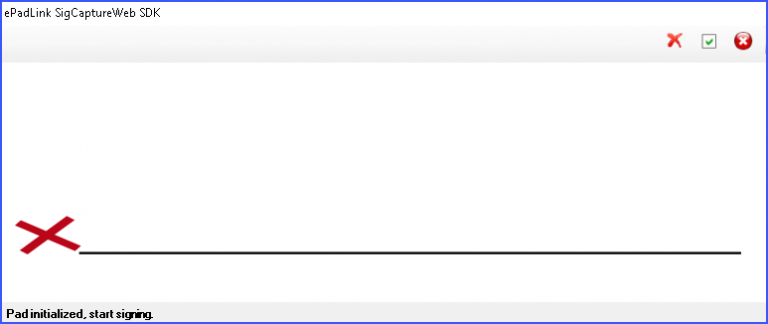
Now if user clicks on sign button, the following screen appears and the user can sign using ePad.
Prerequisites:
1- User must be using Chrome browser.
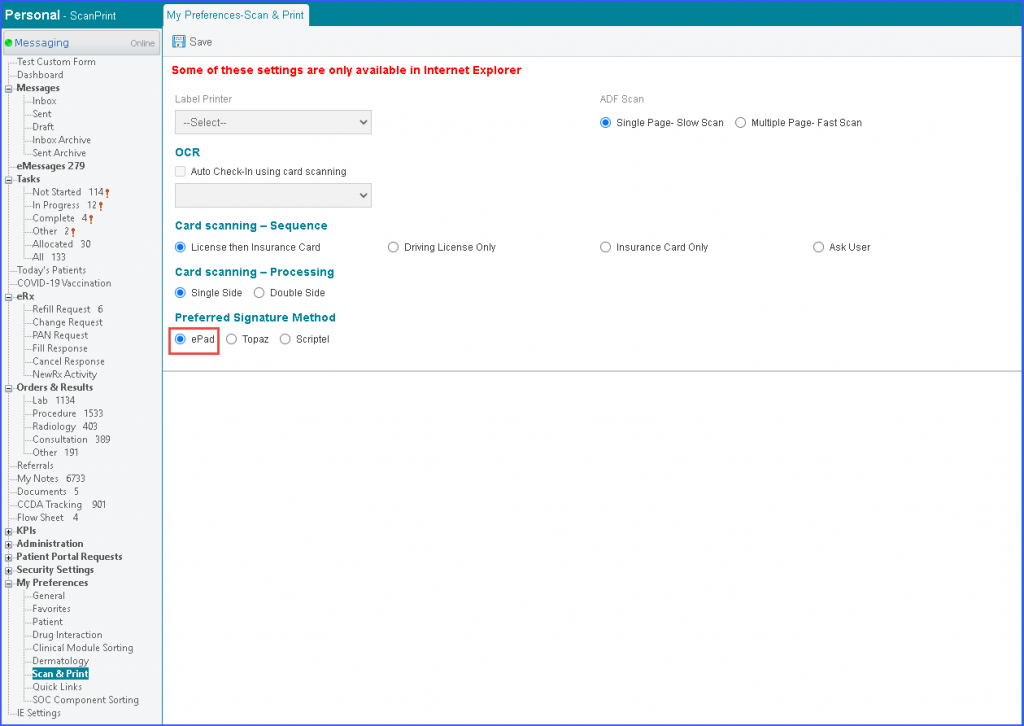
2- User must have selected ePad as the preferred signature method in user preferences.