How to Move Appointments in Bulk?
Follow the workflow mentioned above to land on the ‘Move Appointments’ tab.
Here, the appointments can be moved from one provider to another or from one location to another in bulk.
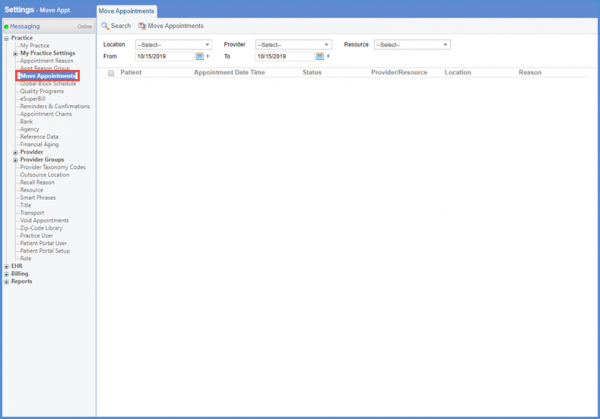
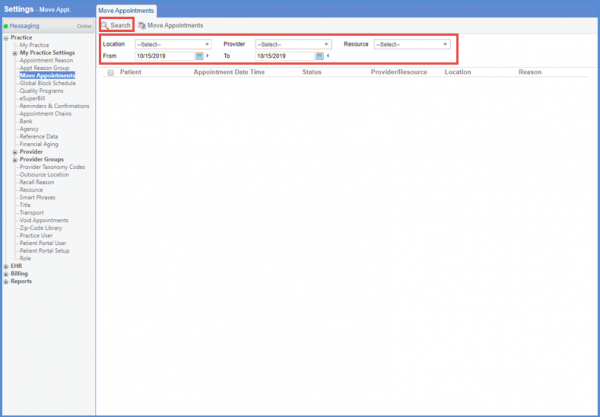
Either select resource from ‘Resource’ dropdown or a location from ‘Location’ dropdown. Select a provider from the ‘Provider’ dropdown and a specific date range using the ‘From’ and ‘To’ fields.
User can only search for the appointments scheduled for future.
Once the search criteria is selected, click ‘Search.’
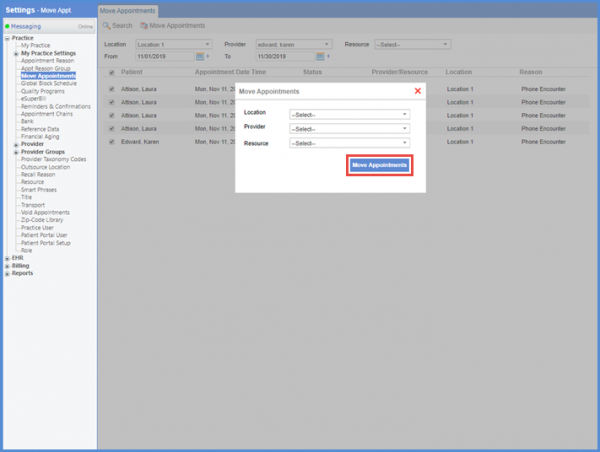
User can select all the appointments by marking the checkbox at the top, next to the ‘Patient’ heading.
However, to select any specific appointments, mark the checkbox(s) against the patient name and then click ‘Move Appointments.’

Doing so displays a popup, from where the user can select the destination location, provider or a resource from the associated dropdown.
Once selected, click ‘Move Appointments’ to move the appointments to the selected destination.