How to Set Parameter for Model Charges?
Using the workflow stated above, the user lands on the CureBilling page. The following screen is displayed:
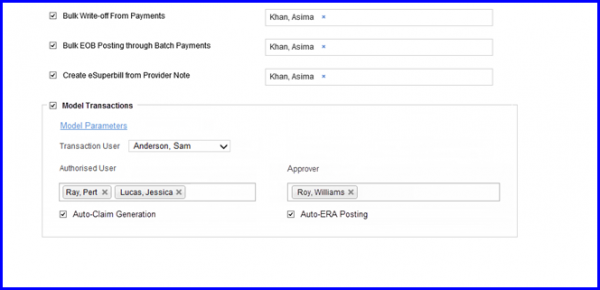
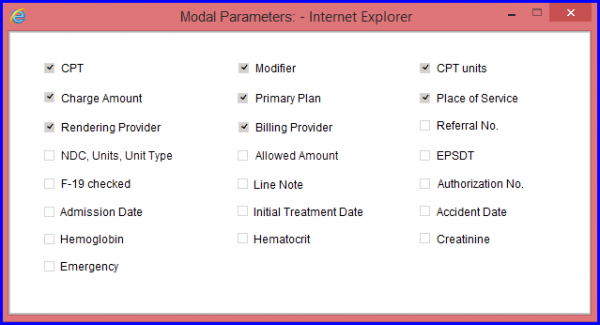
All elements in this section remain disabled unless you check the Model Transactions checkbox. If you click on Model Parameters hyperlink and select the parameters which will be used when matching new transactions with Model Transactions:
The Transaction User dropdown is added displaying all the users’ names in practice. User can select the user from this dropdown that is to be used as Created By / Posted By user while auto-posting payments. Authorized User, is a multi-select field that also displays all the support users’ names in practice. Users that are selected in this field can mark payments / RAs as model. Approver is a also multi-select field. Users that are selected in ‘Approver’ field can Approve / Reject a Transaction marked as model by authorized users. Lastly, checking Auto-Claim Generation enables auto-claim generation mechanism.
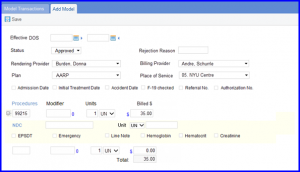
A new node is added called Model Transactions after you have checked the Model Transactions checkbox in CureBilling settings. When you open this node, the following screen is displayed:
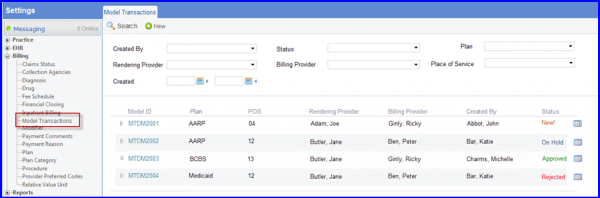
You can search for model transactions here and check their logs. By clicking on an ID, you can edit that model.
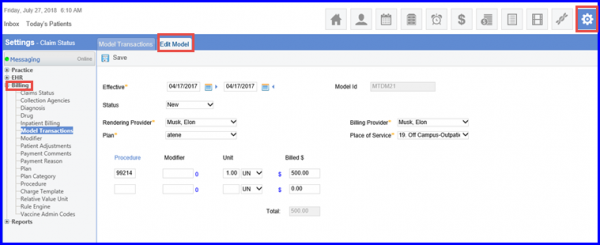
By clicking on New you can add a model.