How to Check In a Patient for an Appointment ?
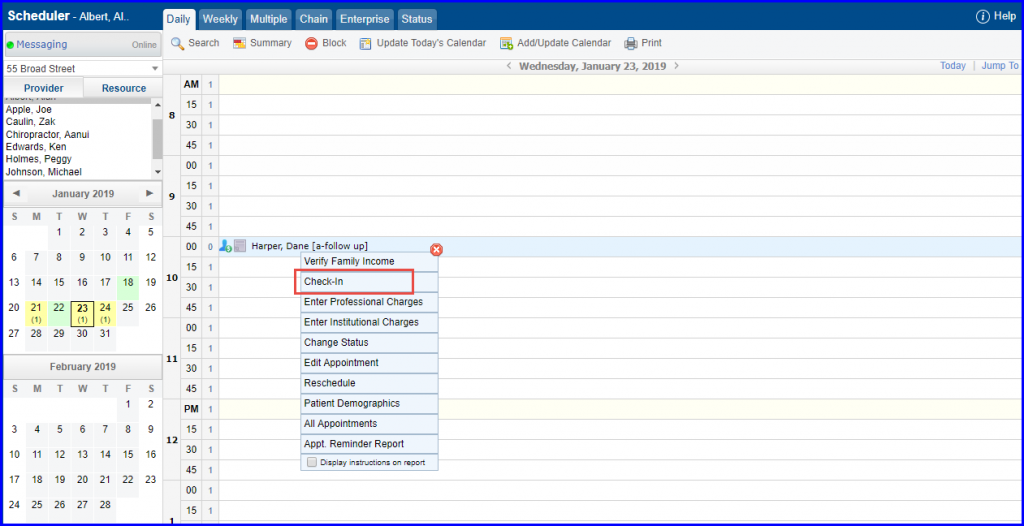
A patient can be checked-in on the ‘Scheduler’ to register the precise time of arrival at the practice.
Follow the workflow above to open the ‘Check-In’ window.
In “Check-In” window, the user can click on the ‘Print’ button to select ‘Label’.
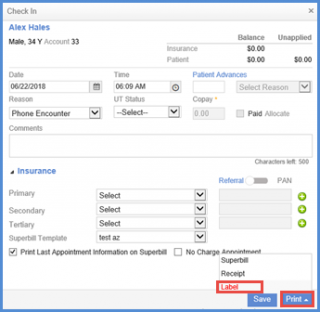
Clicking ‘Label’ displays the printed label.
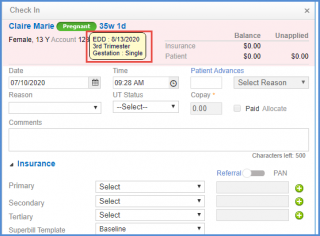
On checking in a patient for an appointment, the pregnancy details of the patient are displayed on the patient banner.
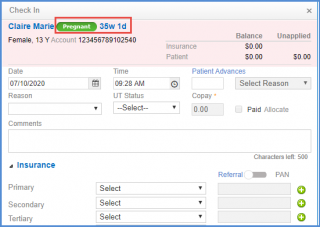
When the user hovers over an appointment for a pregnant patient, the tooltip displays the trimester information. This information is displayed regardless of the appointment’s status.
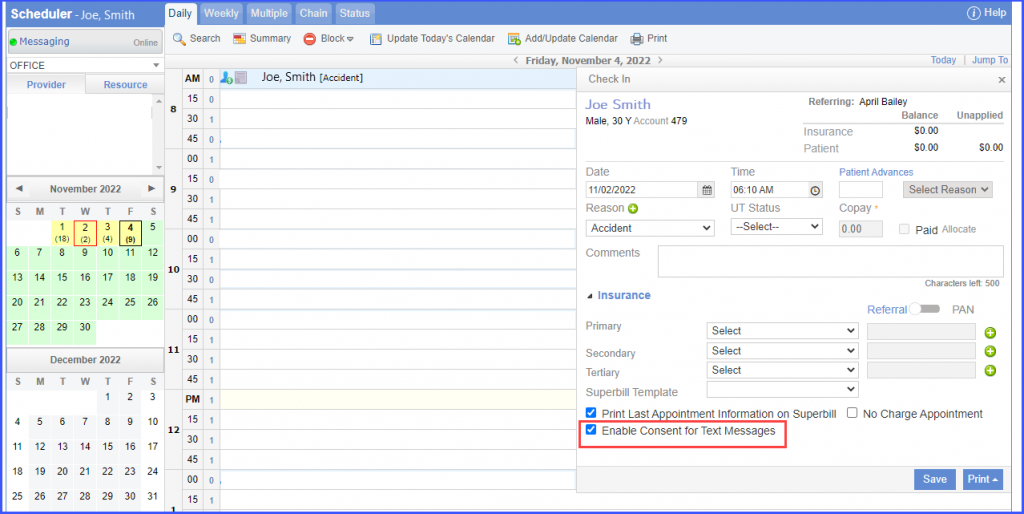
Patient’s consent can be enabled for receiving text messages from Preferences page.![]()
This ensures that the patient is receiving all messages from their providers.
The consent for receiving messages by short codes can be enabled by marking the ‘Enable Consent for Text Messages’ checkbox.