How to Block a Patient for an Appointment?
A Block can be created by an authorized user to prevent scheduling of a Patient. As a result, no appointments can be scheduled until the patient is unblocked. Also, a blocked patient is not able to send appointment requests via patient portal.
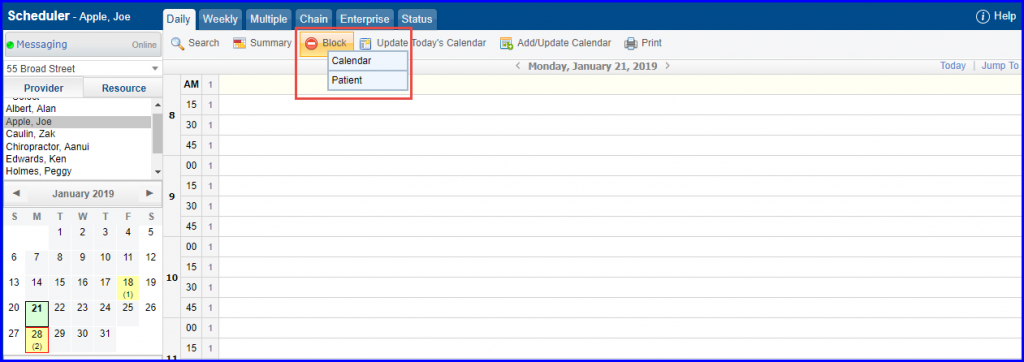
To block a patient, navigate to Scheduler. Click on ‘Block’ and select ‘Patient’ from the options.
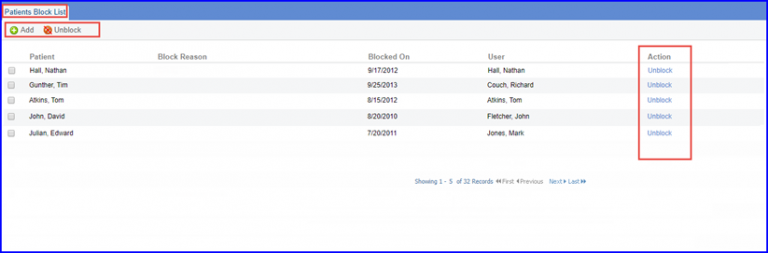
Select ‘Patient’ to open the ‘Patient Block List’ page. Click ‘+Add’ to add a patient block. Patients can also be unblocked. Enable the relevant patient(s) checkbox and click ‘Unblock’, or click ‘Unblock’ text from ‘Action’ column against each patient.
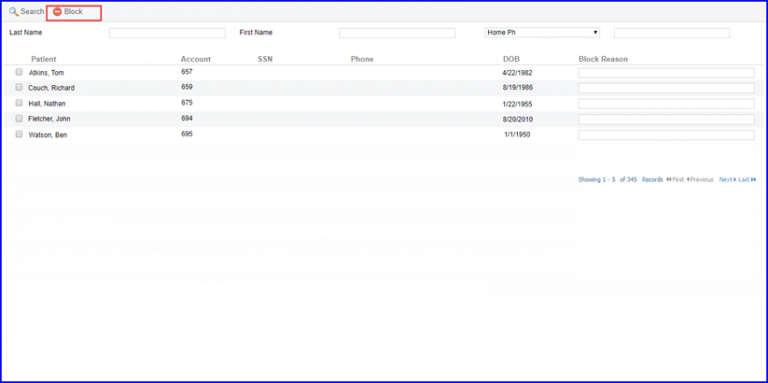
Clicking the ‘+Add’ button takes the user to ‘Block Schedule’ page. Here, a patient can be blocked. Click ‘Save’ to save the created block.