How to Associate PAN during Check-In?
Users can associate PAN with a patient during their check-in to retain this information during charge creation.
Open “Check-In” pop-up from the Scheduler module and locate ‘Referral – PAN’ toggle switch under Insurance section.
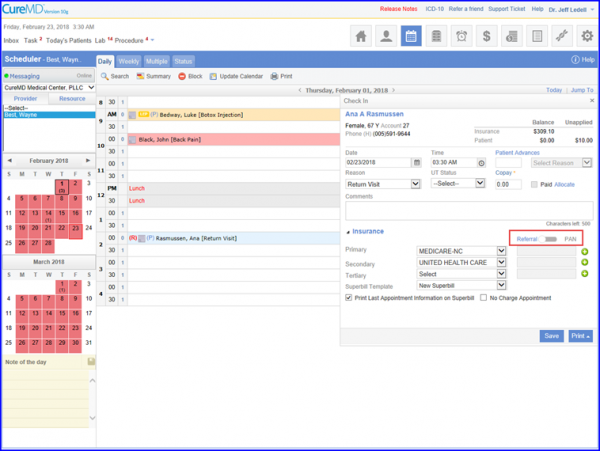
Select ‘PAN’ from this toggle switch. Once PAN has been selected, users can add a PAN by clicking on the ‘![]() ‘ icon located beneath this toggle button.
‘ icon located beneath this toggle button.
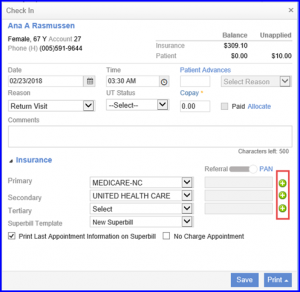
Clicking the ‘![]() ‘ icon prompts the system to display “PAN Selection” pop-up.
‘ icon prompts the system to display “PAN Selection” pop-up.
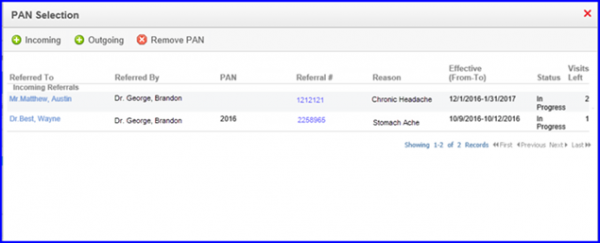
Select a PAN or create a new by clicking on Incoming or Outgoing button.
