How to Print a Report and Letter?
User can print a report and letter of the selected patient by clicking the respective icons. Checkboxes are placed beside patients’ names. This helps the user to select multiple patients at a time and print reports/letters at once. Upon clicking the checkbox beside ‘Patient’ column, all the checkboxes below automatically get selected/unselected respectively.
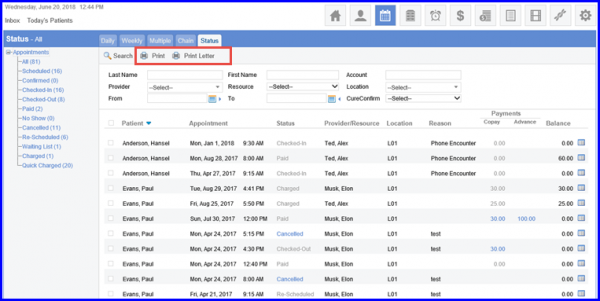
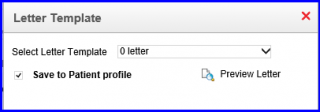
Clicking ‘Print Letter’ button takes the user to ‘Letter Template’ pop-up.
Here, to save the letter to patient profile, mark the checkbox in the popup. All the saved letters appear in patient profile automatically.
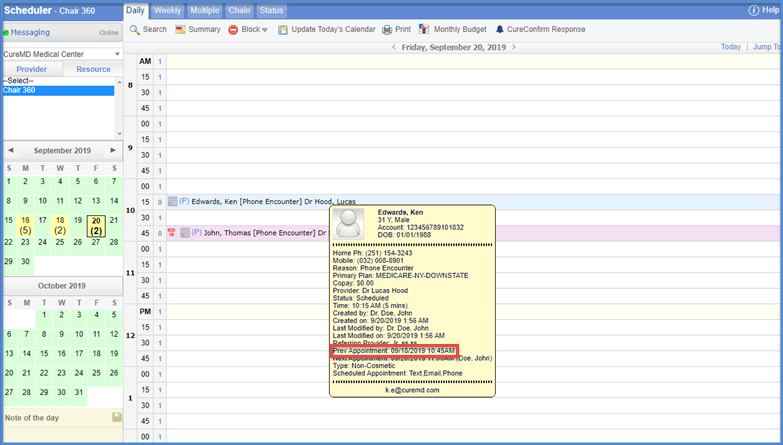
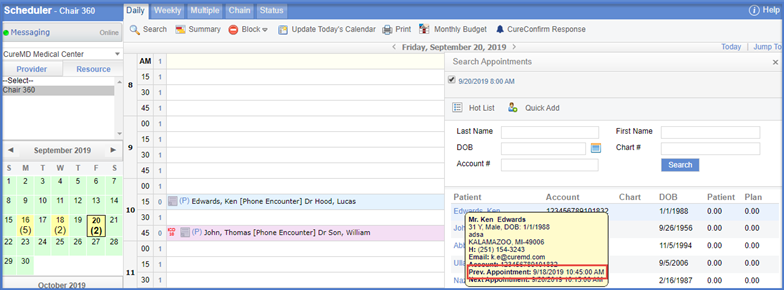
Navigate to ‘Daily’ tab to view the calendar and scheduled appointments.
Hovering over an existing appointment displays a tooltip. ‘Previous appointment’ details are displayed above ‘next appointment’.
Open the book appointment tab. Click the ‘Hot List’ or search for a patient under this tab.
Hovering over the patient name displays a tooltip. Here, previous appointment of the patient is displayed.
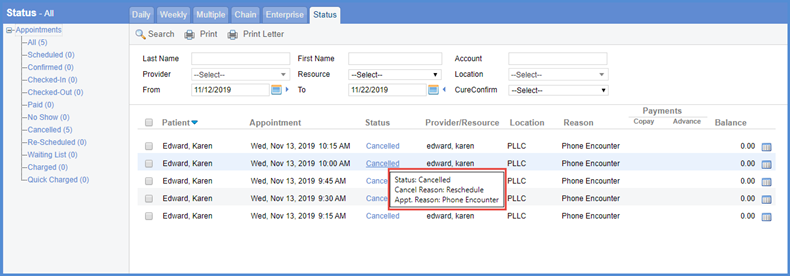
Hover over a cancelled appointment hyperlink to view ‘Cancel Reason’ in a tooltip.
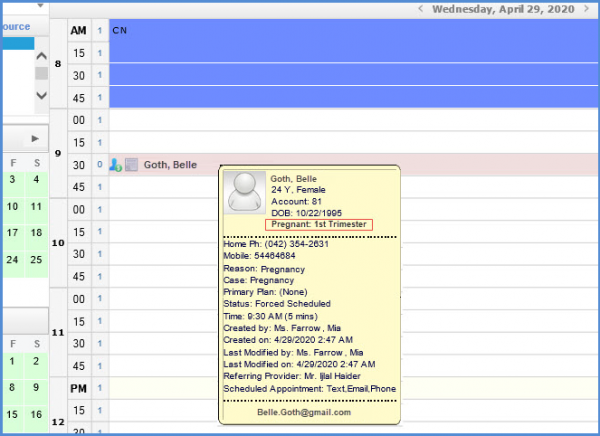
When the user hovers over an appointment for a pregnant patient, the tooltip displays the trimester information. This information is displayed regardless of the appointment status. ![]()