How to Create a Calendar by Using Scheduler?
When adding a calendar, the user has an option between ‘Standard’ which is highly customizable and ‘Weekly’ which is a simple way of creating a schedule for each day of the week. To add a calendar, click on “Add Calendar” hyperlink.

The “Calendar List” window displays the list of calendars for user associated locations only, if enabled from Settings.
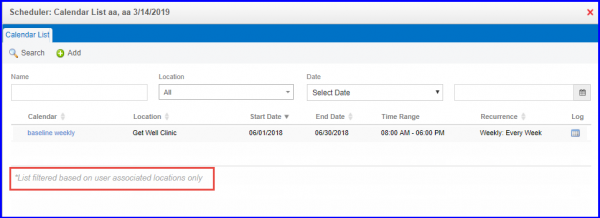
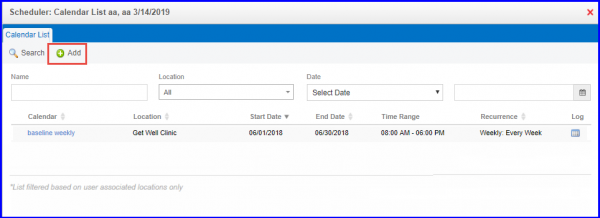
User can view a list of existing calendars. To add a calendar, user can click on the ‘+Add’ icon.
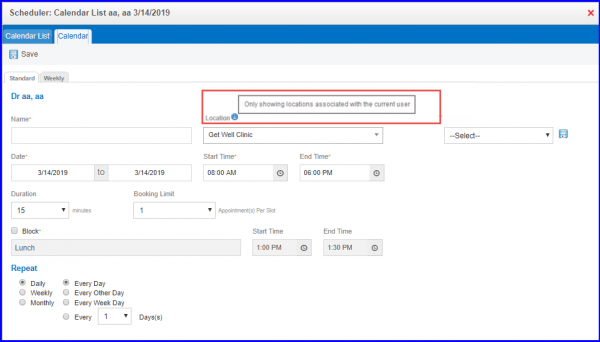
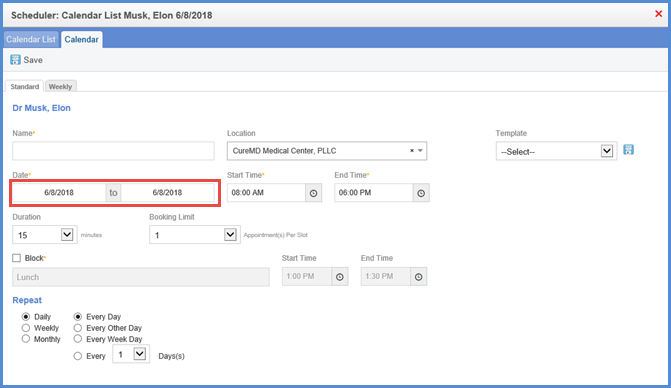
While adding a calendar user has the option to specify Standard and Weekly Calendar schedule.
‘Location’ drop-down lists only the locations which are associated with logged-in user if ‘Display only user associated locations’ checkbox is checked in scheduling settings.
Further, ![]() icon is displayed against location drop-down. Hover upon it to view the text “Only showing locations associated with the current user” in tool tip.
icon is displayed against location drop-down. Hover upon it to view the text “Only showing locations associated with the current user” in tool tip.
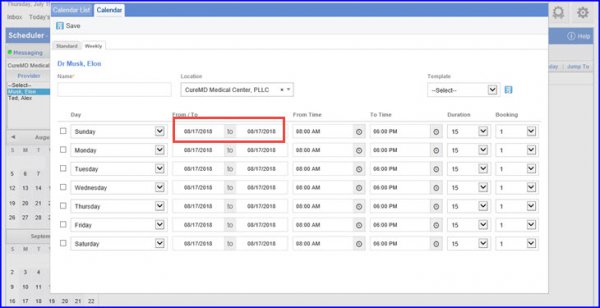
Navigate to ‘Standard’ or ‘Weekly’ schedule tabs.
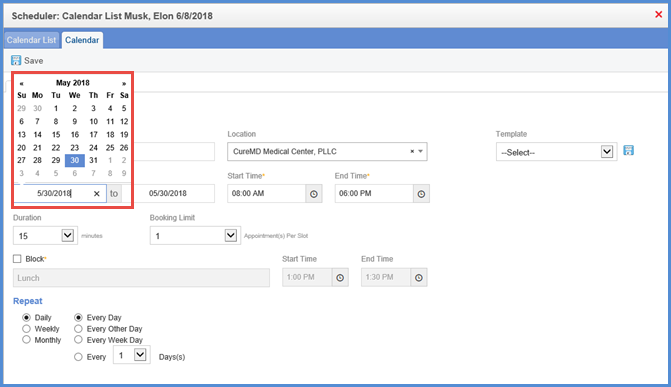
Moreover, user can click on the date and open the calendar in order to specify a date range.
When the user clicks on the ‘Date’ field, the calendar pops up as shown below.
Furthermore, the criteria under the repeat section cannot be edited once it is saved.
Once the user saves it after making the selections, the section grays out and does not allow the user to make any changes.
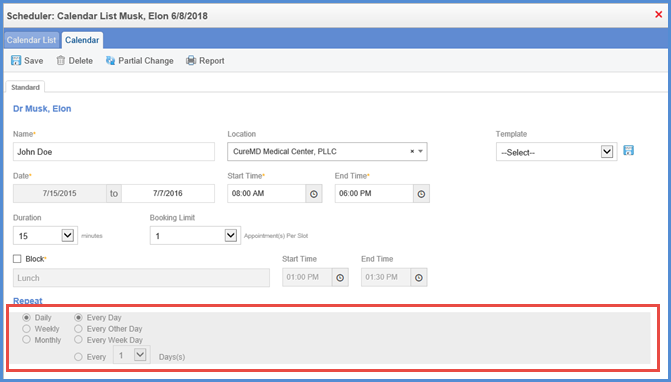
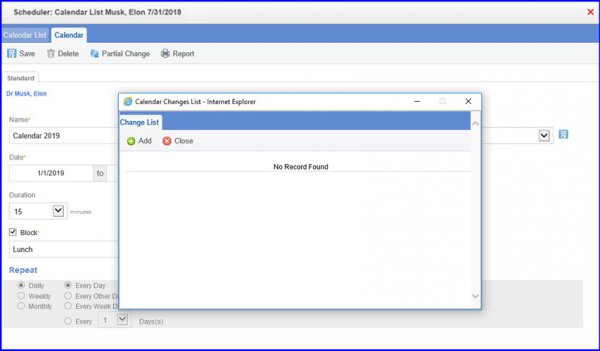
Practice user can click on ‘Partial Change’ button to open up “Calendar Changes List” in a pop-up.
Here, select a record to Add/Edit the change details.