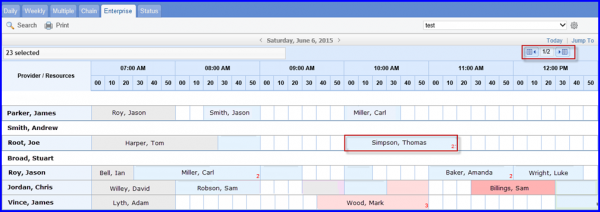
How to Add Appointment through Enterprise View?
User can add an appointment in ‘Enterprise’ View of the Scheduler.
Navigate to ‘Enterprise’ View by following the workflow mentioned above.
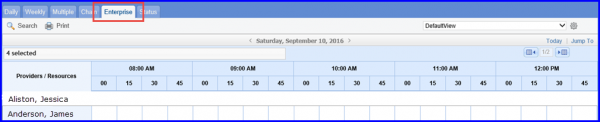
To set an ‘Appointment’, user can click on any desired, available time slot.
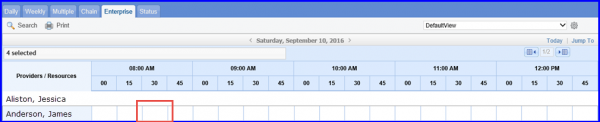
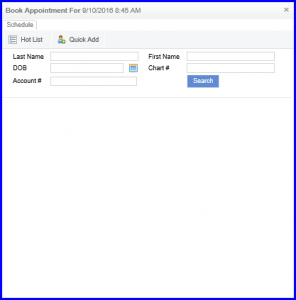
Clicking a time slot displays ‘Book Appointment’ pop-up. Here, user can book an appointment by selecting patient and adding appointment reason.
Multiple appointments cannot be booked directly from the ‘Enterprise View.’ However, appointments scheduled from other views are still visible in the ‘Enterprise View.’ The total number of these appointments is displayed at the bottom right corner of each slot. Users can view details of the appointments by hovering their cursor over the slot
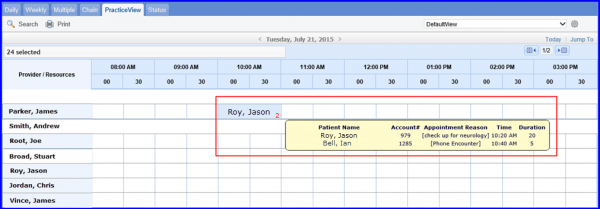
The providers are listed according to their selected location. There is no limit to the number of ‘Providers’ or the ‘Locations’ that can be selected .
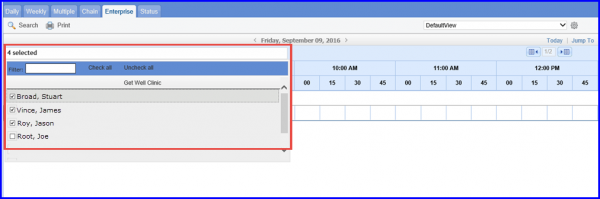
The user is able to scroll through the selected record on the same screen.