How to Add Patient Copay through Scheduler?
A Co-Pay can be recorded once the Patient is checked-in by the user.
Click an ‘Appointment’ and select ‘Check-In’ to check-in a patient. Here, user can enter copay amount and mark ‘Paid’ checkbox.
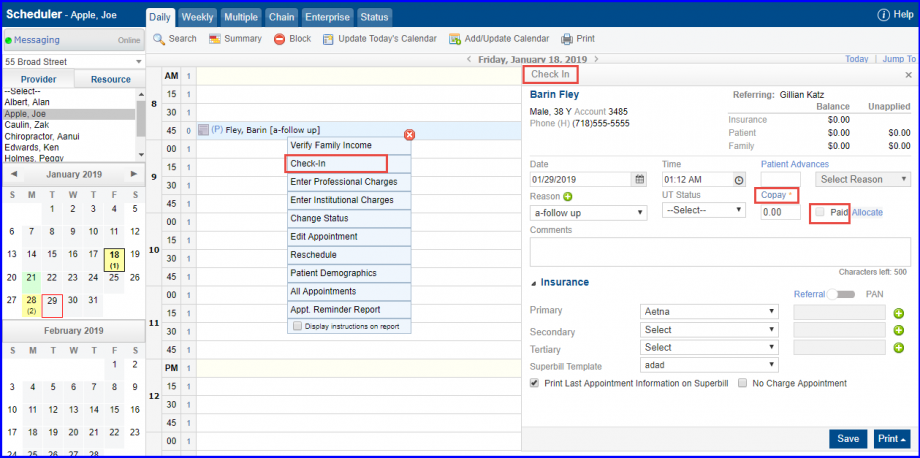
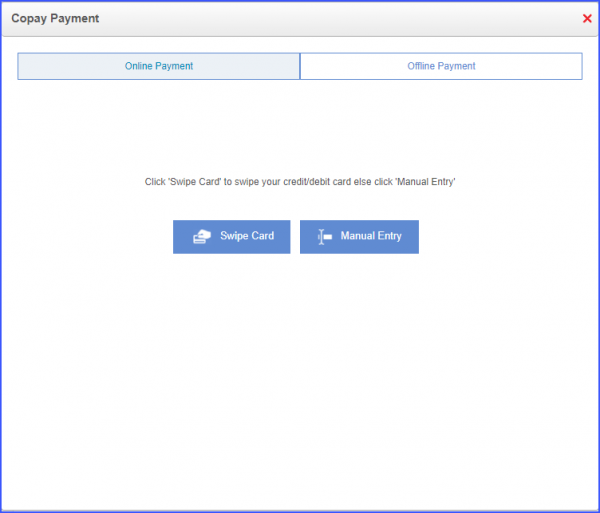
Clicking ‘Copay’ displays ‘Copay Payment’ pop-up. Here, User can select between ‘Online Payment’ or ‘Offline Payment’ modes.
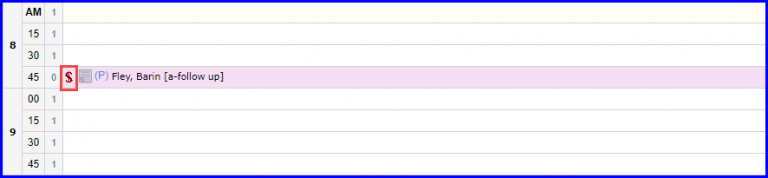
The  sign appears green for paid Copay.

The  sign appears red for unpaid Copay.
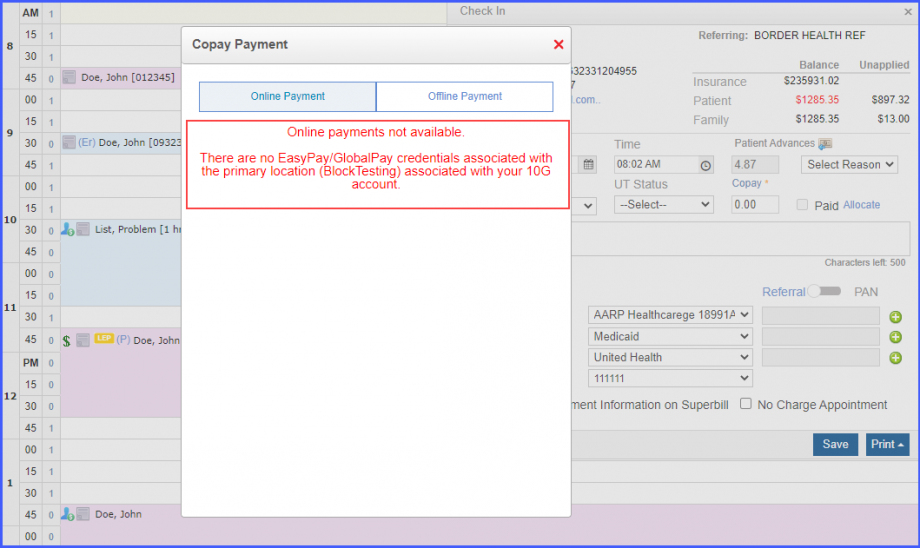
An error screen is displayed when payment is being made from a location having partially configured EasyPay/GlobalPay credentials.
This ensures that payments are only made from locations that are completely configured.
The error is displayed on the ‘Copay Payment’ pop-up. The error message states:
‘Online payments not available. There are no EasyPay/GlobalPay credentials associated with the primary location (Block Testing) associated with your 10G account.’
Click here to see a similar enhancement made in the ‘Billing’ module.
