What is an Audit Trail-Settings?
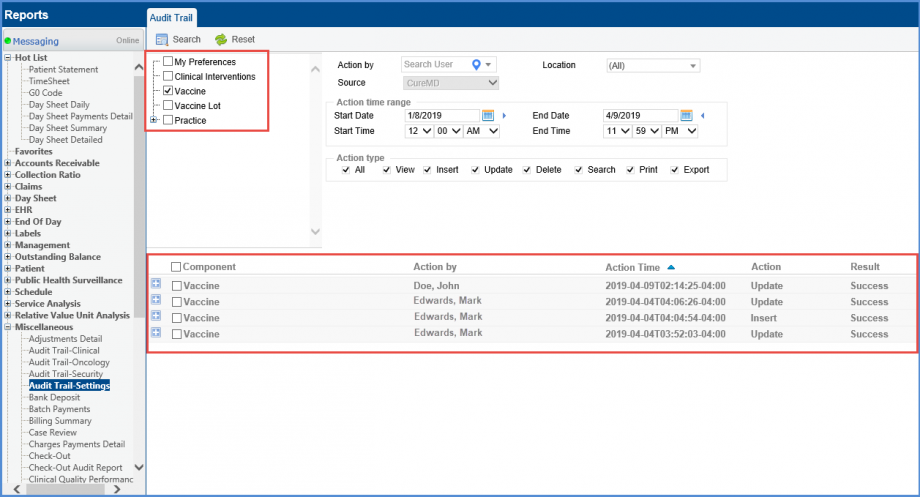
From the “Miscellaneous” tab select ‘Audit Trail-Settings’. Users can search for the changes made to User Preferences, Clinical Interventions, Vaccine Lot or Practice in the Settings module.
Users can also search for the changes made to ‘Vaccine’ component.
Users can also search for various components of Settings by selecting the box next to the desired component on the left. Clicking the + icon next to a component opens a sub-menu, within which user can also choose to select that sub-component by selecting the box on the left.
Click ‘Search’. The screen contains a list of all of the Settings activity that fits within the specific search parameters.
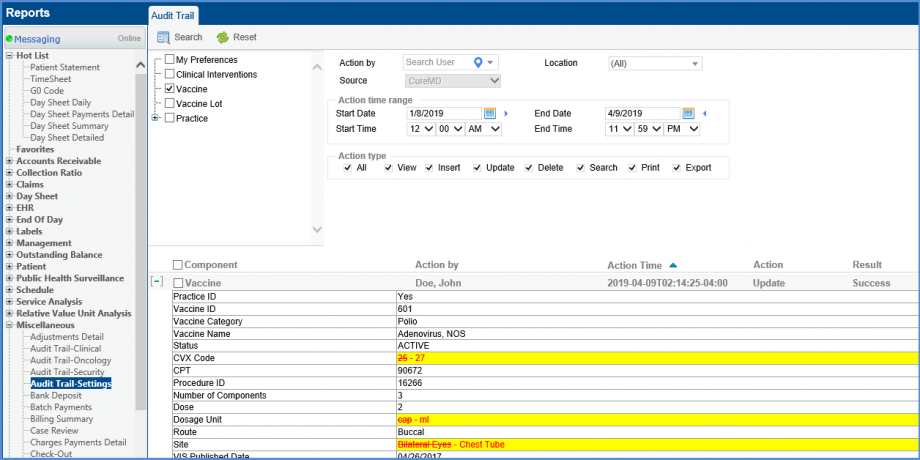
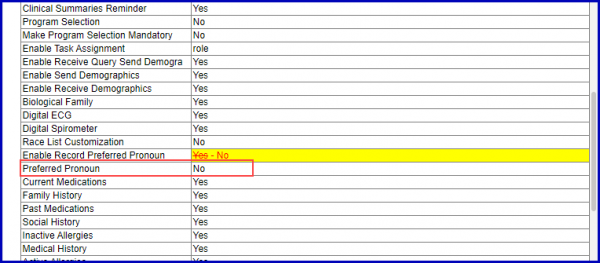
User can click on the + icon next to any entry to view the extended details about that specific activity entry. The fields highlighted in yellow mark the changes.
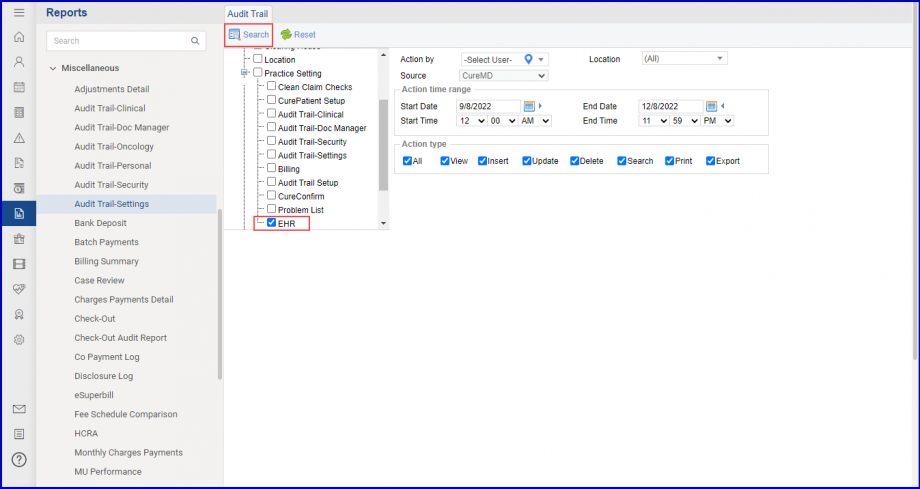
The user can also view changes made in the ‘EHR’ node (‘Settings’ module) via the audit trial.
To view the audit trail, navigate to the ‘Audit Trail Settings’ node under ‘Miscellaneous’, mark the ‘EHR’ checkbox under ‘Practice > Practice Setting’ and click ‘Search’.
Search results are displayed.
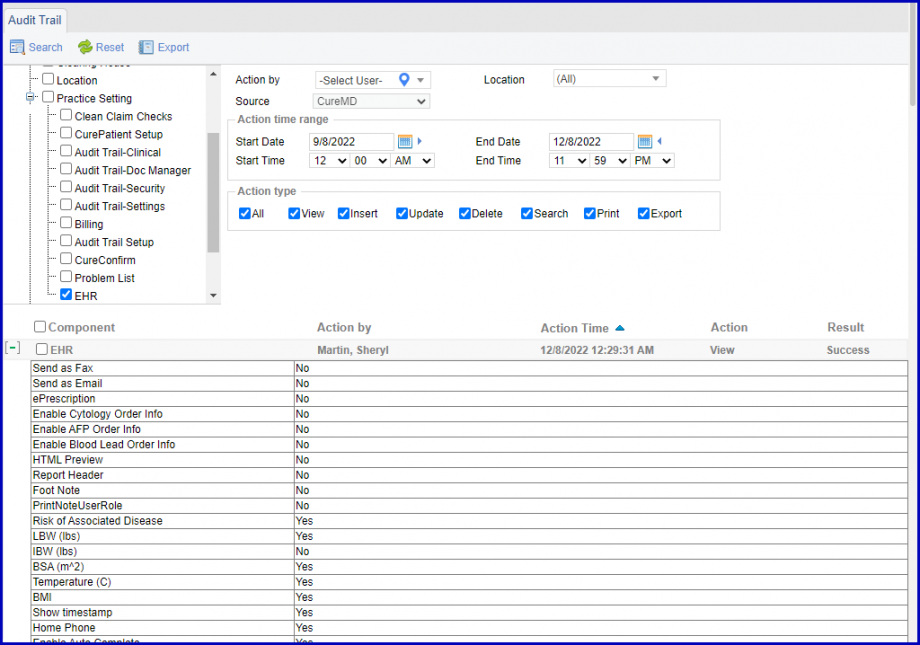
Users can view changes for action type ‘View’ and ‘Update’. To enable the action types for a user, navigate to Settings > Practice > My Practice Settings > Audit Trail > Settings and mark the ‘View’ and ‘Update’ checkboxes under the ‘Practice Settings’ tab to enable the audit trail report.
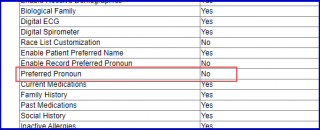
The system maintains a log of changes made in the preferred pronoun field settings.![]()
This helps in identifying the user who made preferred pronoun field mandatory or optional.
The user can click the ‘View’ or the ‘Update’ action type to view changes made to the ‘Preferred Pronoun’ category.
The users can access and track the Audit Trail of new billing groups.![]()
The changes to the billing group in an audit trail can be tracked.
Click on the + icon next to ‘Practice’ to expands the sub-menu.
Click on + icon next to ‘Provider Groups’ and selects ‘Billing Provider’.

Mark the ‘View’ checkbox and click on ‘Search’ Button.
The system displays the ‘View’ result.

Click on the ” + ” icon next to ‘Billing Provider Group’ to view the details of “View” activity.

Clicking on + icon displays expanded details.

Similarly, ‘ – ‘ icon can be clicked to collapse the extended form.

Similarly, the users can track the actions of Insert, Update, Delete, and Search performed on the ‘Billing Provider’ group.
