EHI Export
EHI stands for Electronic Health Information and refers to the digital health information or medical record of a specific individual. This information includes, but is not limited to, patient demographics, clinical history, diagnoses, allergies, medications, laboratory tests etc. The electronic formatting of a patient’s health information allows for easier storage and exchange of data when needed. ![]()
Follow the above workflow to land on the EHI Export page.
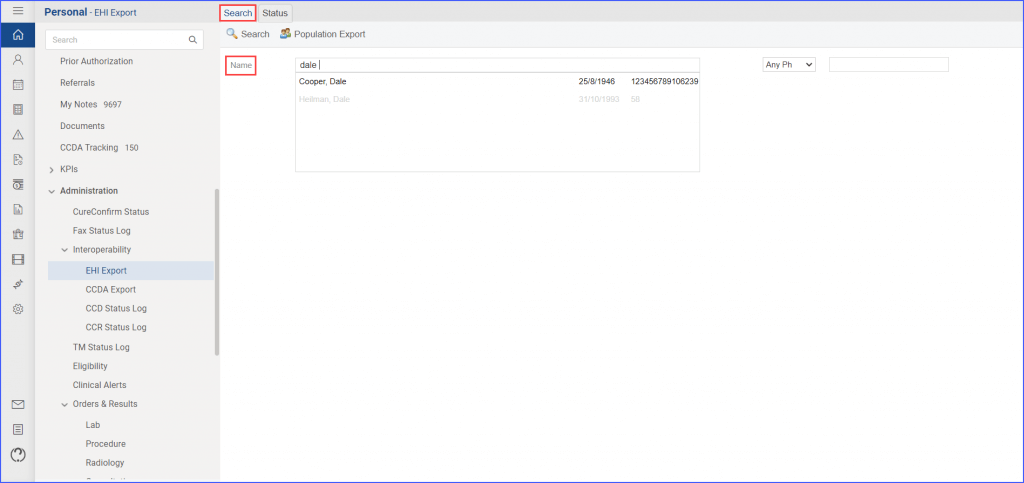
Under the ‘Search’ tab, a search bar is provided for users to look up patients whose EHI is intended for export. Users can input the patient’s First Name, Last Name, or Account Number. Upon the relevant patient appearing in the list, the user then selects that patient.
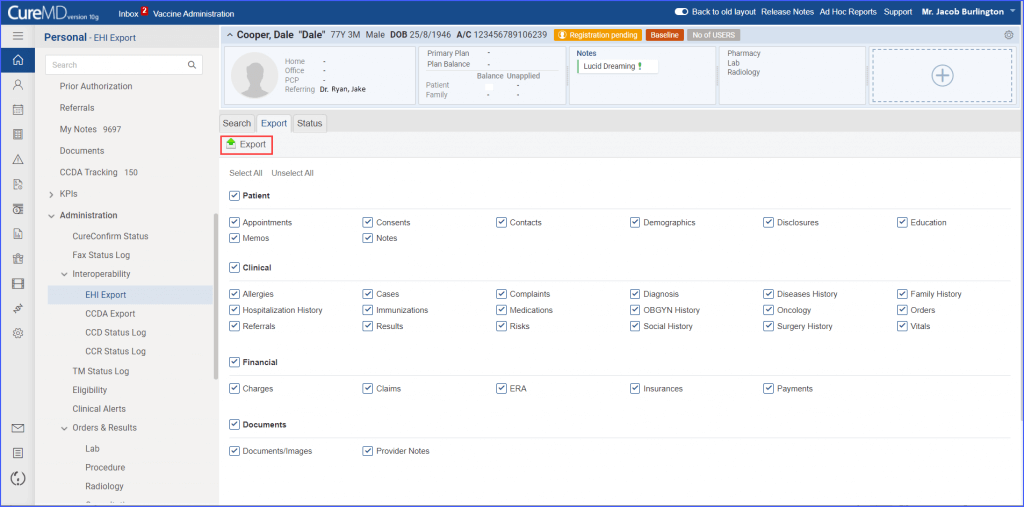
Upon selection, the user is directed to a new tab labeled ‘Export’.
This page presents a read-only patient banner for the selected patient. Additionally, there is an option to customize the EHI for that patient by selecting specific data for export based on the following criteria:
- Patient
- Appointments
- Consents
- Contacts
- Demographics
- Disclosures
- Education
- Memos
- Notes
- Clinical
- Allergies
- Cases
- Complaints
- Diagnosis
- Diseases History
- Family History
- Hospitalization History
- Immunizations
- Medications
- OBGYN History
- Oncology
- Orders
- Referrals
- Results
- Risks
- Social History
- Surgery History Vitals
- Financial
- Charges
- Claims
- ERA
- Insurances
- Payments
- Documents
- Documents/Images
- Provider Notes
Users can choose which data they wish to export for the patient by selecting the corresponding checkboxes for it. There is also an option to ‘Select All’ or ‘Unselect All’ categories at once. However, it should be noted that at least one ‘Section’ must be selected in order to initiate an export. Once all criteria are set, the user clicks the ‘Export’ button.
They are then automatically redirected to the ‘Status’ tab while a prompt is displayed stating ‘The export for <patient name> has been queued’.
Note: It is important to note that new exports cannot be initiated for a patient who already has exports in queue. Attempting to do so displays a prompt saying ‘Only one export per patient can be active’.
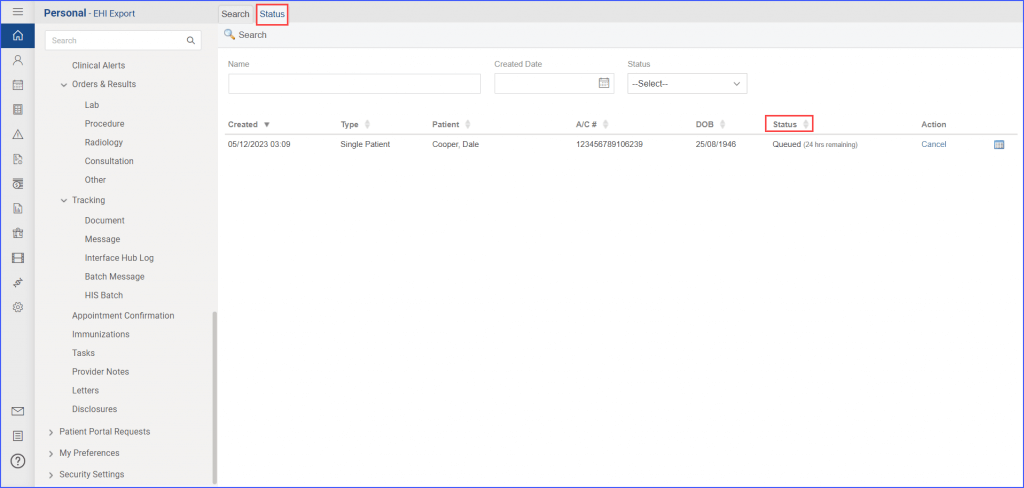
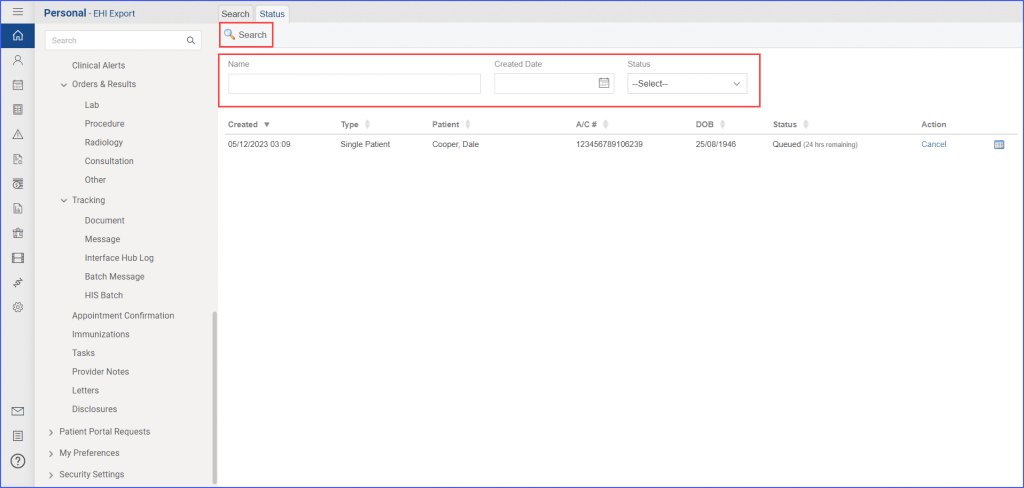
The ‘Status’ page serves as a comprehensive record of all initiated exports. For each export, there is a corresponding status reflecting its progress, located under the dedicated ‘Status’ column.
There are 4 statuses in relation to EHI exports:
- Queued: When a user initiates an export, the status is automatically set to ‘Queued,’ accompanied by a 24-hour countdown indicating the progress.
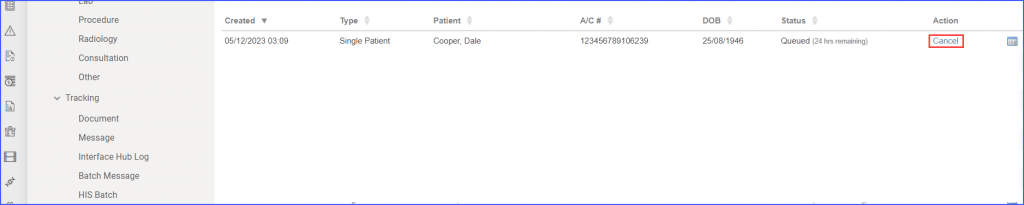
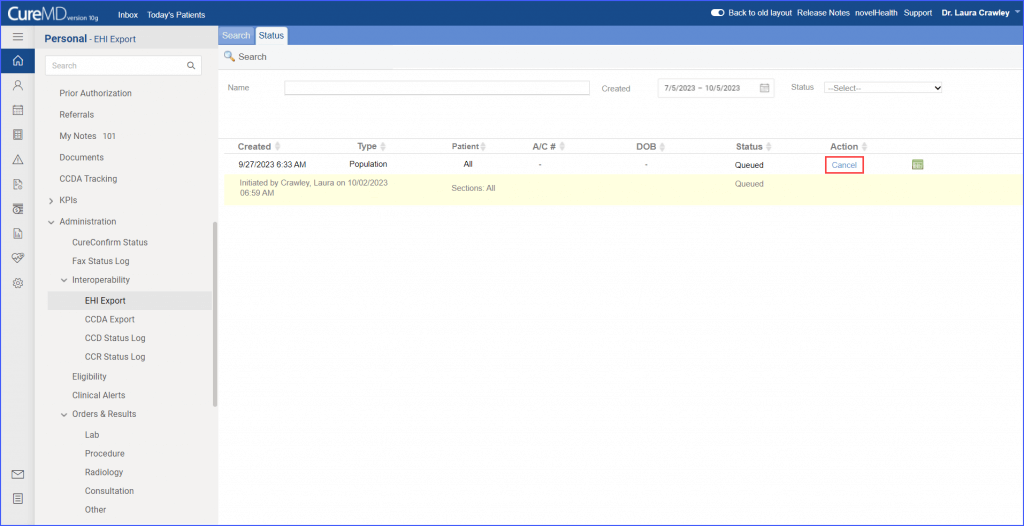
- Canceled: After queuing an export, users can opt to cancel its production by clicking the ‘Cancel’ option in the ‘Action’ column. Accordingly, the status is set to ‘Canceled’.
- Failed: If the export fails to generate within the 24-hour timeframe, the status shifts to ‘Failed.’ An option to ‘Retry’ is displayed, allowing users to initiate the same export by clicking the retry button.
- Completed: Once an export is generated, the status is updated to ‘Completed’. Users can then choose to ‘Download’ the EHI from the ‘Action’ column.
At the top of the page, users can utilize filters to search for exports based on the following criteria:
- Patient Name
- Created Date
- Status of export
Users can enter their search criteria and initiate the search by clicking the ‘Search’ button.
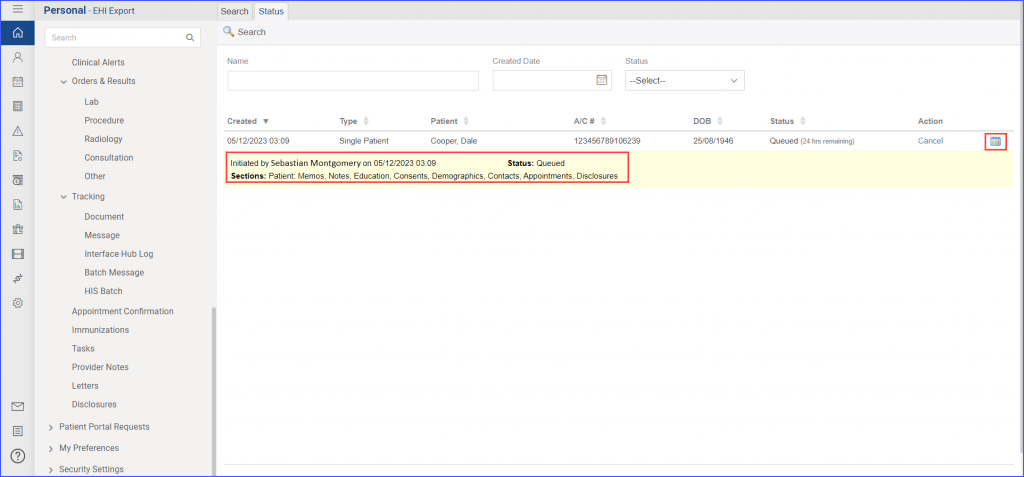
Logs for exports are also visible next to the ‘Action’ column.
For completed exports, the logs show both the date and time of completion.
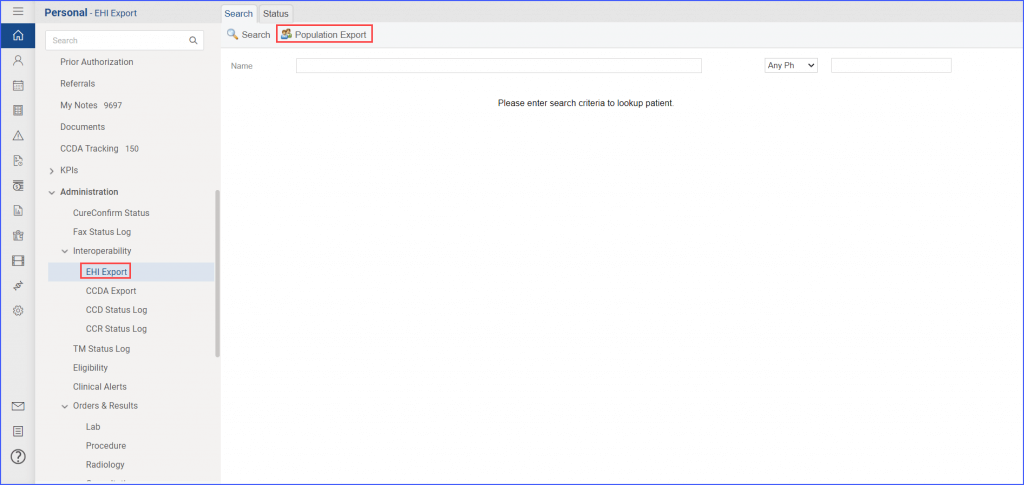
EHI for all patients in the system can also be exported by clicking the ‘Population Export’ button on the ‘Status’ tab.
Doing so displays a pop-up labelled ‘Population Export’. This window requires the user to input a reason for requesting the export in order to initiate the request. Once this information is entered, the user clicks the ‘Submit’ button.
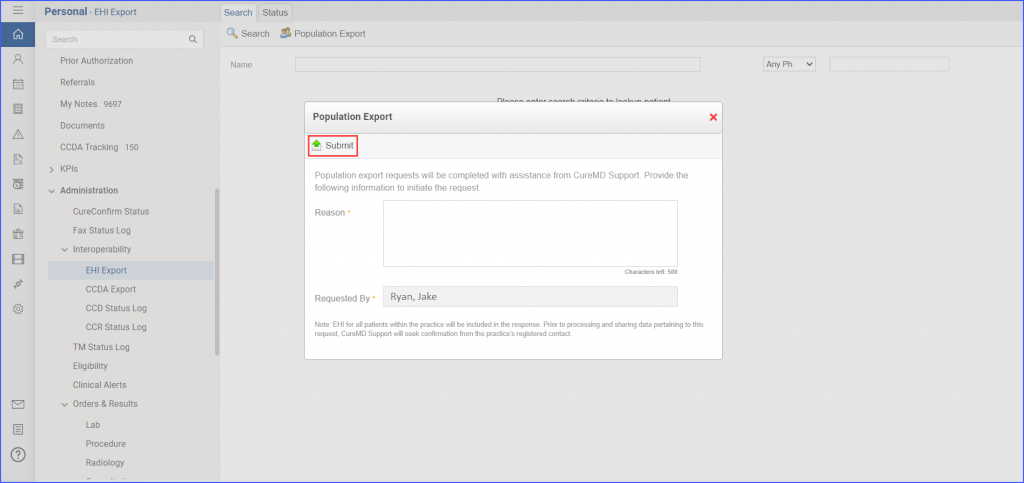
There is a note at the bottom of this pop-up, indicating that CureMD will seek confirmation from the registered contact of the practice before processing and sharing the data.
Submitting the request redirects the user to the ‘Status’ tab where the population export has been queued for extraction, reflected under the ‘Status’ column. For population exports, there is no 24-hour countdown displayed to the user.
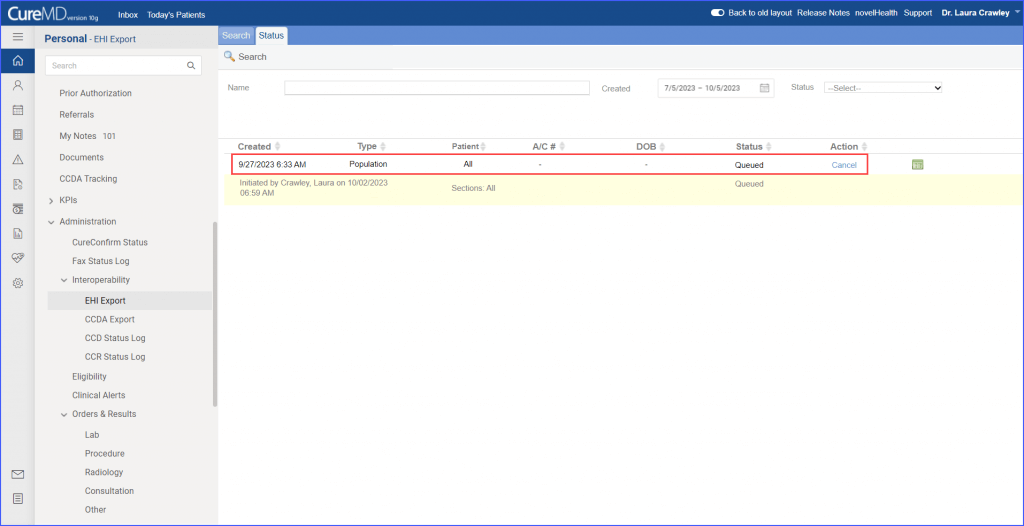
Once it has been queued, users have the option to cancel the request by clicking ‘Cancel’ under the ‘Action’ column. If canceled, the status is automatically updated to ‘Canceled’.
It is important to note that only one population export can be active per practice. If a population export is already in queue, another cannot be requested.
