How to Cater Registration Request?
When a patient sends the Registration Request, it gets queued in this section for the user to accept it. In order to process this request:
- Go to the Personal module and expand the Patient Portal Request bucket from the left menu.
- Clicking on the Registration option, opens up the Registration Requests tab.
- Select the required Request by clicking on the checkbox next to it.
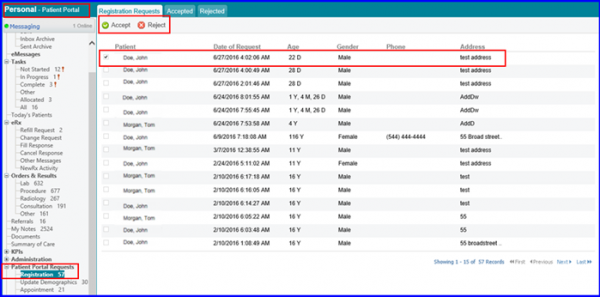
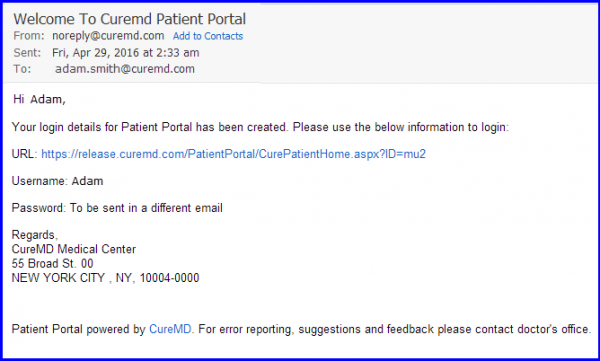
Click on the Accept button, in order to accept the patient registration request. The request moves to Accepted bucket and the specific patient receives response of the Registration Request and the Username/Password via email on their personal email address.
When the user clicks “Accept”, a popup is displayed if a similar patient record exists.
This prevents the user from rejecting or accepting duplicate patient registration requests.
The popup contains information on similar patient records. The user can click “Continue as New Patient” to make a new record of the patient or “Reject” the registration request.

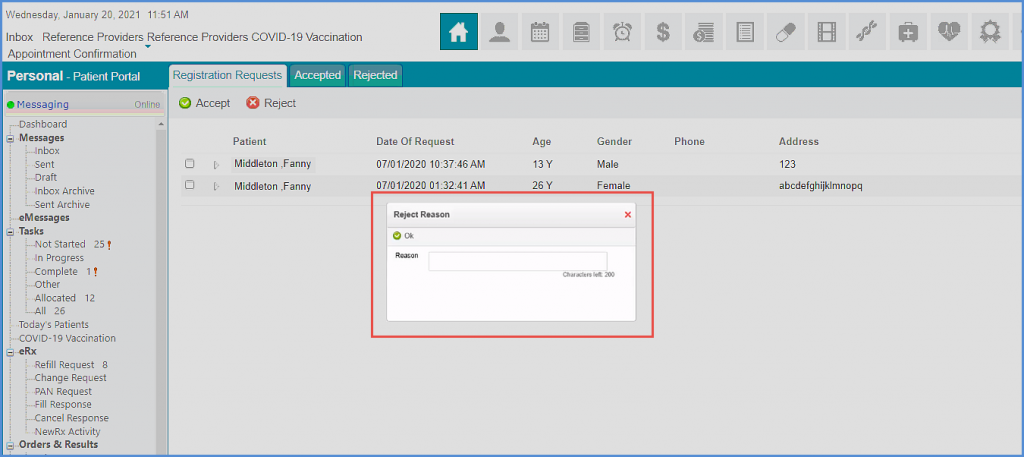
If the patient portal request is rejected, a disclaimer is displayed where the user can enter a reason for rejecting the request. The request is rejected after the user clicks “Ok”.
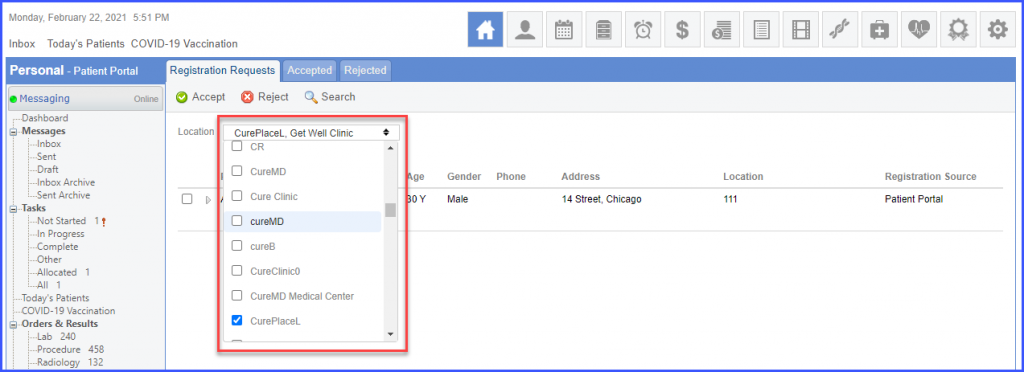
Users can filter patient portal requests on the basis of location. ![]()
Click on the ‘Location’ dropdown.
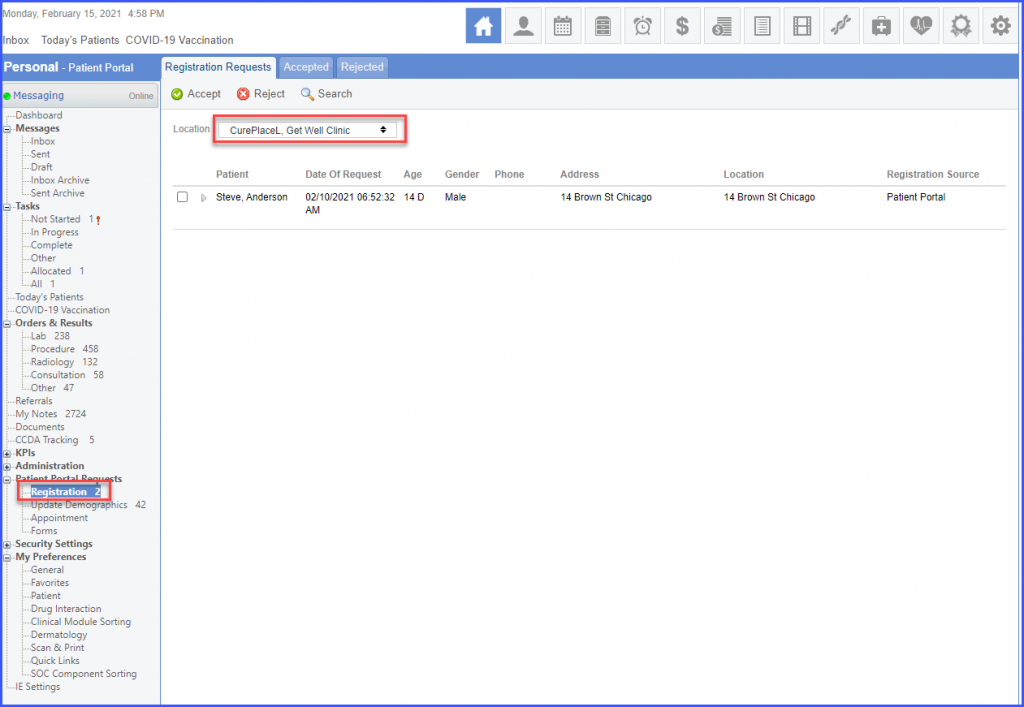
Check the box next to a location or multiple locations and click ‘Search’. The system displays registration requests received for the desired location/locations.
Similar changes have been made to the ‘Update Demographics’ section of the ‘Personal’ module. For more information, click here.
