How to Add Follow up Notes in the Treatment Plan?
Users can add a follow-up with an order by using the follow-up component on the treatment plan.
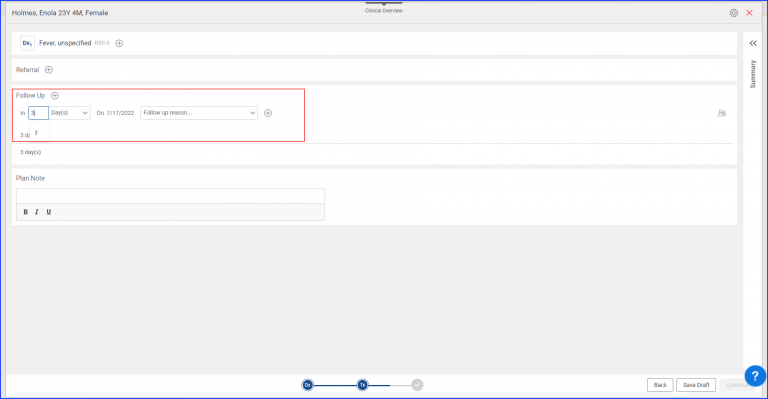
User clicks on the ‘Add’ button next to follow-up. The section expands and the following fields appear:
- Follow-up in
- Reason
- User assignment

The ‘In’ text field can be used to specify the time frame of the follow-up. Once the time frame is added, a tentative date appears in the follow-up section. Users can add up to two characters in the ‘In’ text field, however, the range in years cannot exceed the number 5.![]()
The reason for the follow-up can be added in the ‘Reason’ dropdown field. An ‘Associate User’ icon is present next to the follow-up component. By associating the follow-up with user(s) and/or role(s), the system automatically creates a task for the selected users.

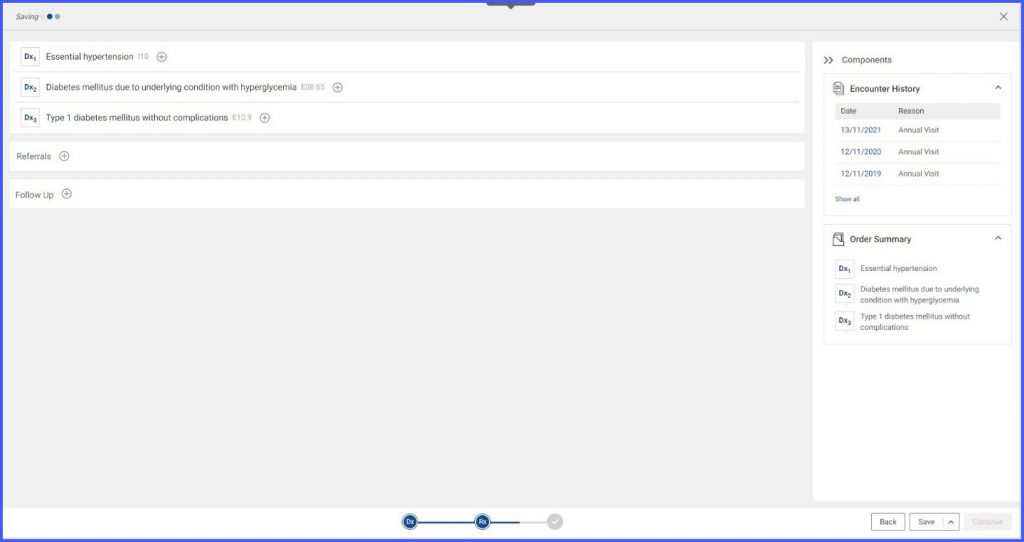
Clicking on ‘Save’ button saves the follow-up. In order to update the created follow-up, the user can simply click on a created follow-up and expand it to edit the field details.

The time frame selected in the first follow-up of a patient is retained for all future follow-ups.