How to Sign a Provider Note?
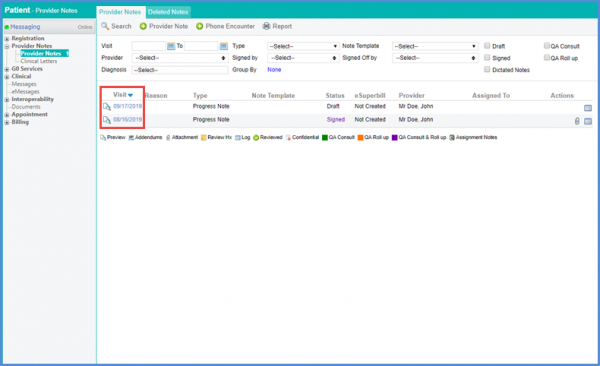
Follow the above mentioned workflow to land on the ‘Provider Notes’ tab.
Click the date hyperlink to open up a provider note.
Users can view the program codes selection popup while signing the provider note.
To enable this from the settings module, click here.
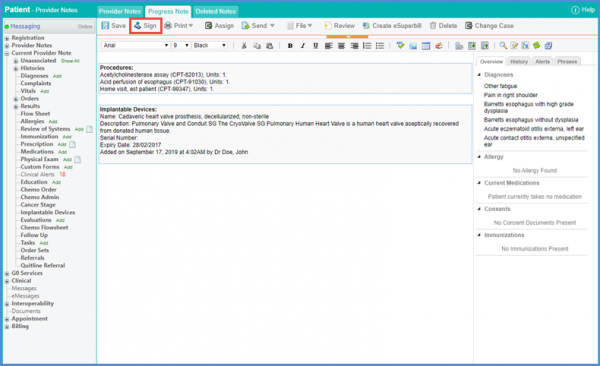
Once the settings are enabled, click the ‘Sign’ button.
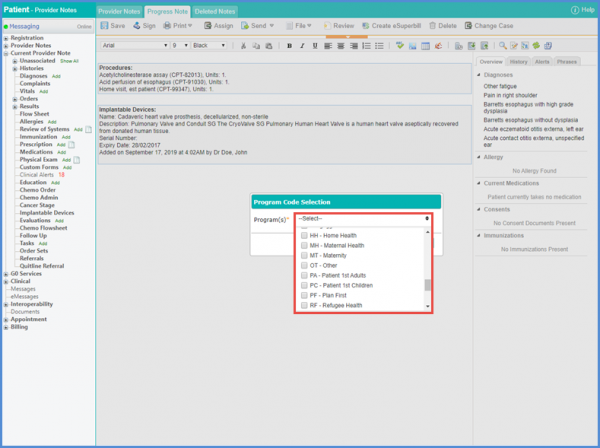
From the ‘Program Code Selection’ popup, click the drop down to see the list of Program Codes.
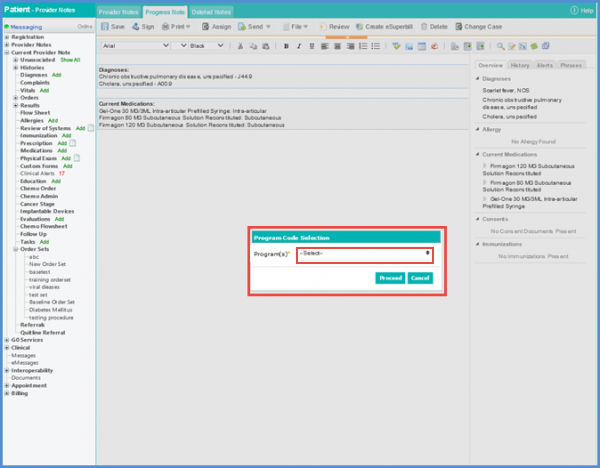
Mark the desired checkbox(s) and click ‘Proceed’.
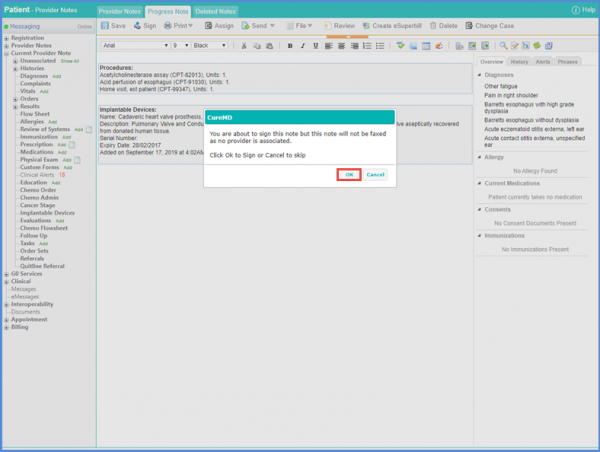
Doing so displays a confirmation popup to sign the note.
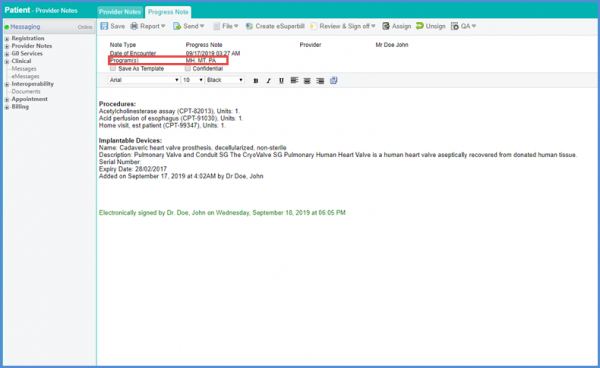
Once the note is signed, selected program codes are displayed in the header of the signed note.
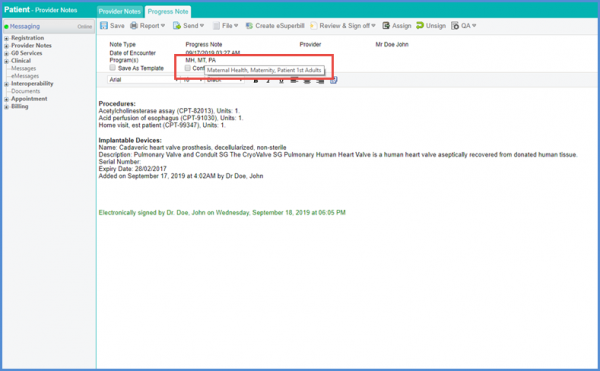
Hovering over the program codes displays the name of the program in a tooltip.
To trace the selection of program codes, a log is maintained for each provider note.
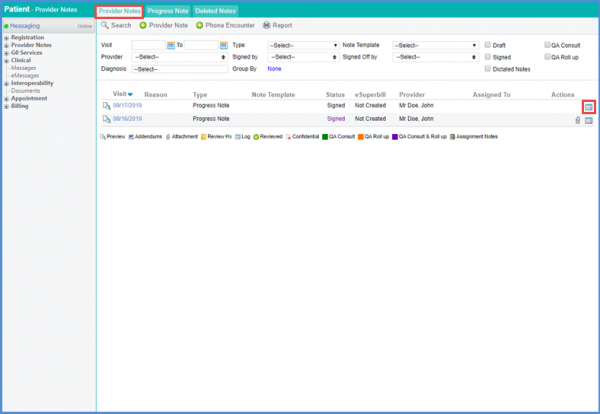
In order to view the log, navigate to the ‘Provider Notes’ tab and click the log icon.
The log shows the details of the respective provider note.
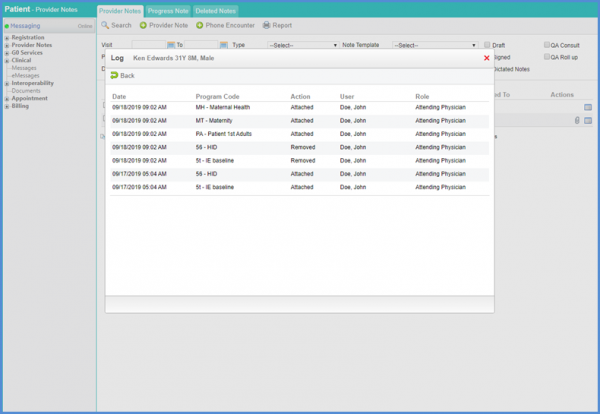
From the ‘Action’ column, click ‘Updated’ to view the details about the updated program codes.
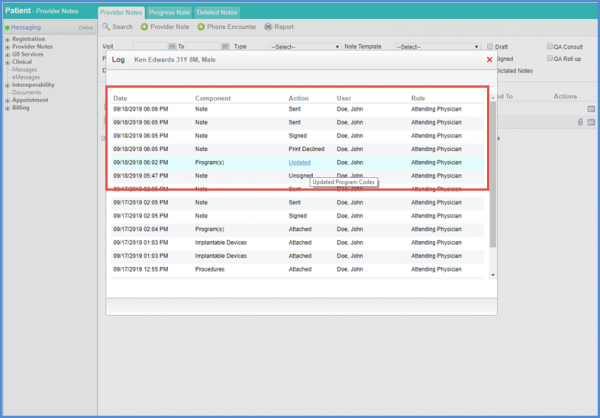
Doing so opens a popup displaying the actions regarding the program codes and other program codes details.
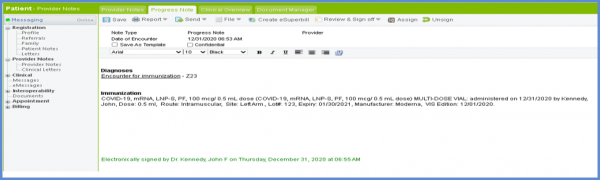
Once a patient has received COVID – 19 vaccination, their provider note is created automatically.
Their eSuperbill is automatically signed too. To see more, click here.
Users have to validate their credentials for electronic signatures before signing an order or a provider note.
This ensures reliability as electronic signatures are compliant with 21 CFR part 11 regulations.
Click here to view how to enable 21 CFR Part 11 Compliant Electronic Signatures.
When the user clicks on the ‘Sign’ button, the system displays the following prompt: ‘You are about to sign note. Click Ok to Sign or Cancel to skip.’
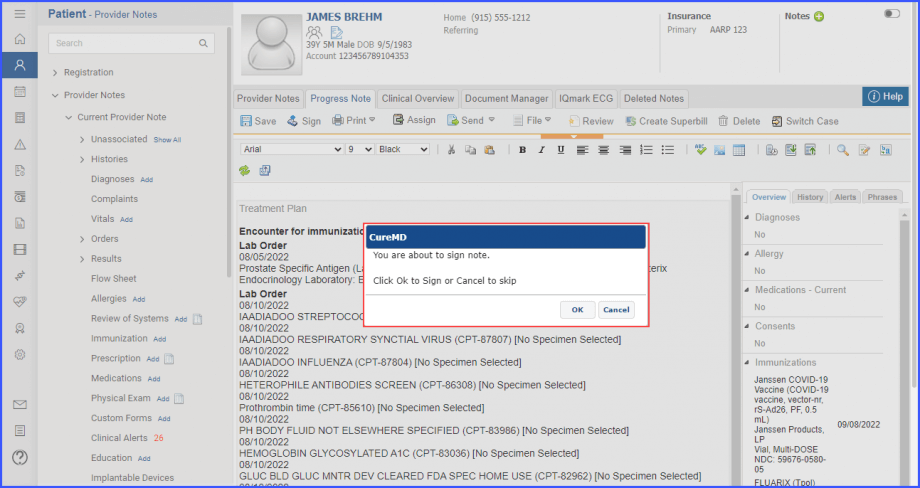
Click the ‘Ok’ button to proceed.
A user verification popup titled ‘Electronic Signature’ is displayed.
The username field is greyed out and the password has to be provided to validate credentials.
If the user signing the provider note is the same who has created it, then the popup states ‘By entering your password you confirm that you have created this note and you wish to proceed with signing it‘.

If the user signing the provider note is not the same as the one who created it, then the popup states ‘By entering your password you confirm that you have reviewed this note and you wish to proceed with signing it‘.
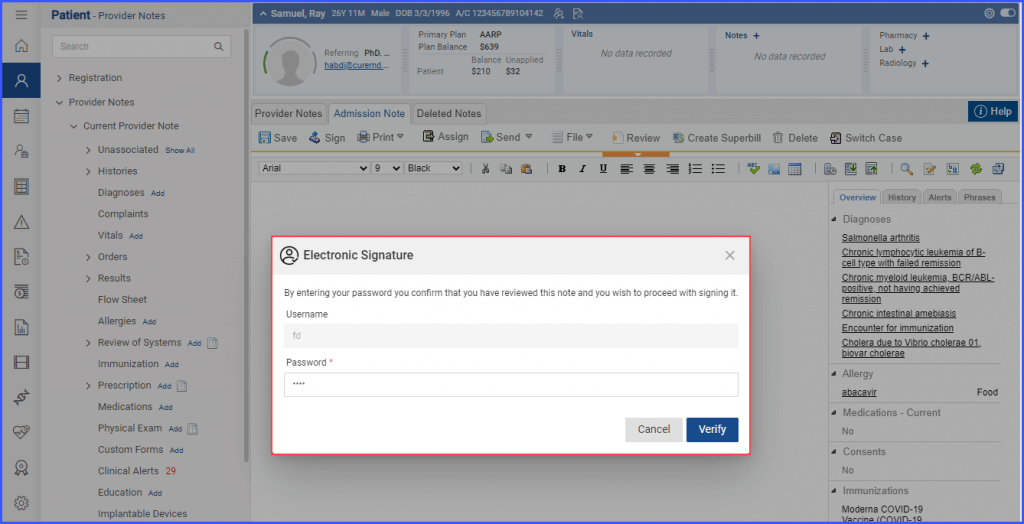
After typing in the password, click the ‘Verify’ button to sign the note.
If the user who created the note signs it, the system displays the following message: ‘Created and electronically signed by [Name](Username) on [Day], [Date] at [Time].’

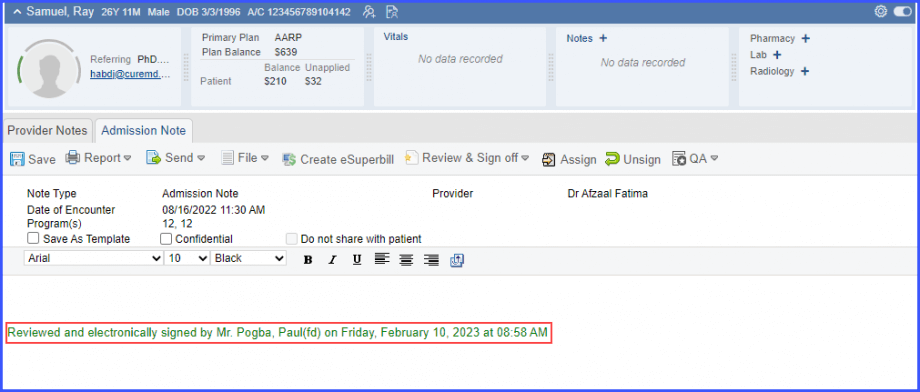
If the user signing the note is different from the one who created it, the system displays the following message: ‘Reviewed and electronically signed by [Name](Username) on [Day], [Date] at [Time].’
If the user enters the wrong password, the following message is displayed on the user verification popup: ‘Invalid Password’.

A similar enhancement has been made in the Lab orders section of the ‘Provider Note’ node. Click here to view the change.
