How to Print a Provider Note?
Open a provider note using the above mentioned workflow to print.
Hovering over the ‘Print’ button will show the following options:

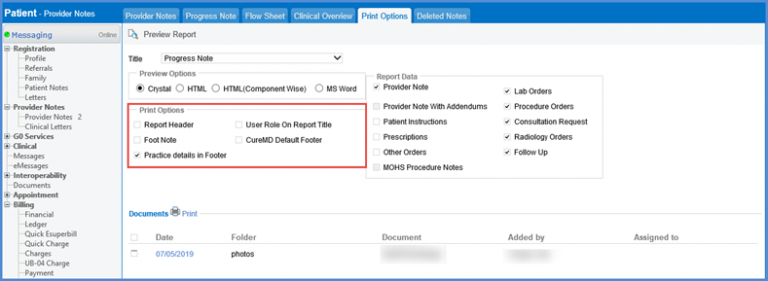
A print out can be customized to add the components ‘Report Header’, ‘User Role On Report Title’, ‘Foot Note’, ‘CureMD Default Footer’, ‘Practice Details in Folder’.
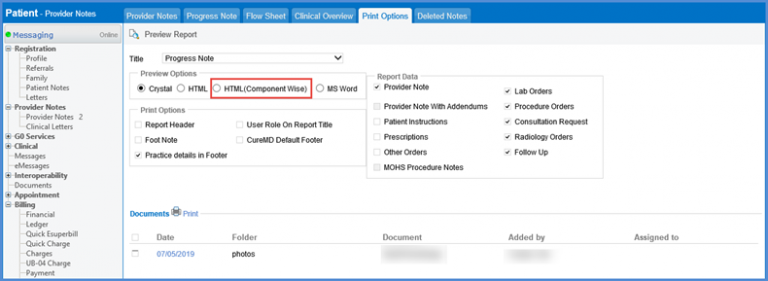
Under the ‘Preview Options’ heading, user can select ‘HTML (Component Wise)’ radio button to preview HTML Report, printed with all the components.
The Print Option also allows the users to view the Clinical summary and update it before printing the note.

To print the ‘Clinical Summary’, hover over the print button to display the ‘Clinical Summary’ button. Clicking the button opens the Clinical Summary pop-up, which contains the printing options.
Users can select options to display in the Clinical Summary by check marking the appropriate boxes.
‘Patient Name’ and ‘Account No.’ can be added to the print by check marking the appropriate boxes in the Header section.
Users can also add a page number to the clinical summary by checking the ‘Page Number’ check box in the ‘Footer’ section.
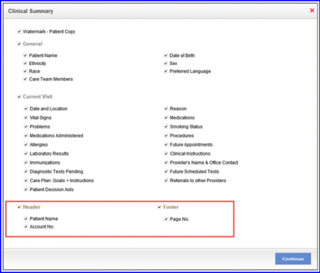
Patient Name and Patient Account Number are displayed on the Header.
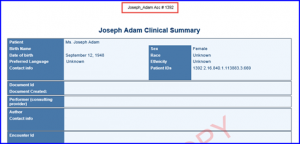
Page Number is displayed on the Footer.

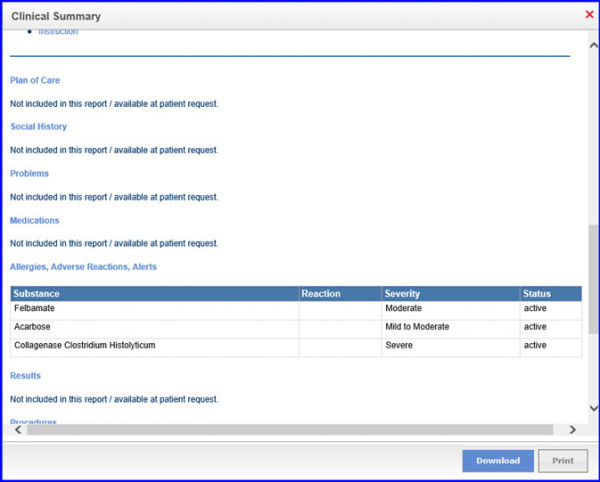
The Clinical Summary auto populates. For components that do not have data associated with them, displays a message “Not included in this report / available at patient request.”
Once satisfied with the clinical summary, click ‘Print’.
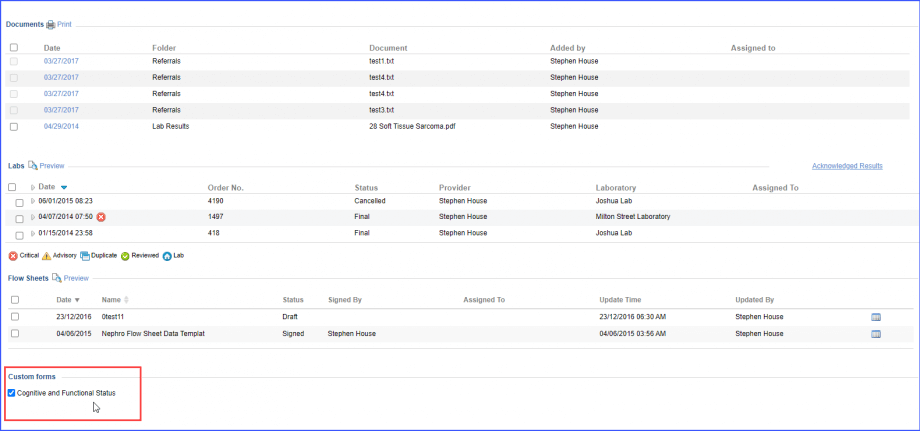
Users can hide custom forms containing sensitive patient information from the provider note when printed. 
Patient’s private information is not shared with unauthorized individuals.
User adds a ‘Custom Form’ in the provider note.
Next, the user navigates to ‘Print Options’ page where the system displays all attached custom forms with checkboxes in the ‘Custom Forms’ section.
The user disables the checkbox of a custom form. That custom form won’t appear in the provider note when printed.
