How to Create a Follow up Appointment?

Follow the workflow above to open a provider note. To attach a follow-up, select Follow Up from the left tree menu.
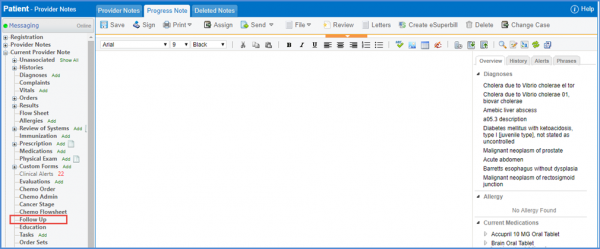
From the Follow Up window that opens, users can either create a follow-up appointment by going to the Appointment tab or set up a reminder through the Recall tab.
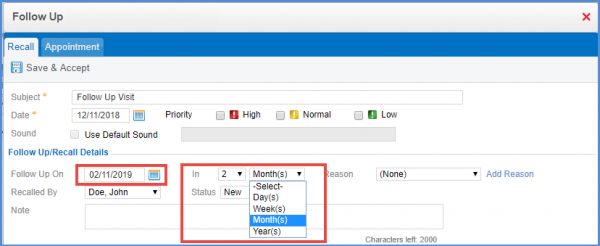
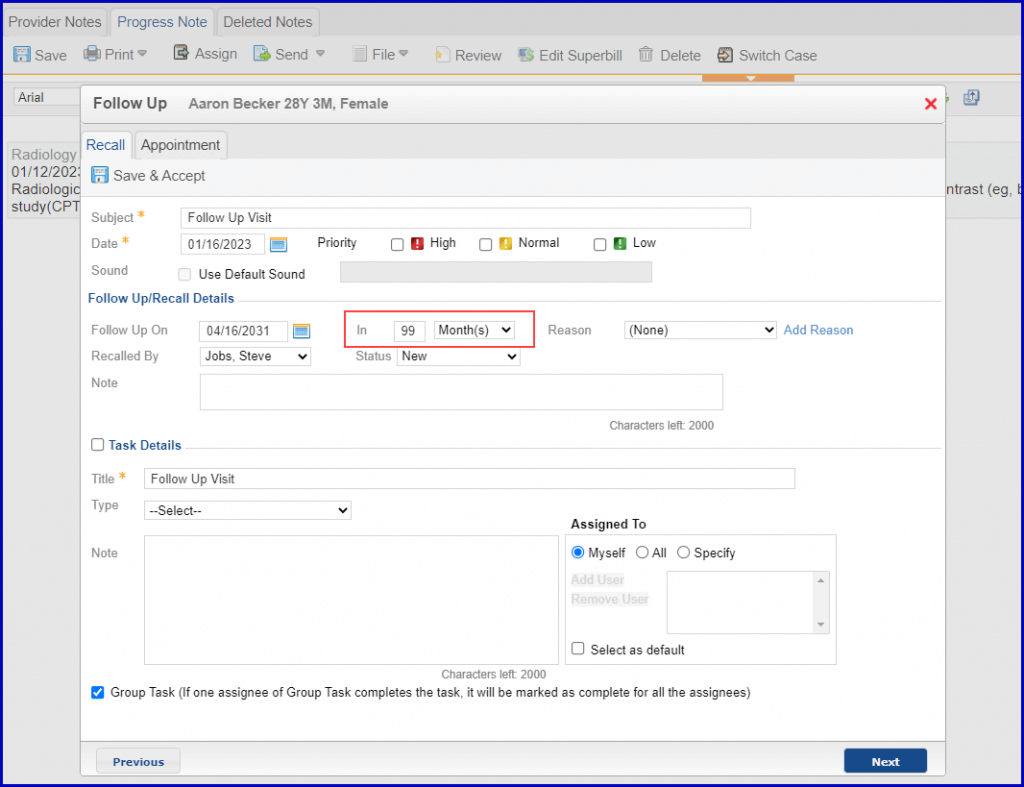
The ‘In’ section dropdown has been replaced with a text field where the user can type in two characters while creating follow-up appointments.![]()
This allows users to create recalls by entering the date as per their need.
The date auto-populates according to the range the user types in manually, which can be up to 99 months or years.
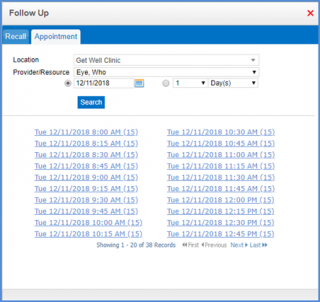
To set up a follow-up appointment, select a slot of choice and click on it.
Inactive providers and resources are displayed at the end of their respective lists in grey text.![]()
This ensures that users can clearly distinguish inactive providers and resources from active ones.
When the user clicks on the ‘Provide/Resource’ dropdown, the system displays the inactive entities at the end of the list in grey text.
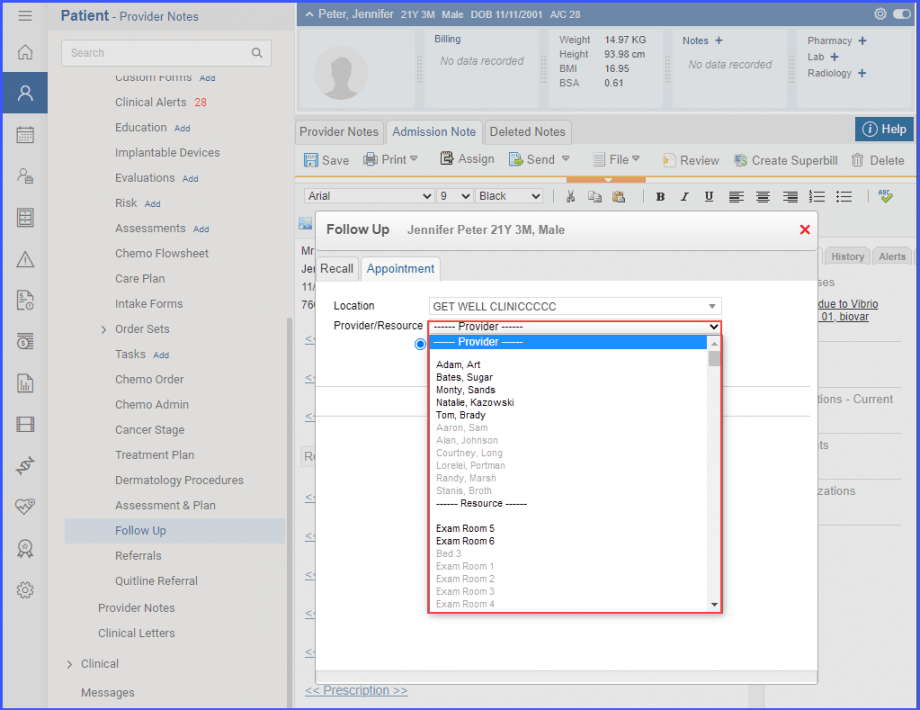
Once the user has selected an active provider/resource, they can create a follow-up appointment.
A similar enhancement has been made in the ‘Quick Schedule’ section under the ‘Appointment’ node, click here to view.
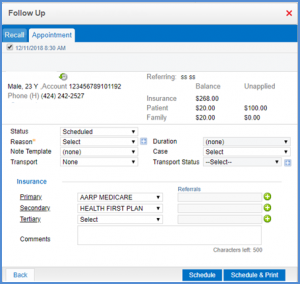
Enter appointment details here and click on ‘Schedule’.
Only one appointment can be scheduled at a time.
To edit a Patient Note, follow the same workflow above to select and open one.
Use the legend to preview the nature of the patient note.

