How to Create a Provider Note From Scheduler?
Another way of creating a provider note is by using the scheduler menu. To do this, go to the patient’s scheduled appointment from the Scheduler link. At this point, make sure the appointment status is Checked In.

Having checked the patient in, click on the patient name and select the “Create Note” option on the drop down menu.
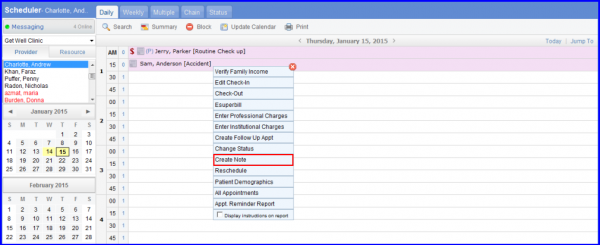
After user clicks on the Create Note option, the application takes them to a new page to add the Provider Note.

On this screen, user cannot change the time and date because the provider note is already attached to a scheduled appointment. In this case, the provider is selected automatically from the scheduler. Additionally, if user has selected a Note template and mentioned the reason for visit in the Scheduler, these fields are selected automatically. At the very bottom of the window, user can see the appointment with which this provider note is linked. User can click on Create.

The Provider note template is displayed. There are four fundamental components of a note template: ‘Subjective’, ‘Objective’, ‘Assessment’ & Plan (SOAP). All of the components are mentioned here.
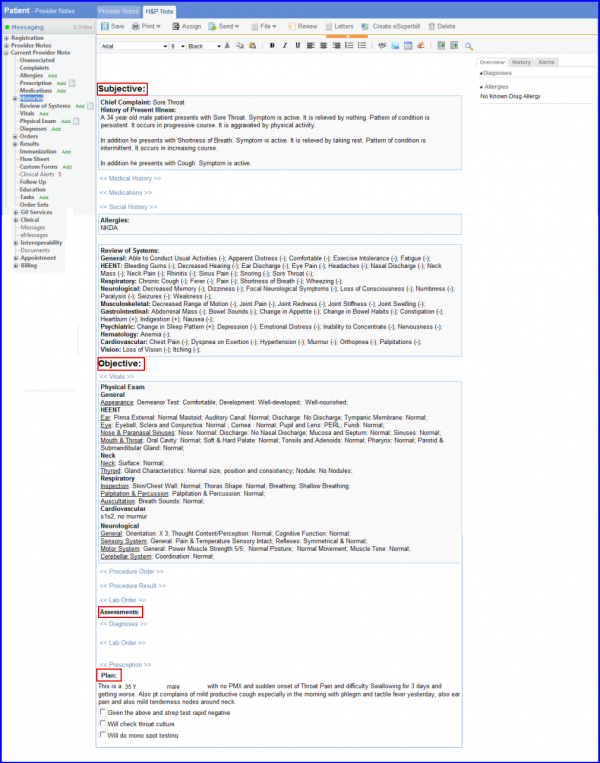
These components can be added to the note through the Hot links on the left side of the screen. If user wants to add anything in these components, double click on them and a window opens up. Proceed to add data and hit Save.
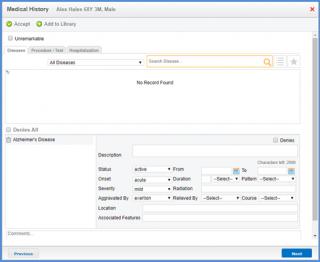
This data is incorporated into the provider note. If user needs to add any additional component or information which could not be added through the hotlinks, they can click on the empty space on the provider note screen to add data through free texting.
Click ‘Add’ hotlink in the left tree menu. Similarly, user can also add allergies, medications, prescription, ROS, vitals, PE, diagnosis, immunization, custom forms and tasks.
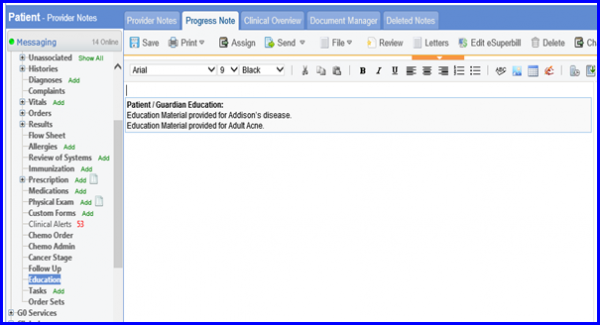
Users can add education components from the order sets to the provider note by either selecting all or by selecting specific instances.
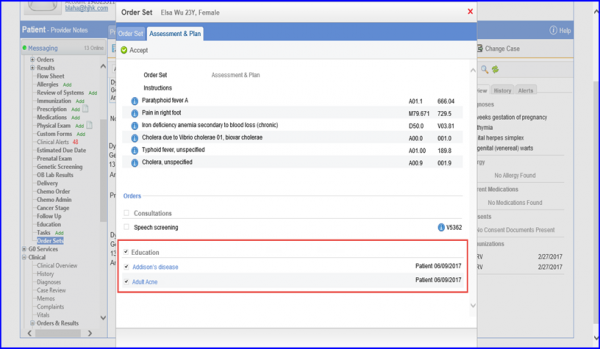
Clicking on the “Accept” button adds the education component in the provider note.
