Tumor Assessment Button Added to Patient’s Clinical Side Navbar
In the v10g system, a “Tumor Assessment” button is now available in the Patient’s Clinical side navbar.

Users with the necessary permissions can click this button to be redirected to the Tumor Assessment tab, where they can view or manage tumor assessments. This enhancement simplifies navigation and provides easier access to tumor-related data within the patient’s profile, improving workflow efficiency for those managing assessments.

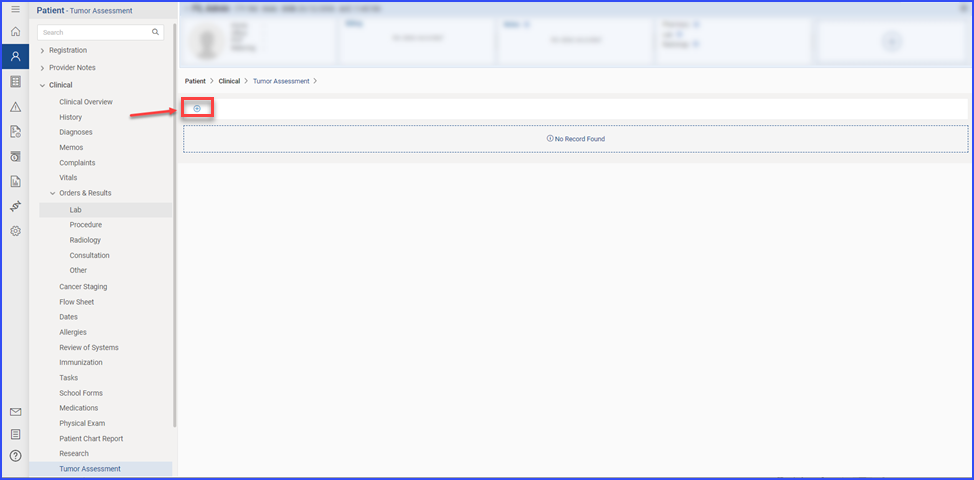
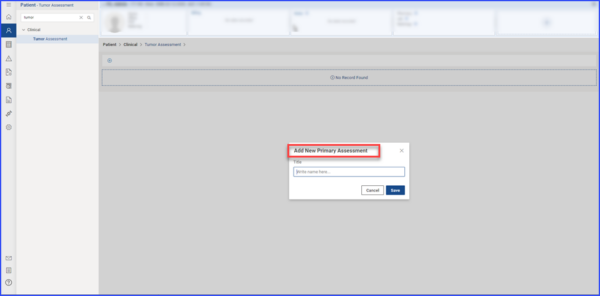
On the Tumor Assessment page, an “Add” button is available for users to create new tumor assessments. When the “Add New” button is clicked, a pop-up appears prompting the user to enter a unique title for the primary assessment. After the first assessment is added, additional “Add” buttons will appear to the right of previously added assessments, allowing users to add more primary assessments. This feature provides a simple way to organize and document multiple tumor assessments within the patient’s clinical record.
Clicking the “Add New” button will open a pop-up for adding a new primary assessment.
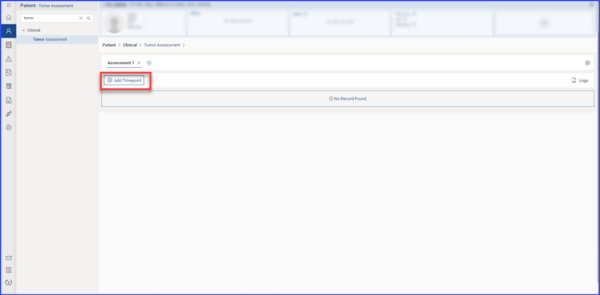
After the first assessment is added, subsequent “Add” buttons will appear to the right of the previously added assessments, enabling the addition of more primary assessments.
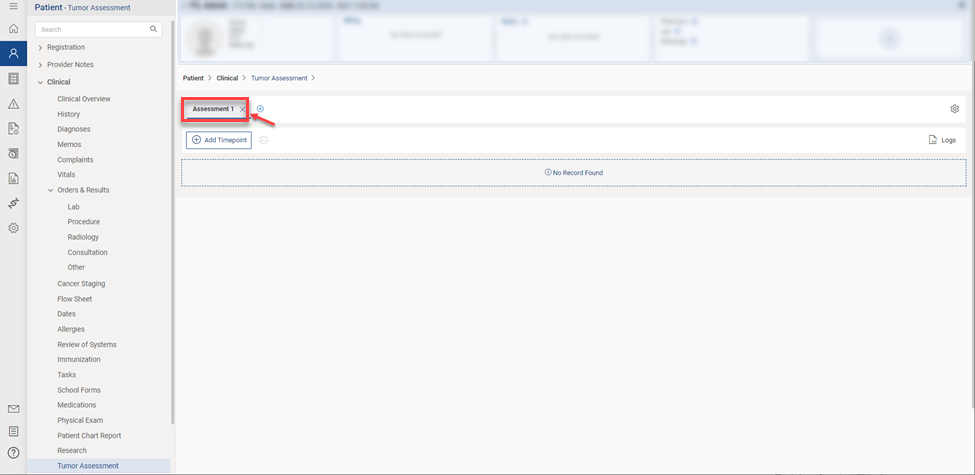
In the Tumor Assessment section, users can delete an existing assessment by clicking the cross (X) icon located on the tumor assessment title tab. Upon clicking the icon, a confirmation message appears, asking the user to confirm the deletion. Once confirmed, the corresponding tumor assessment is permanently deleted from the patient’s profile. This functionality provides a straightforward way to manage and maintain accurate tumor assessment records.

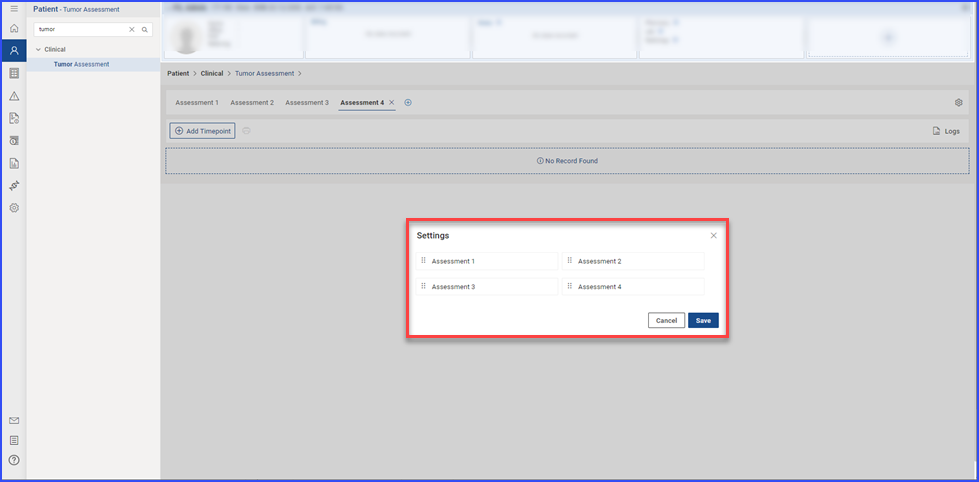
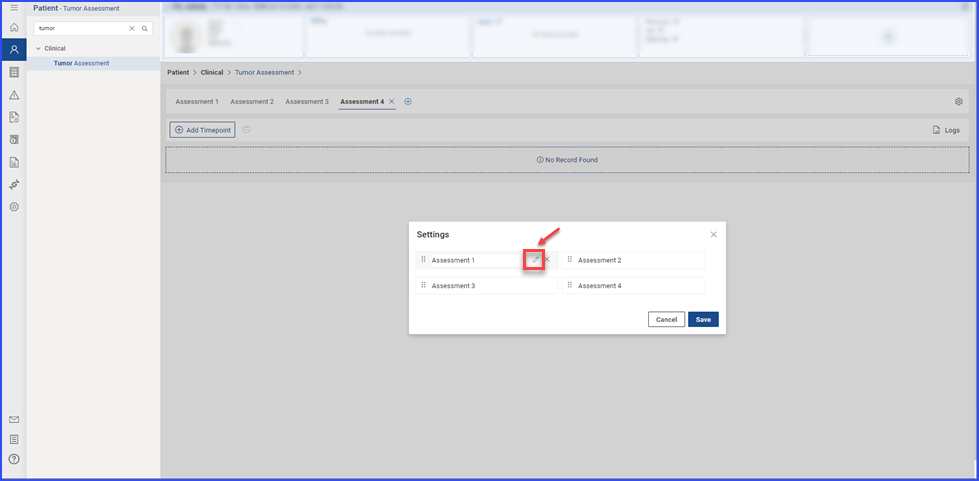
On the Tumor Assessment page, a settings icon is available that opens a pop-up listing all existing tumor assessments. Users can edit assessment titles by clicking the pencil icon, delete assessments using the cross (X) icon, and reorder assessments by dragging and dropping via the sequence icon. These settings provide greater flexibility in organizing and maintaining tumor assessment records, making it easier to manage patient data effectively.
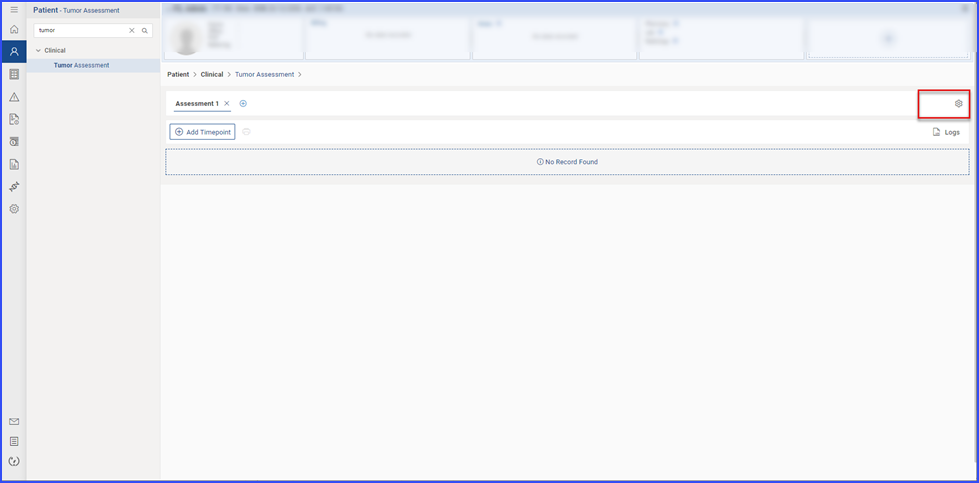
On clicking Setting icon the setting popup appears having Assessments listed
A pencil icon allows users to edit tumor assessment titles.
 A cross (X) icon enables users to delete tumor assessments.

A sequence icon allows users to drag and drop assessments to change their order.

When the user clicks the “Add Timepoint” button for the first time in the Tumor Assessment section, the assessment form opens in the context of a Baseline Timepoint.
The Radiology Description section includes options to select the RECIST version (RECIST V1.1, RECIST V1.0, iRECIST), and the Timepoint Label is pre-populated as “Baseline” (read-only). The user can select the Nadir Required value and choose the Assessment Date.
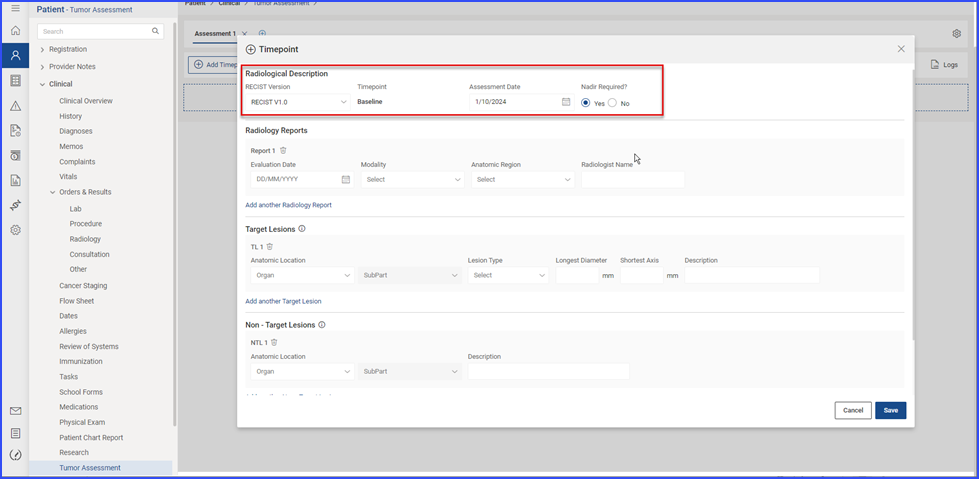
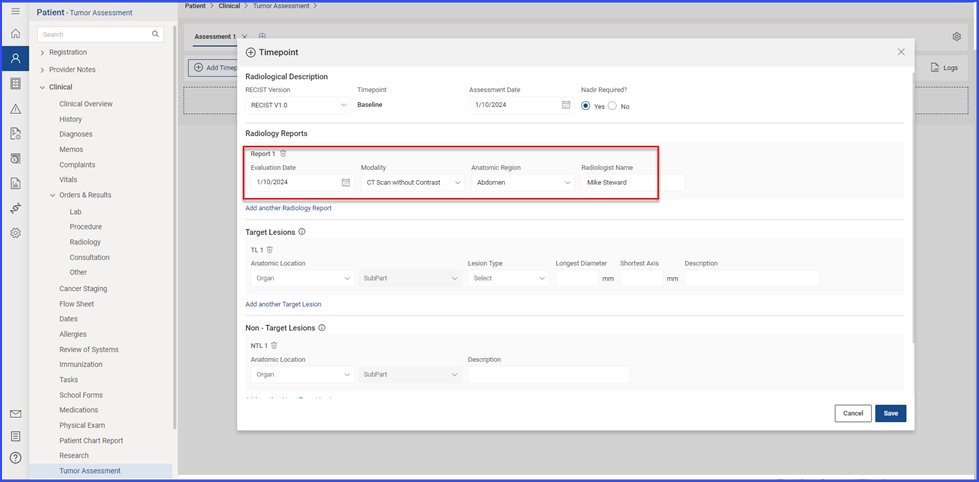
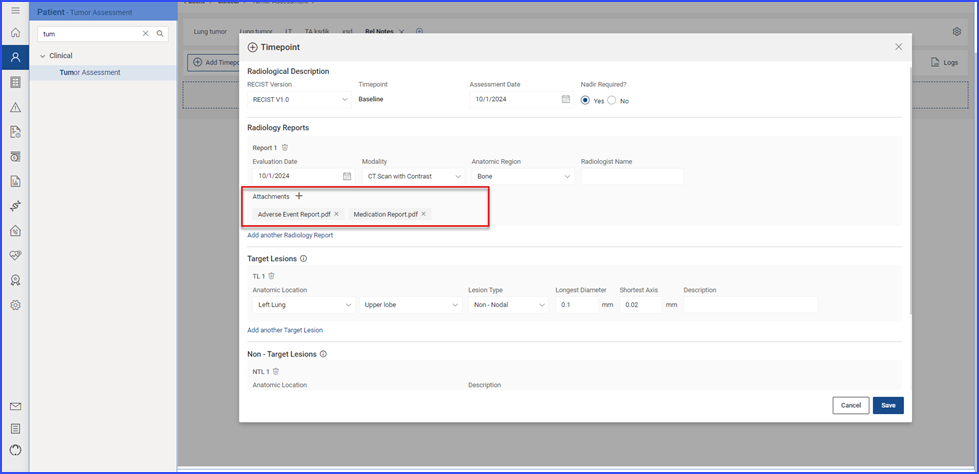
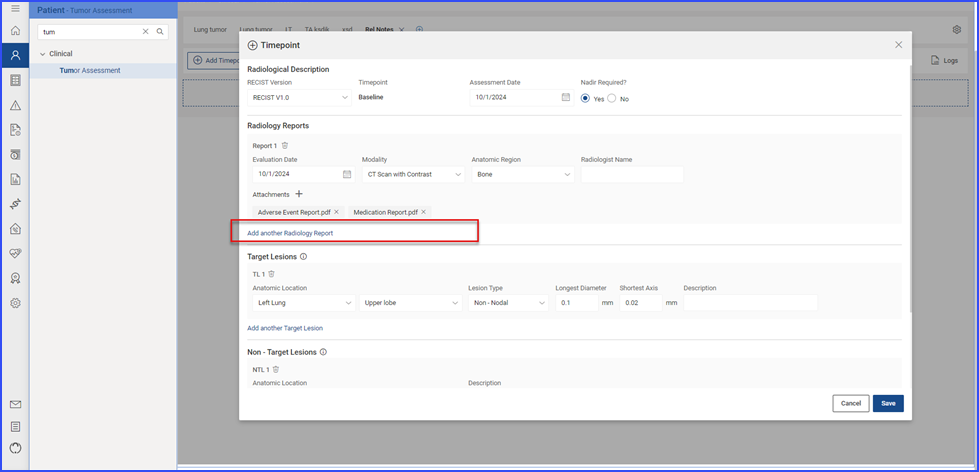
In the Radiology Report section, users can enter details such as the Evaluation Date, Modality, Anatomic Site, and Radiologist Name. Users can also attach radiology reports by clicking the “+” icon. Additional radiology reports can be documented using the “Add another Radiology Report” hyperlink.
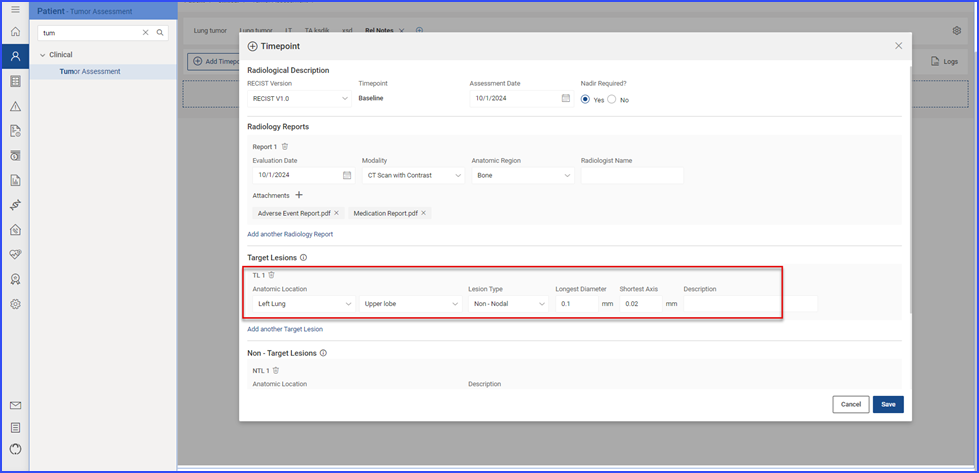
The Target Lesion section allows users to document target lesions along with related information, including Anatomic Site, Lesion Type, Longest Diameter, Shortest Axis, and a Description. The “Add another Target Lesion” hyperlink enables the addition of more lesions, and the delete icon allows users to remove any target lesions.
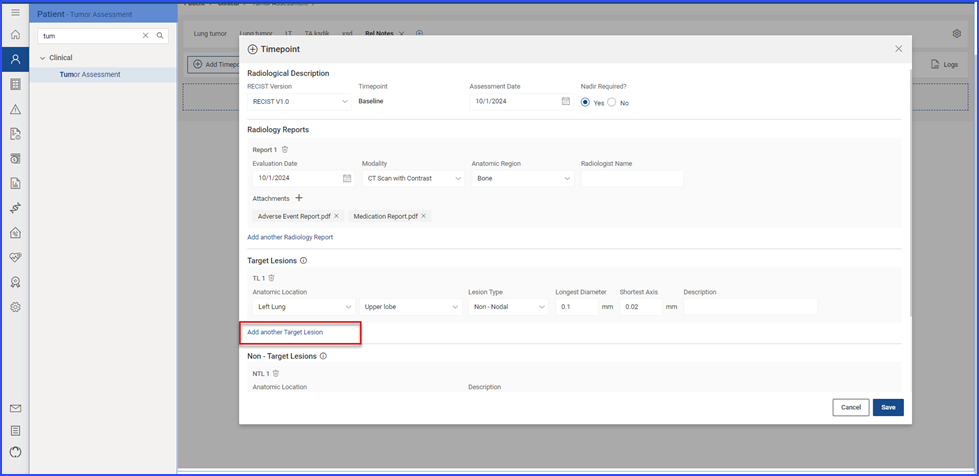
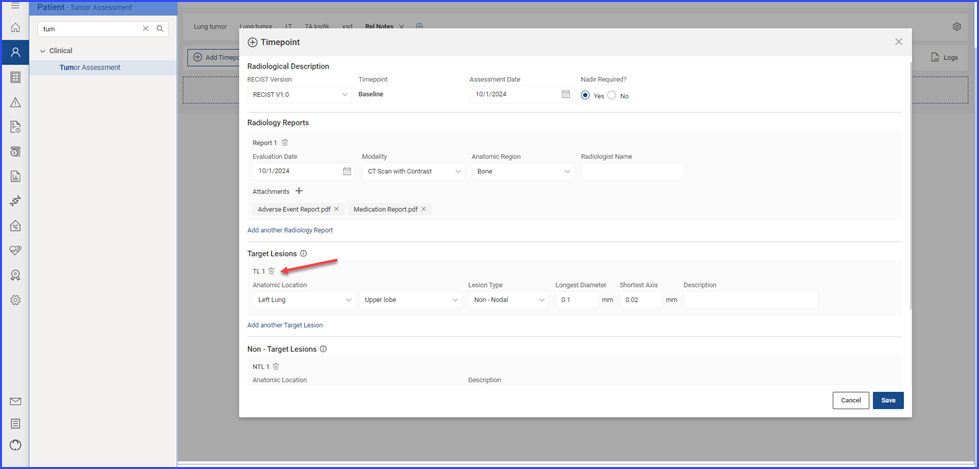
In the Non-Target Lesion section, users can add non-target lesions with details such as Anatomic Location and Description. Similar to the target lesion section, the “Add another Non-Target Lesion” hyperlink and a delete icon are available for managing multiple lesions.
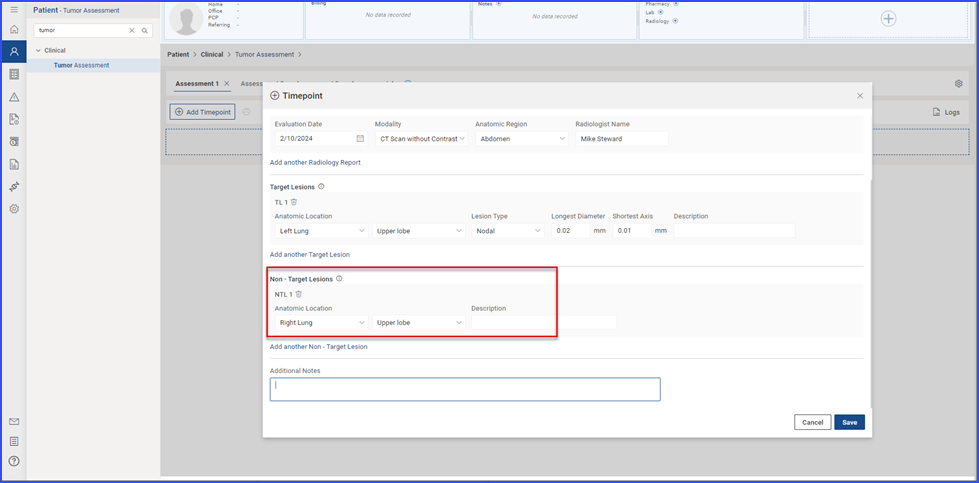
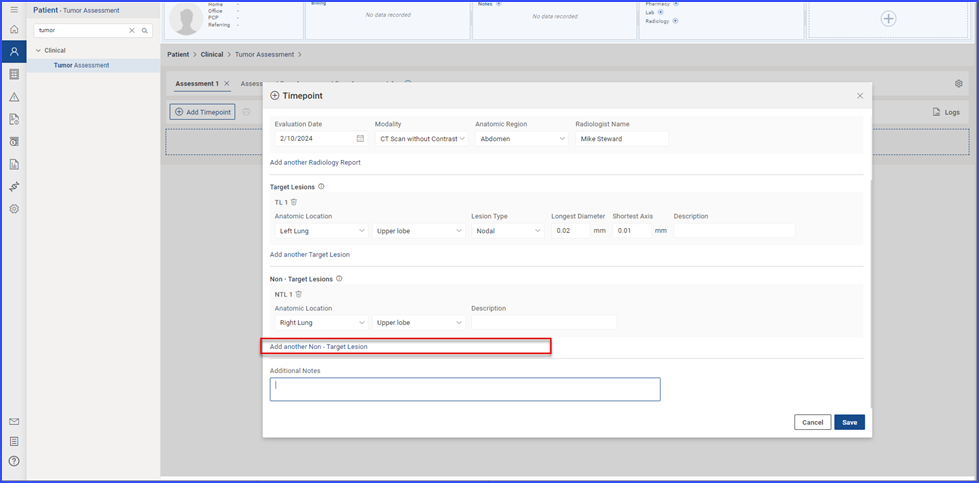
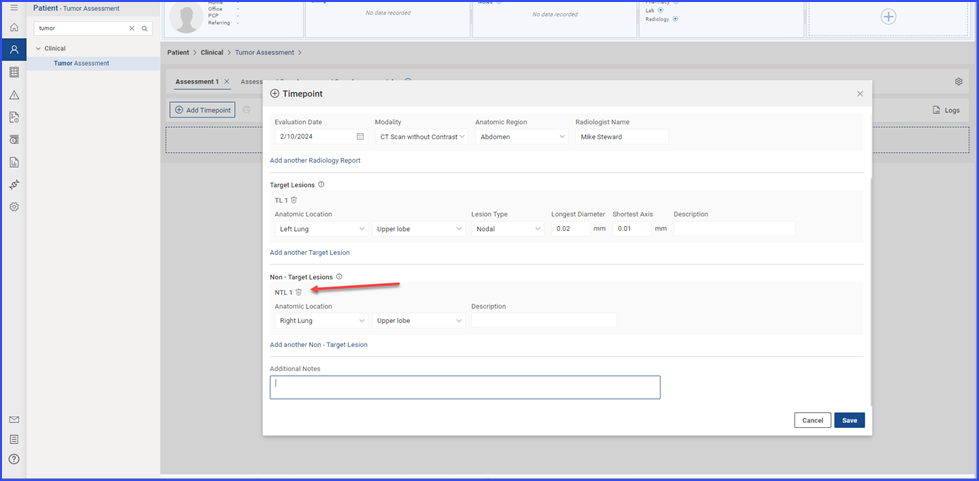
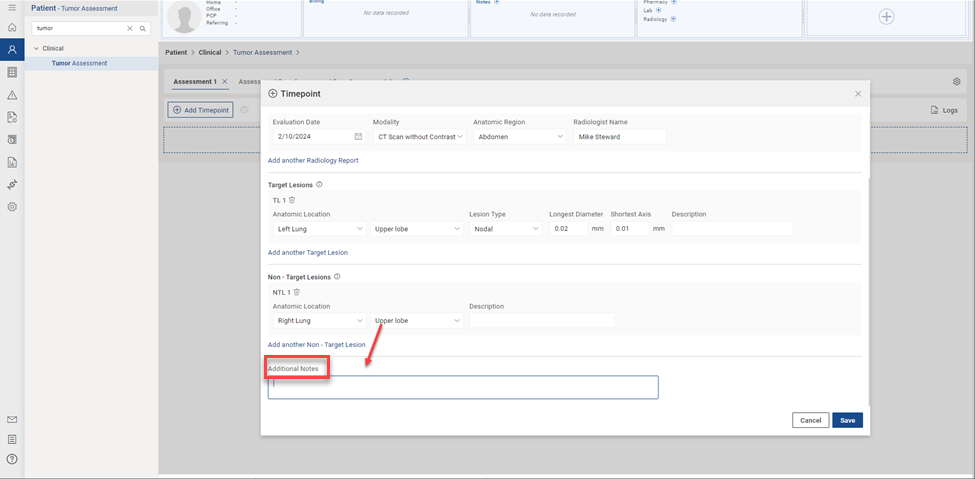
The Additional Notes section provides space for users to add any extra notes relevant to the baseline timepoint.
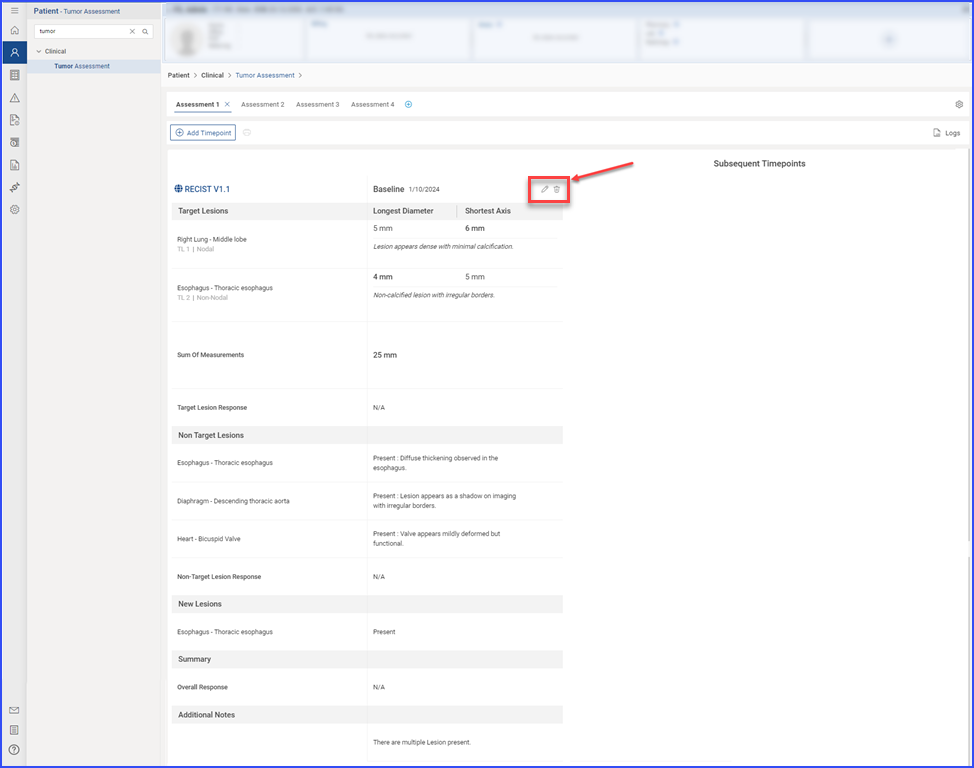
After completing the baseline documentation, users can save the timepoint. The saved baseline appears with edit and delete icons, allowing further modifications or deletion of the baseline as needed.
Once a baseline timepoint has been added, users can add subsequent timepoints by clicking the “Add Timepoint” button. In the Radiological Description section, users can view or add basic information for the new timepoint.
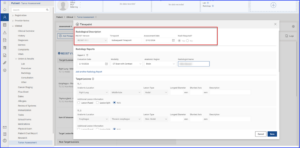
The Radiology Report section allows users to attach reports for the subsequent timepoint, similar to how reports are added in the baseline timepoint.
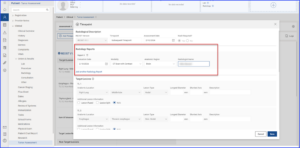
In the Target Lesion section, users can view the target lesions documented in the baseline timepoint and add newly recorded measurements. Options for lesion fusion or splitting are available. Users can either fuse a lesion with another lesion using the “Lesion Fused” option or split a lesion into multiple lesions as needed.
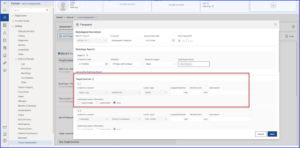
For Non-Target Lesions, users can view the non-target lesions recorded during the baseline timepoint. They can indicate whether each lesion is still present in the current scan by selecting “Yes” or “No.
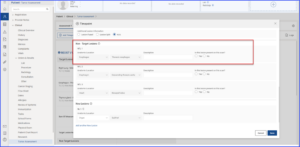
A new section, “New Lesion,” appears in the subsequent timepoint form, allowing users to document any new lesions with details such as Anatomic Location and Description.
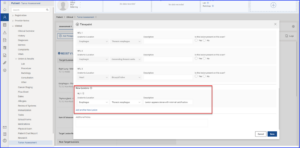
Additional new lesions can be added using the “Add another New Lesion” hyperlink.
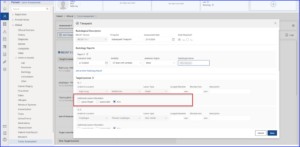
In the Additional Notes section, users can add notes relevant to the subsequent timepoint.
After saving, the subsequent timepoint is displayed alongside the baseline, with options to edit or delete it using the respective icons.
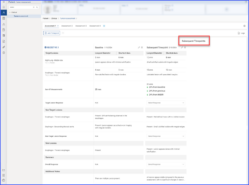
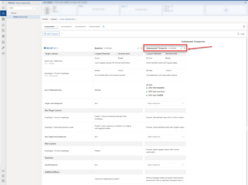
On the Tumor Assessment main page, users can select responses for Target Lesion, Non-Target Lesion, and Overall Response. Navigation icons allow movement between multiple assessments, and users can view logs of actions performed on the assessment or print the assessment using the print button.
