How to View Pending Orders?
This section displays all orders that have not been signed, and all those which have been signed but no result has been attached or received against them. The two types can be distinguished by the Status which is either ‘Draft’ or ‘Signed.’ Pending Orders are automatically moved from this section to ‘Received Results’ once a result is attached or received for the order.
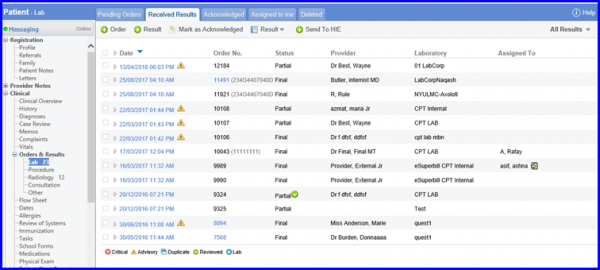
To add a result from this page, click on the Date link for the appropriate order. From the ‘Add Result’ page, enter all result details and click Save. User can add an observation into the result by clicking ‘Add Observation’ at any point.
Users have the ability to cancel signed/submitted orders and to view basic level order logs.
The ‘Delete’ button is renamed to Mark As Cancelled.
The system retains the last viewed page in the Lab Orders Page. 
After the user has performed an action within the Lab Orders such as receiving or archiving an order on Lab Orders Page and then navigates back, the system remembers the page the user was on.
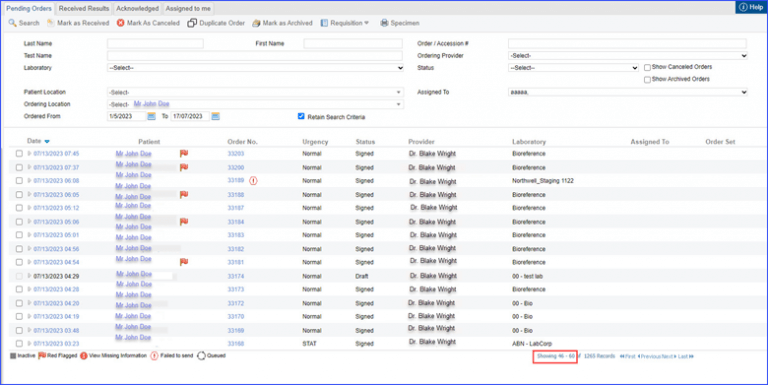
Retaining the Last Listing Page Number on Lab Orders Page
The user can filter orders based on their statuses and maintain detailed order submission logs.
When the user accesses the ‘Pending Order’ page, they notice that the ‘Status’ filter has been expanded to include new statuses, such as “Signed-Queued,” “Signed-Submitted,” and “Failed to Send.” These statuses offer precision when filtering and managing the orders, ensuring that the user can quickly locate and review the specific orders needed.
Moreover, depending on the user’s settings, in case of automatic preference, when the user clicks on a button to “sign” a medical order, the program automatically creates a record showing that the order has been “Signed” and “Scheduled” (meaning it’s been scheduled for a certain time).
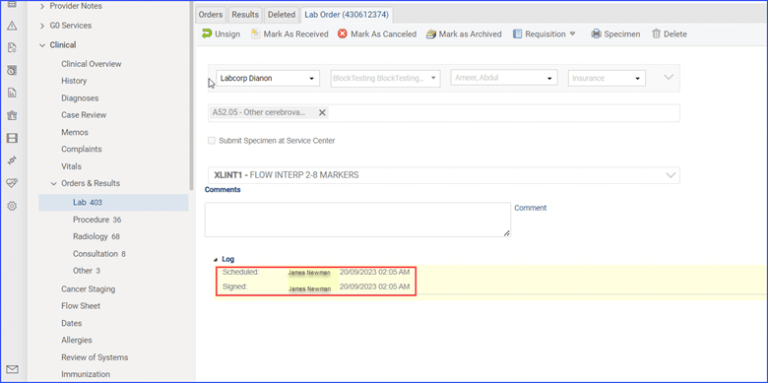
If they click a “Queue” button instead, it shows that the order has been “Signed and Queued,” indicating that it’s in line to be processed.
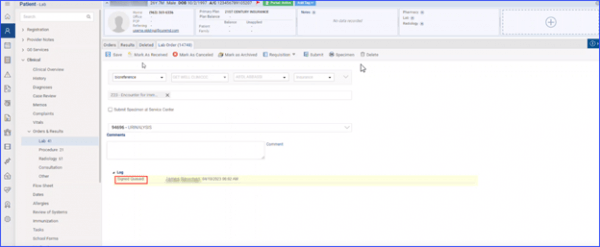
Clicking “Save” creates a record that the order has been “Added” as a draft.
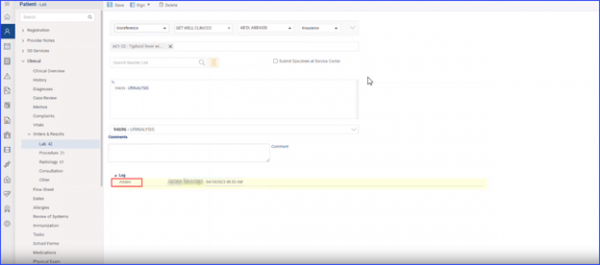
If the user chooses to “Print” the order, it shows that it has been “Printed,” “Signed,” and “Scheduled.”
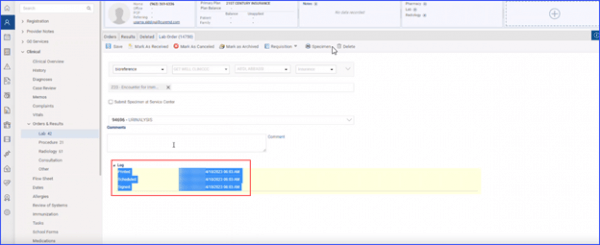
Similar to the automatic settings, in case of manual preferences, if the user clicks “Sign,” it shows that the order has been “Signed and Queued.” Clicking “Submit” means the order has been “Signed and Submitted.” Clicking “Save” still creates a record that the order has been “Added” as a draft and if the user decides to “Print” the order, it shows that it has been “Printed,” “Signed and Queued.”
In order to configure user preferences, click here.
This enhancement also extends to the Tracking Message feature, specifically in the Pending bucket for lab orders. Click here to access that.
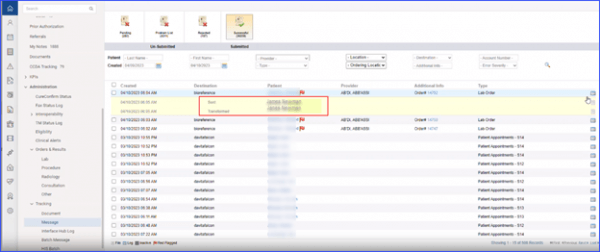
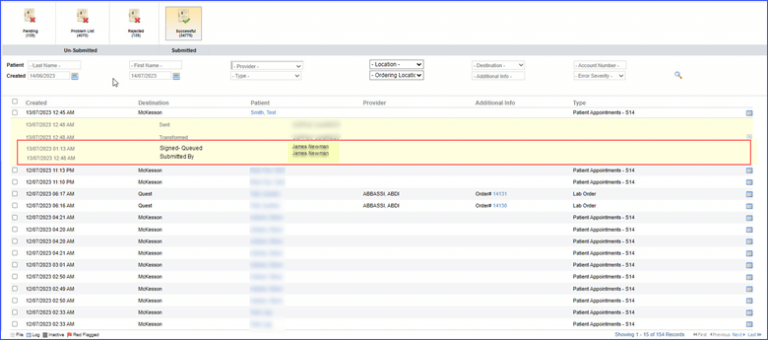
When the user expands the logs of an order in this context, they find relevant information related to the order’s submission status, including “Signed-Queued” and “Signed-Submitted.”
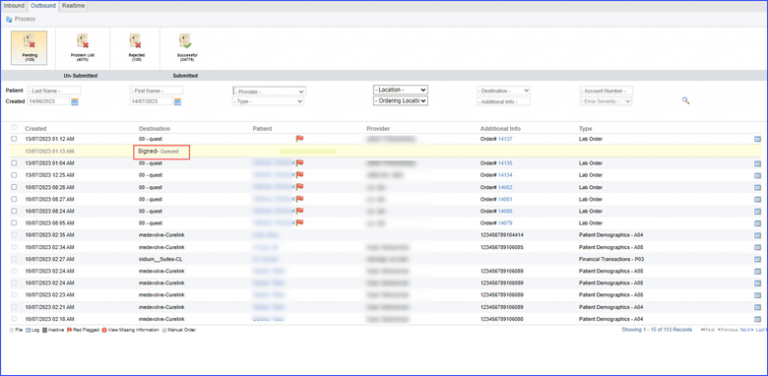
Additionally, when orders are added through the treatment plan, the logs contain a “Submitted By” record when checked from the clinical side.
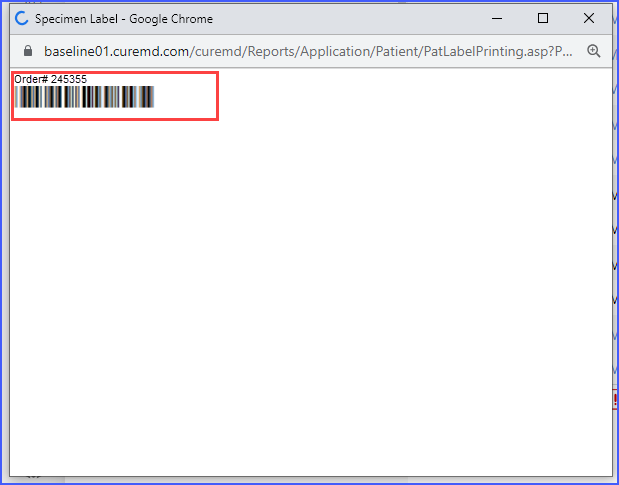
When a user navigates to the ‘Pending Orders’ tab and clicks on the ‘Specimen’ button over the preview, a window pops up. Here, they can select the “Barcode_Order_Number” template from the ‘Template’ dropdown. ![]()
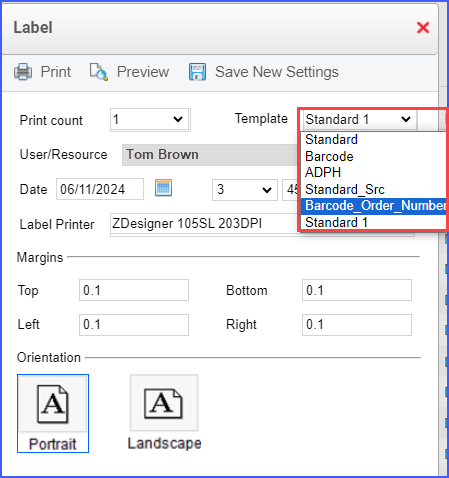
The system then displays the order number and barcode over the specimen label.
