How to use Medication Inventory?
The Medications inventory allows users to effectively and efficiently prescribe medication.
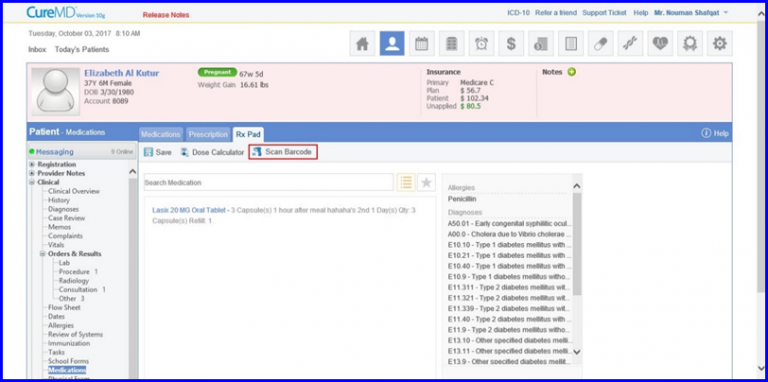
From the the Rx Pad user would need to ensure that the pharmacy selected is same as the one selected on inventory settings page at the time of configuration.

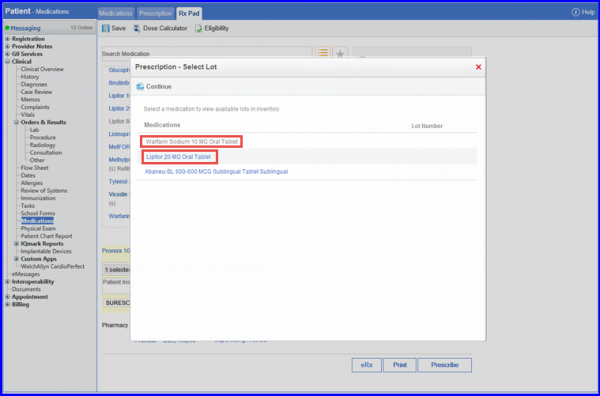
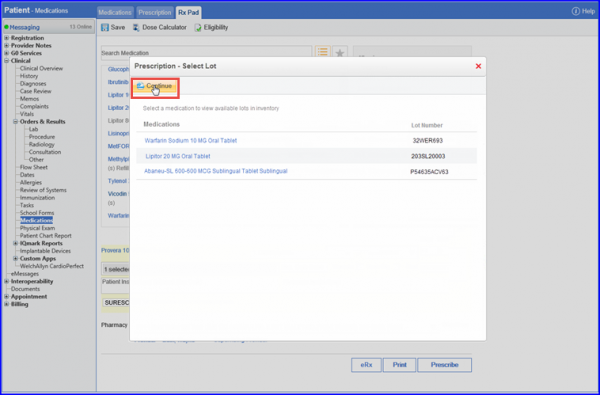
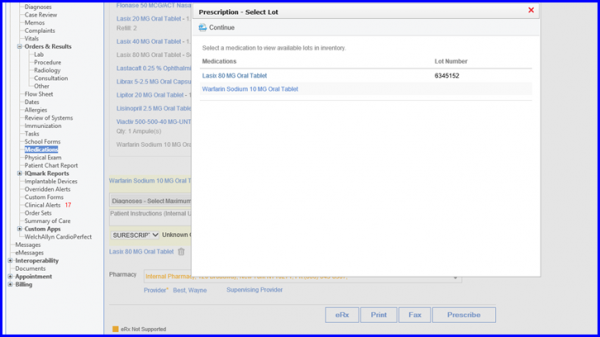
When user clicks on the Prescribe button, the system checks if all pre-requisites for prescribing are fulfilled i.e. interactions found popup, preferred dosage popup etc. Once everything is clear, the system then displays a “Select Lot” popup where user is required to select inventory lots for all the prescribed medications.
Clicking on a medication name allows you to view all the available lots present in the inventory. Lot numbers are pulled from the inventory against RxNormID of the selected medication. If the RxNormID is not present for a certain medication, user is not able to click on the medication name in the lot selection popup to view its available lots.
On the lot selection page, user is able to view lots present in all locations of the FlexscanMD inventory system using the location dropdown. Checking the show individual items checkbox would list each unit of the lot separately i.e. if the remaining units of a particular lot are five, checking the show individual checkbox would list all five units separately in the different rows with the quantity of each unit set as 1.
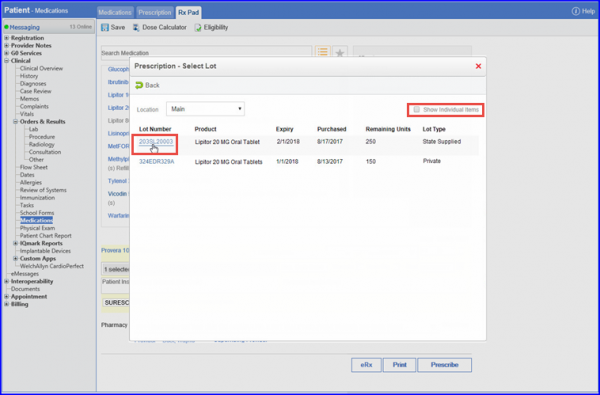
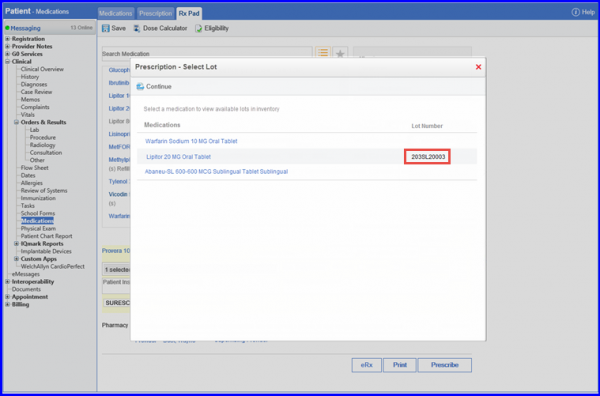
Selecting a lot redirects the user to the prescribed medications list page. They can then select lots of other medications similarly.
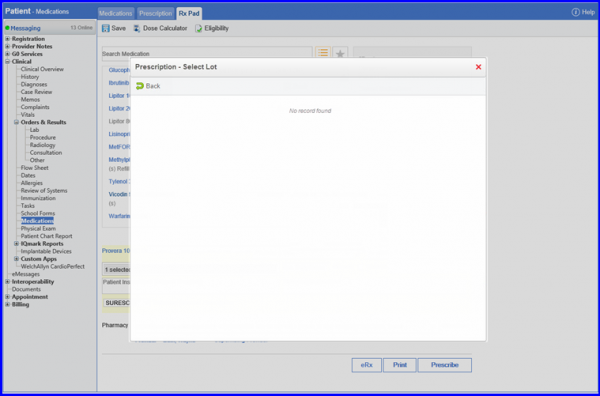
If there are no lots present against the selected lot, the system displays a message saying that no lots are available.
After selecting lots for all the prescribed medications, user can click the Continue button to complete the prescription process.
If everything is clear, medications are successfully prescribed and system navigates the user to the medications list page and display the status of the added medications as “Prescribed”.
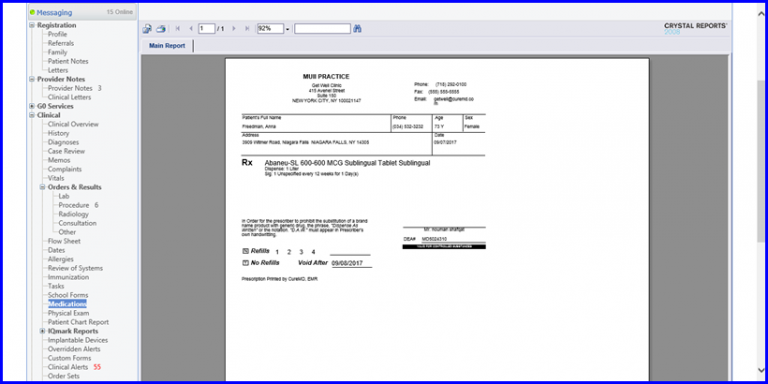
The same procedure is followed when user clicks on the print button with one exception. After finalizing and clicking the Continue button user is directed to a print preview tab of the prescription report.
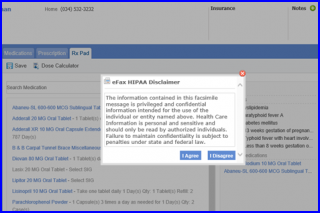
Additionally, clicking on the fax button when internal pharmacy is selected displays the HIPAA disclaimer. Agreeing it displays the lot selection popup and the same process regarding lot selection is repeated.
Once the lots are finalized and user clicks continue, they are directed to the Prescription Fax tab.
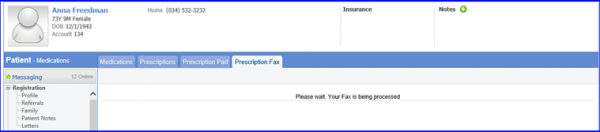
Once a fax is processed it is displayed on the system as successfully transmitted.
To optimize the lot selection process user is now able to use the Scan Barcode button on the RxPad. By using this feature, user is able to obtain lot details of the medication being prescribed by simply scanning barcode of the product they are going to prescribe. Click the Scan Barcode button. This button is only displayed when inventory for medications is enabled for the practice.
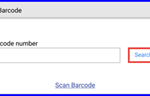
A popup asking user to proceed with scanning would be displayed. If user is facing problems in scanning the barcode they can enter it manually by clicking on the Enter Manually link.

User can type the barcode in this case and go to the Search button.
If there is a successful match between barcode sent by CureMD and the one present in the FlexscanMD inventory system, the medication is automatically selected on the RxPad.

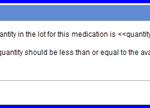
After a medication is selected, user is required to enter SIG information. In the quantity section, they are only able to enter a number less than or equal to the available quantity of the medication i.e. if the medication selected is from lot number A12345 and the remaining units in lot A12345 are 5 then user is not able to enter a number greater than 5 in the quantity field. Doing so would display a prompt. Information of the number of remaining units in the lot is provided by FlexscanMD in the response.
The process repeats if user wishes to add additional medication. The lot selection popup would display lot number of medications as already selected for medications which have been selected using the barcode scanning flow.
If all medications to be prescribed have been added using the barcode scanning workflow, the lot selection popup is not displayed.
