How to Print Label?
The ability to print labels helps user in maintaining record for patients.
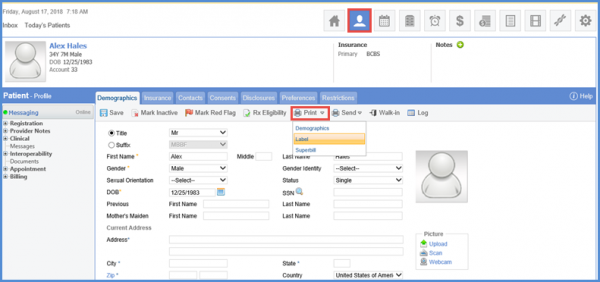
In the ‘Demographics’ tab, hover over the ‘Print’ dropdown and click ‘Label’.
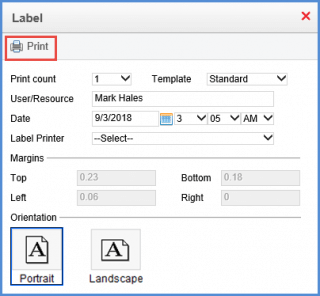
On the Label screen, the user can click the ‘Print’ button to display the printed label.
Alternatively, the user can also print labels from the ‘Scheduler’ module. To see how it’s done, please click here.
Labels can also be printed while adding ‘Dermatology Procedures’ to a Provider Note. Click here to see how it’s done.
This functionality can now be accessed from ‘Google Chrome’ browser as well.
To enable this feature on Chrome, the user has to install the CureMD Client Utility first.
Follow these steps to configure label printer,
On the ‘Demographics’ page, hover over the ‘Print’ button, and click ‘Label’.
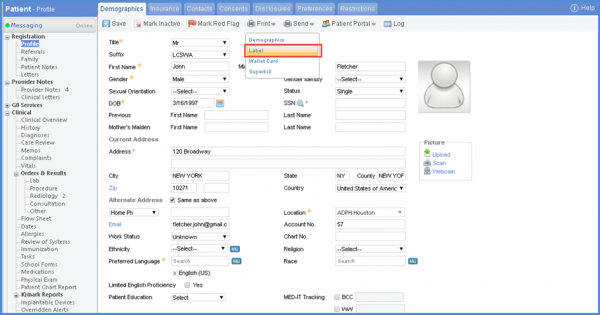
Clicking the ‘Label’ button for first time on Chrome downloads the ‘CureMDClient’,
Double click on the icon to open the installer and follow the installation steps to install the CureMD Client utility.![]()
Follow simple installation steps to install the ‘CureMDHTTPServer’ wizard.
Click ‘Next’.
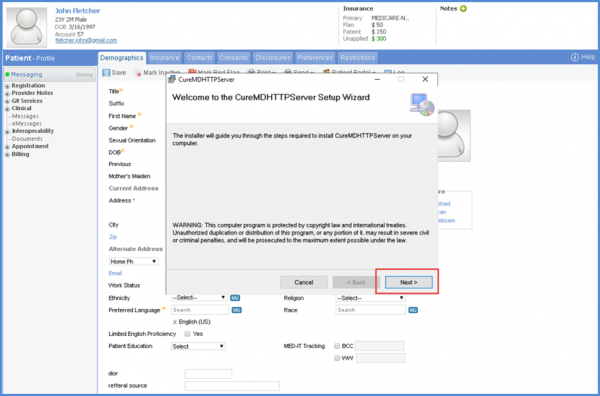
Click ‘Next’.
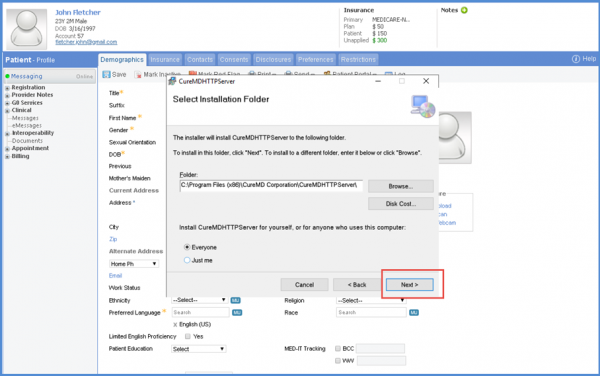
Click ‘Next’.
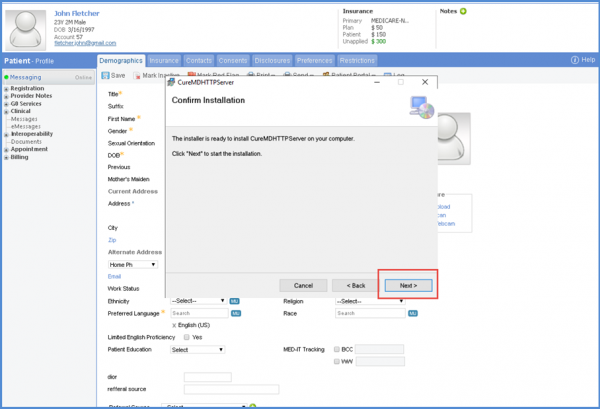
Please wait for the installation to complete.
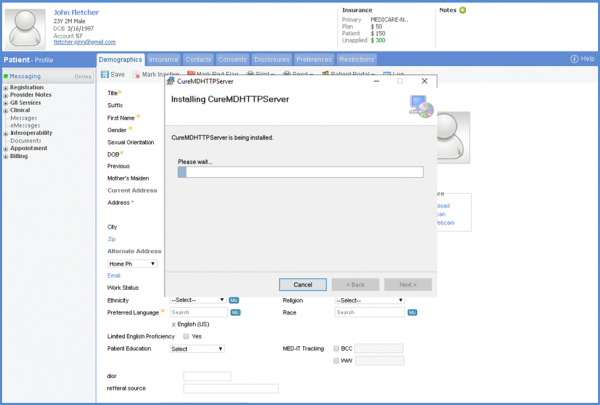
Installation Complete window must be displayed for the CureMD Wizard to be installed successfully. If there is an error in installing this, repeat the whole process or contact Support for further help.
Click ‘Close’. CureMD Client is installed and running.
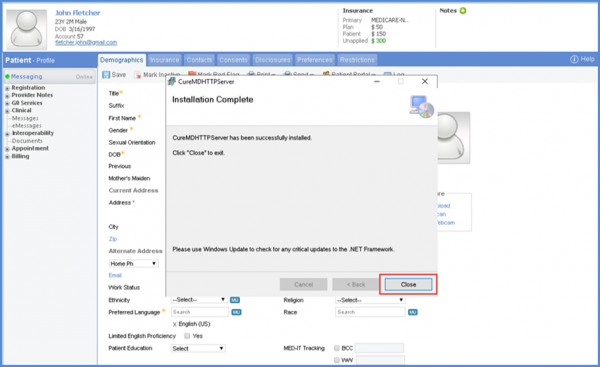
After the CureMD Client is installed, the user can print the patient ‘label’ from the Chrome browser.
Label Printer Settings in the ‘Personal’ module under ‘Scan & Print’ have also been made platform-independent. To view more, click here.
Users can access label printing functionality using both Chrome and IE browsers. ![]()
The system does not restrict users to use either Chrome or IE browser for label printing. However, the two browsers should be used at mutually exclusive times for printing labels.
