How to Print/Fax ACOG Report?
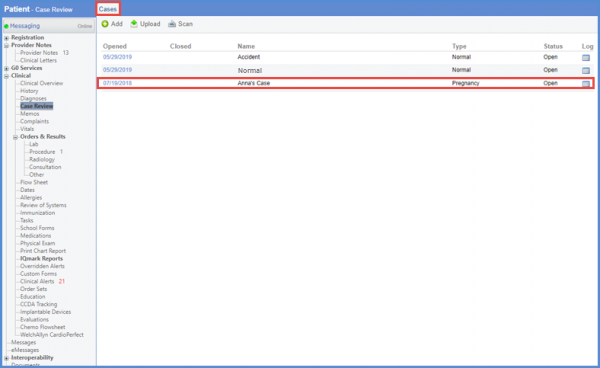
Follow the above mentioned workflow to land on ‘Cases’ tab.
Click on the date where the type is ‘Pregnancy.’
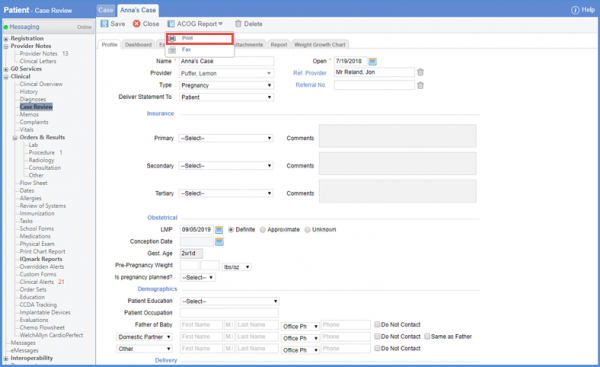
Hover over the ‘ACOG Report’ button.
Select the ‘Print’ option.
Upon clicking ‘Print’ , ACOG Report is generated.
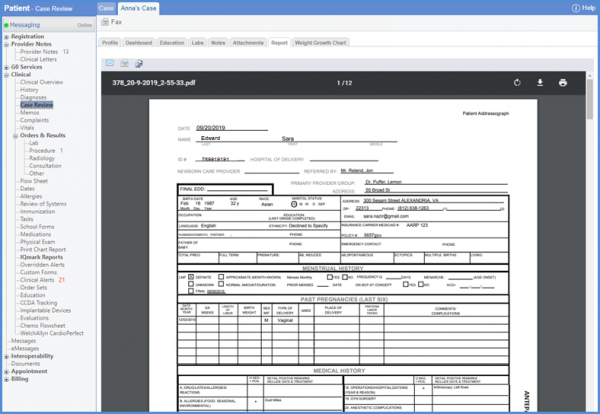
User can view the diagnosis’ comments prior to the order details on the ACOG report.
This needs to be enabled from the ‘Personal’ module. To know how it is done, click here.
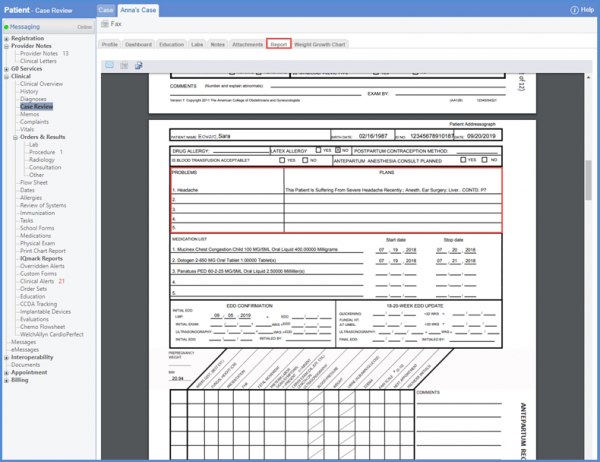
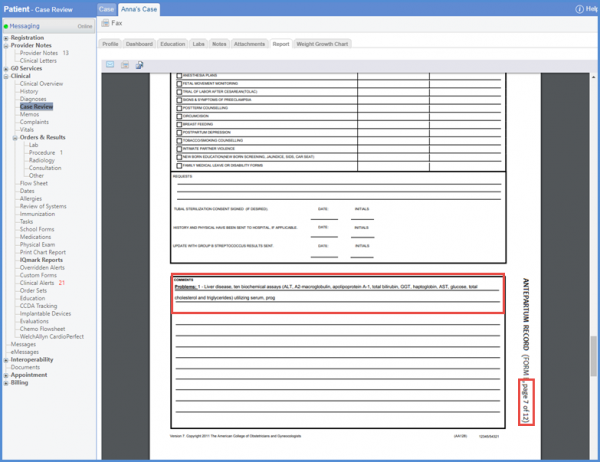
Continuation of the ‘Plans’ column is displayed on page 7 of the ACOG report. The description is placed between the lines.
If ‘Anesthesia’ is the selected complication in ‘Surgical History’, a ‘+’ sign is displayed next to ‘Anesthetic Complications’ in the ACOG Report. The associated reactions populate in the ‘Details’ portion.

Contrary to it, if the user marks ‘Unremarkable’ checkbox for Surgical History, a negative sign ‘O’ is displayed for ‘Anesthetic Complications’.

Even if Anesthesia is selected as a Reason for surgery, a positive value ‘+’ is displayed in ‘Operations/Hospitalizations’ section of the ACOG Report. Surgery name is displayed in the details portion.

The selection of ‘Unremarkable’ checkbox displays a negative value ‘O’ in Operations/Hospitalizations section.

If the details cannot be accommodated in the Medical History section, they populate in the comments section on Page 1 of the report.
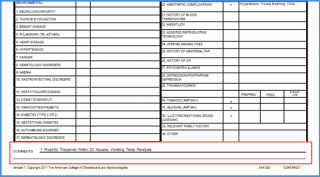
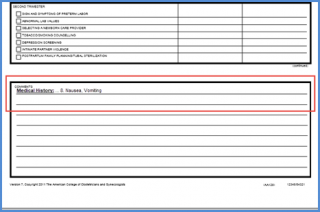
If the details exceed space in the comments section on Page 1, they indicate the continuation on Page 6.

To indicate the continuation of Medical History on Page 6, Medication History label appears bold and underlined.
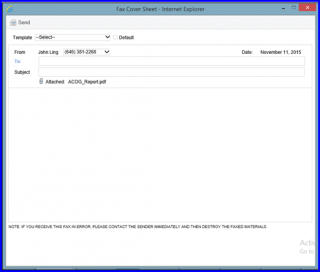
If users choose the ‘Fax’ option, this will display a pop-up to enter fax recipient details. Input the required details and click ‘Send’. The ‘ACOG Report’ will be sent to the recipient.
