How to Perform a Stock Count in the Inventory Module?
Stock counts are performed to verify the on hand quantity in the inventory.
By performing a stock count, the user is able to verify if the remaining items in the physical inventory are in synchronization with the active inventory stock items in CureMD.
In order to create a stock count, navigate to the inventory module.
In the receive tab, click on ‘Create Stock Count’.
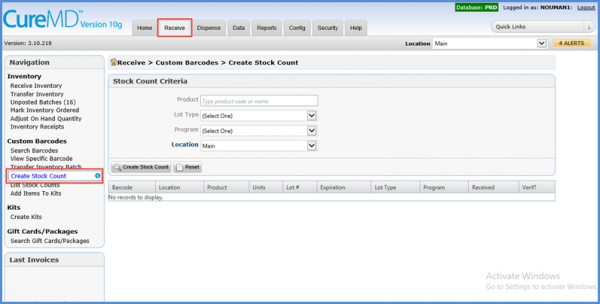
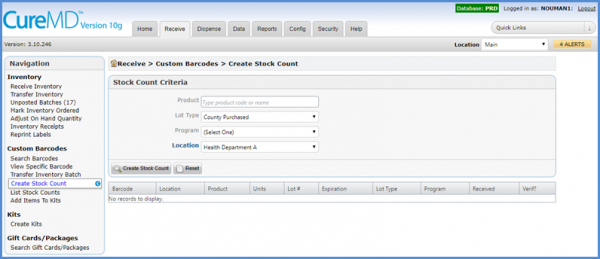
The user can create stock count for a specific Product, Lot Type, Program or Location.
In this example we will have a look at how to create a stock count for Lot Type Grant at Health Department A location.
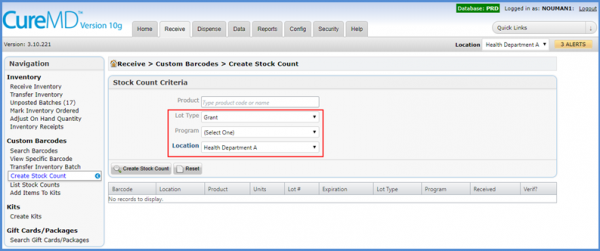
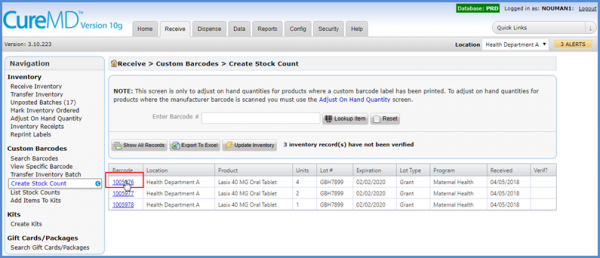
Once the stock count is created, it will display all products in the inventory matching the search criteria.
To perform the stock count, the user can scan the barcode for all items available in the physical inventory with Lot Type ‘Grant’.
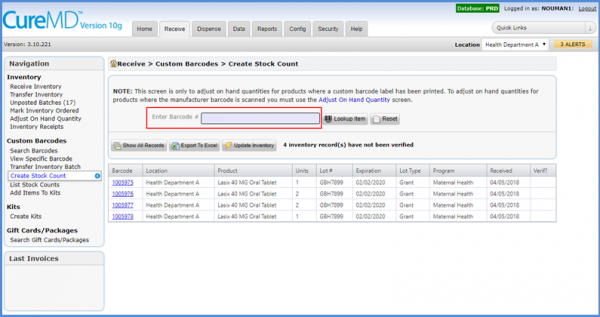
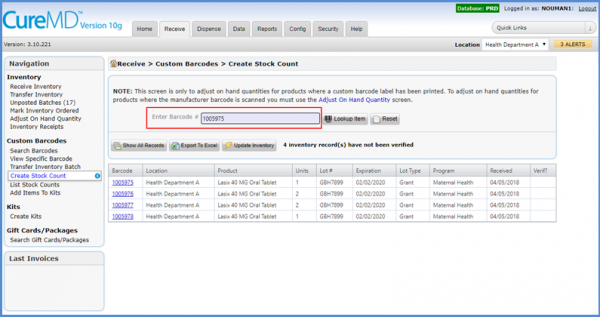
Before scanning a partially dispensed item, the user needs to verify that the number of units shown in the system match the units available in physical inventory.
On scanning a barcode, system will remove it from the list below marking it as verified.
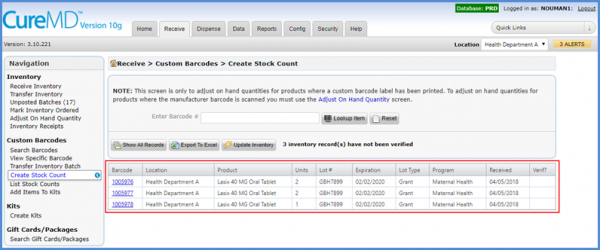
Upon successfully verifying all barcodes, system displays the message ‘Congratulations! All inventory was accounted for!’
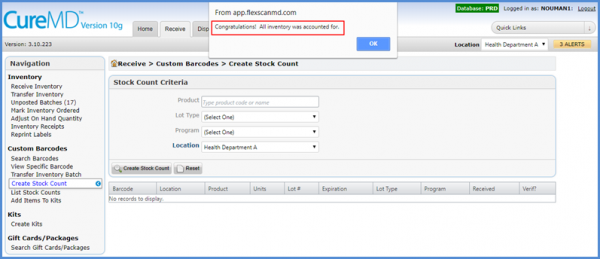
However, if there are still items left in the stock count list after scanning all items in the physical inventory, it would mean that those items are present in the system but not in the physical inventory.
The next step would be to update those items.
If none of the remaining items are present in the physical inventory and need to be discarded, click on the ‘Update Inventory’ button at the top.
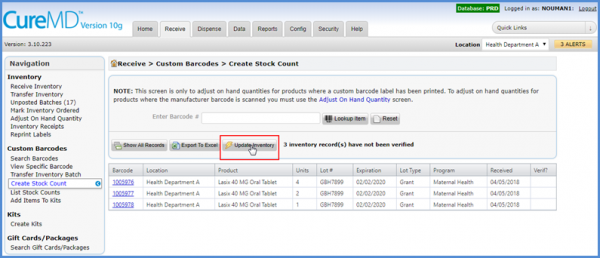
An alert will be displayed asking user to confirm if they want to proceed with discarding all remaining items.
The user can click on ‘OK’ to proceed.

This will complete the stock count and the user will be directed to the stock count main page.
If the user wants to discard some units in the remaining barcodes instead of all of them, they can click on the barcode numbers individually.
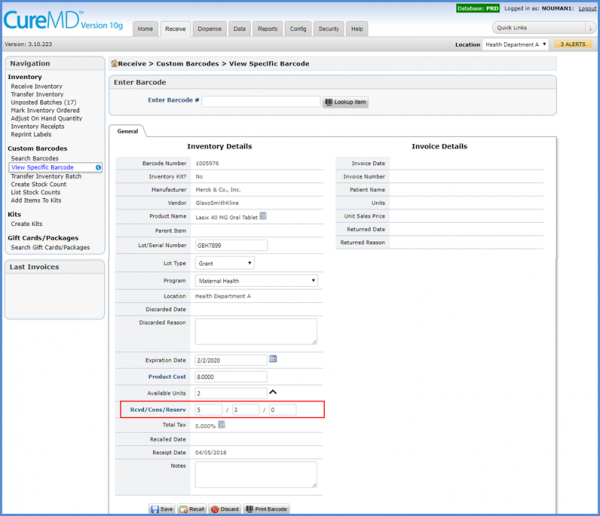
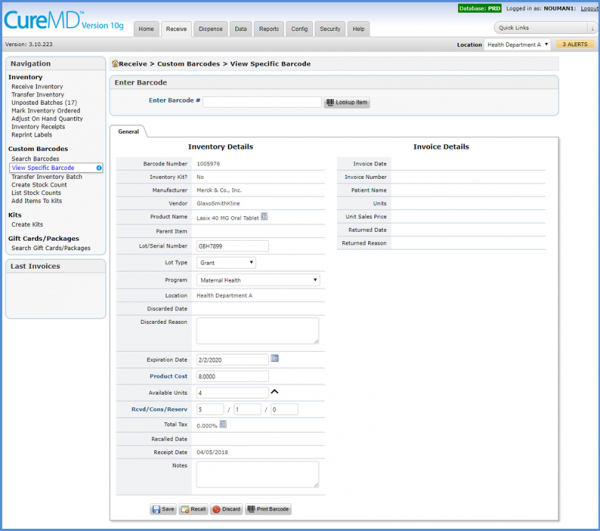
This will load the inventory details page.
After that, update the ‘Consumed’ unit’s field.
If all units of the item have been consumed, then make the ‘Consumed’ field equal to the total number of units originally in the box.
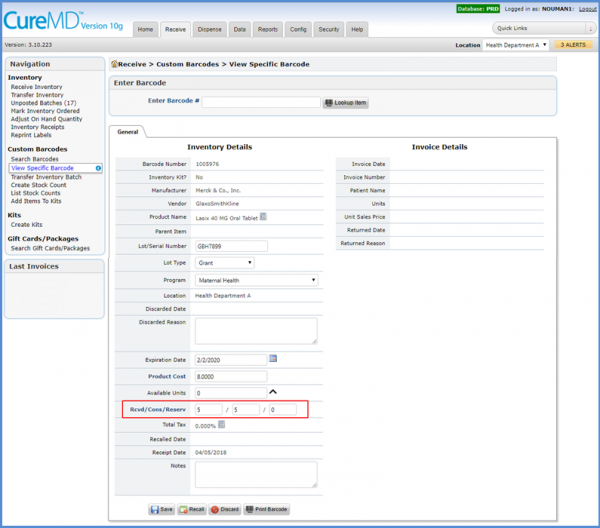
However, if some units are still available, then enter the number consumed thus far.
For example, if a box had 5 units present initially, and now 2 remain.
It means that 3 have been consumed.
