How to Load an Inventory Batch?
Once the user is into the Inventory module, they can open the Receive tab in order to create an Inventory Batch.
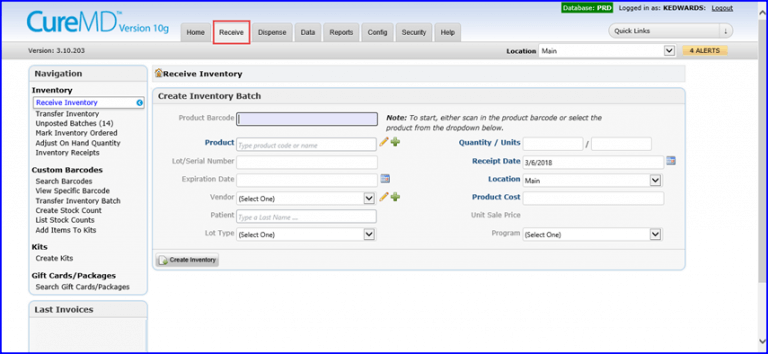
Moving further, let us have a look at a relevant example.
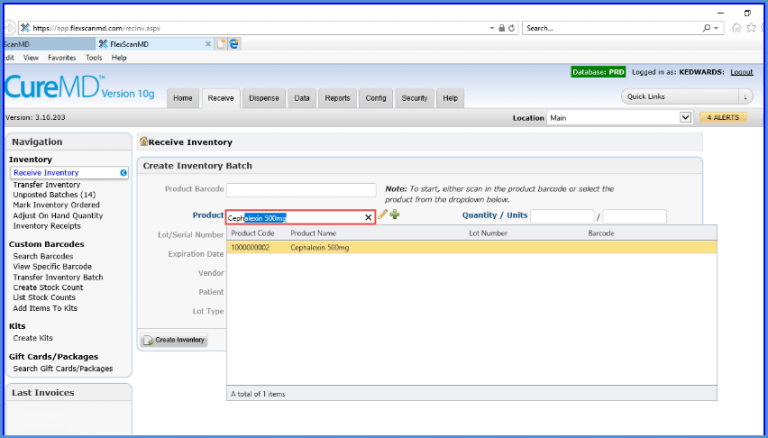
For Instance, the user has received 10 bottles of Ampicillin 500 MG Oral Capsule, each containing 250 tablets.
Typing Ampicillin in Product field prompts the system to display relevant product results.
If no match is found, click on the plus icon to add a new product.
After that, the user can enter the lot number manually.
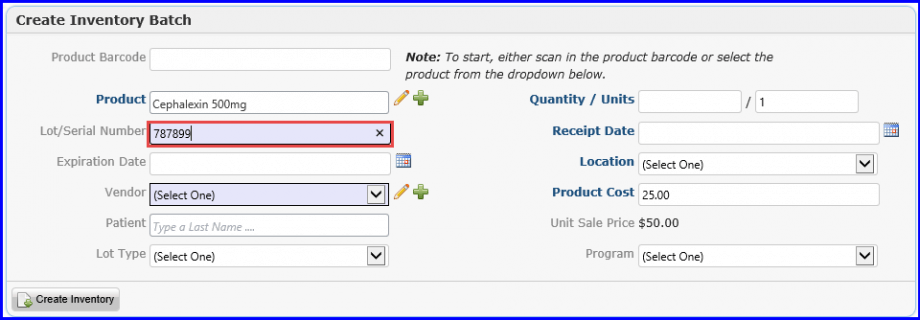
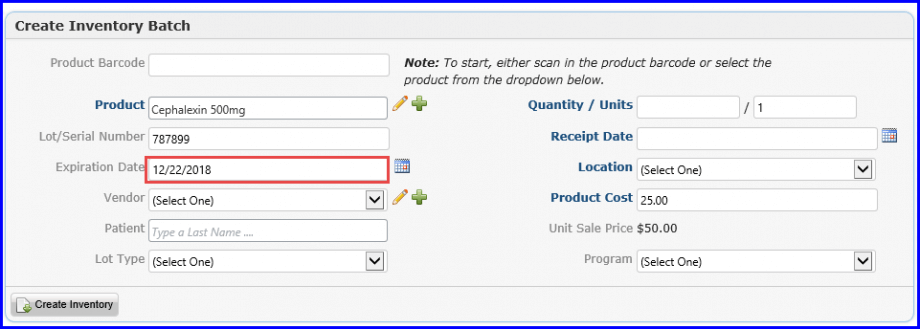
Once the Lot Number is added, the user can specify the product’s expiration date.
After that, the user can select a Vendor for this product from the Vendor dropdown followed by specifying the Lot type and Program from their dropdown menu.
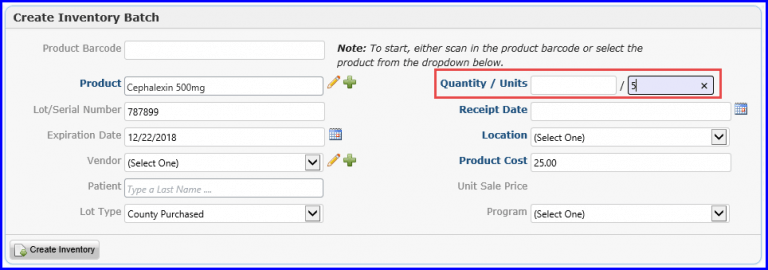
Quantity refers to the packages received whereas units corresponds to the number of units in each package.
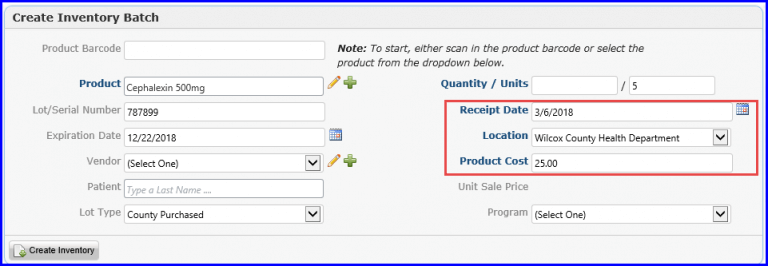
Continuing further, the user can specify location and Product cost.
The Receipt Date is auto populated.
Once all the required fields have been filled, the user can click on the Create Inventory button.
It prompts the system to create this batch. Similarly, the user can record batch details of other products received.
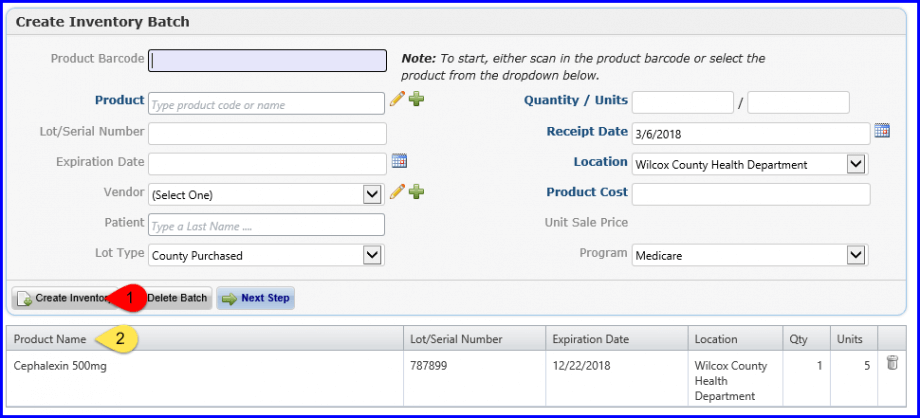
Once all the inventory batches have been created, the user can click on the Next Step button to proceed.
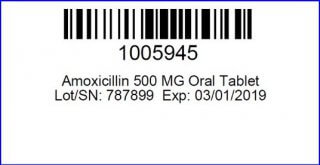
On this page, the user can Print Barcodes of all product in the Batch, by clicking on ‘Print Barcode in Batch’.
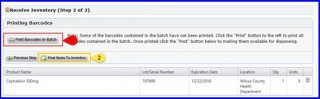
The barcode is placed on the product.
After that, the user can go to Post Items to Inventory, which concludes the batch loading process.

