How to Insert Time Stamps in PDF Documents?
Steps to insert a time stamp:
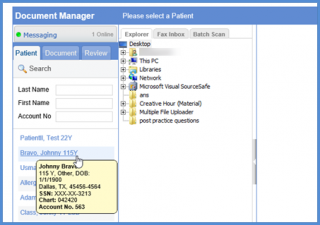
- Follow the workflow above and land on the ‘Patient’ tab in the ‘Document Manager’ module.
- Search or select a patient.
- Open the relevant folder from the ‘Patient Chart’ tab.
- All documents in the selected folder are displayed.
5. Select the required document and click on the ‘e-Sign’ icon.
6. When the user clicks on the ‘eSign’ the document opens in the PDF editing mode.
7. Click on ‘Insert Time Stamp’ button.
8. After clicking on Insert ‘Time Stamp’ button, a time stamp appears and the user has the option to drag and drop it under the signature.
