What are the Features of ERA Files?
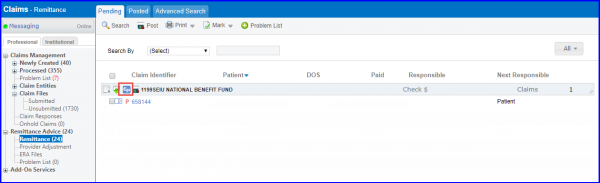
ERAs are view able in the Remittance Advice section of the Claims module. Although ERA records are segregated into several categories, most of the additional options that are available are same across each one of them.
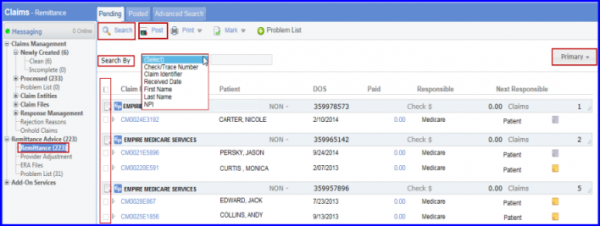
For example, on the top of the Remittance page, user can use the ‘Search By’ option to run a search for a specific check or appointment (CMD ID). The search can be done using a Check number, a Claim Identifier, the Received date, Patient’s First or Last name and Provider NPI. Once entered in the search criteria, click on the Search button on the top of the screen to get the results.
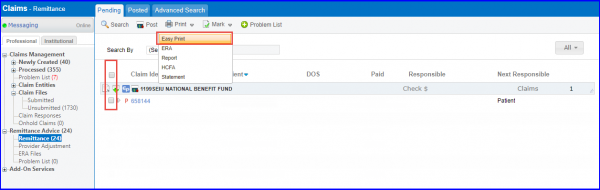
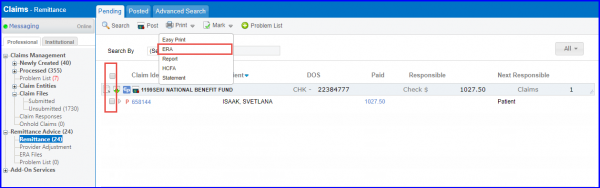
Easy ‘Print’ is used to print ERA records in the Medicare EOB format. Simply select the Easy Print ‘Ep’ icon against each check. This option prints all the claims within the selected check.
User can also print multiple claims (within different checks) by checking the check box against each claim and then clicking on ‘Easy Print’ option in ‘Print’ drop-down.
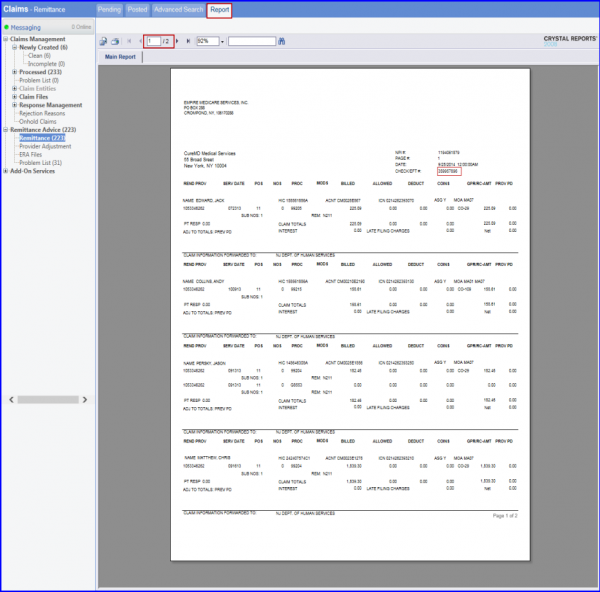
User can see the ERA converted into an EOB which can be printed using the print icon.
The printed report displays page numbers under each page for ease while going through the printed reports.
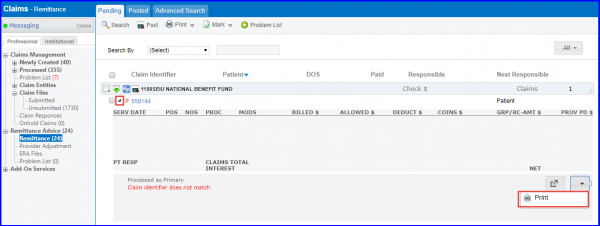
Click on ‘Expand’ icon to expand a claim. In order to print an individual claim, hit the Print button.
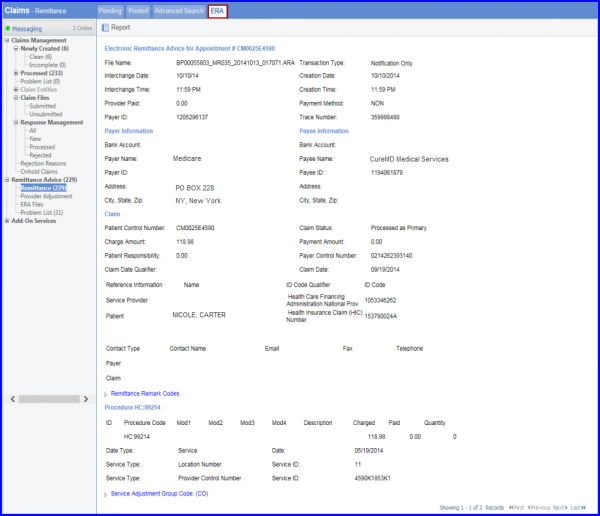
Clicking the ‘ERA’ option under ‘Print’ drop-down redirects the application to a full page view of the selected claim.
User can also access this view by clicking on the claim identifier against any ERA record.

Clicking ERA claim shows detailed information regarding the ERA.
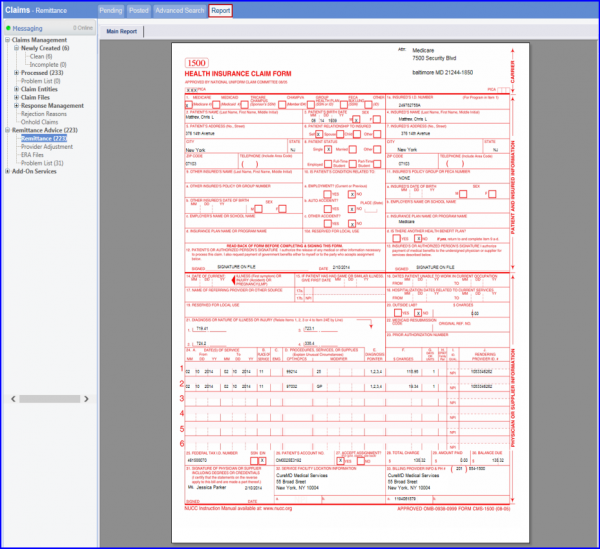
The HCFA option is used to print the selected claim(s) on CMS 1500 form.
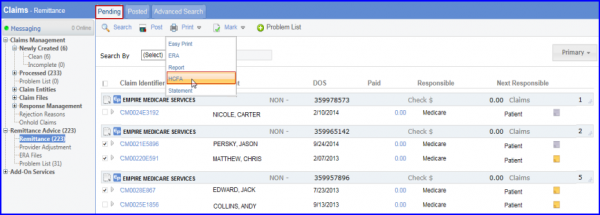
Once user clicks on HCFA, a window appears with an option to print or preview the claim. Selecting print at this point causes the system to generate a paper claim whereas previewing the claim does not create any logs.
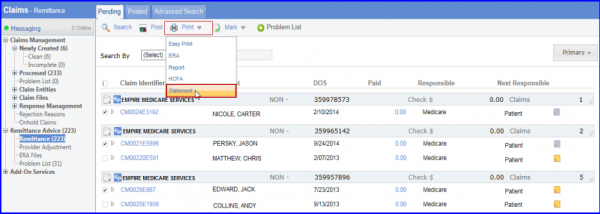
The ‘Statement’ option allows user to generate a “Patient Statement”. This option is best utilized when a patient balance remains after posting an ERA. Select the ERA record and click on Statement. A window appears with the option to ‘Print’ or ‘Preview’ the patient statement.
If users receive an ERA which they have posted manually, they can mark the record as Posted by selecting the ERA and clicking on ‘Mark as Posted’ option under ‘Mark’ drop-down.
User can also assign the selected claim(s) to other users. To do this, click on ‘Assign to’ button and select a user from the list.

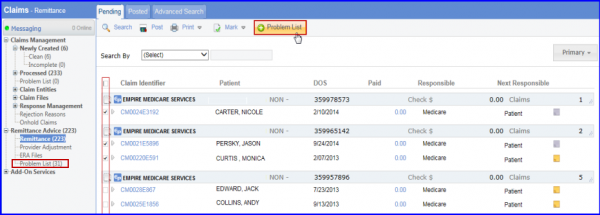
Select claim(s) and click on Problem List button to add to Problem List bucket.