How to Collect Advances?
Advances collected from the patient for the appointment can be entered while checking-in the patient, checking-out the patient, or creating the charge.
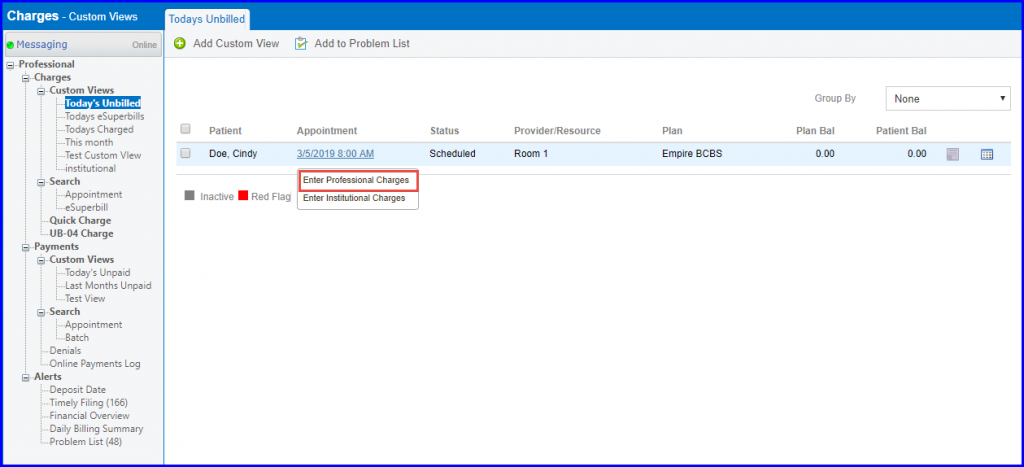
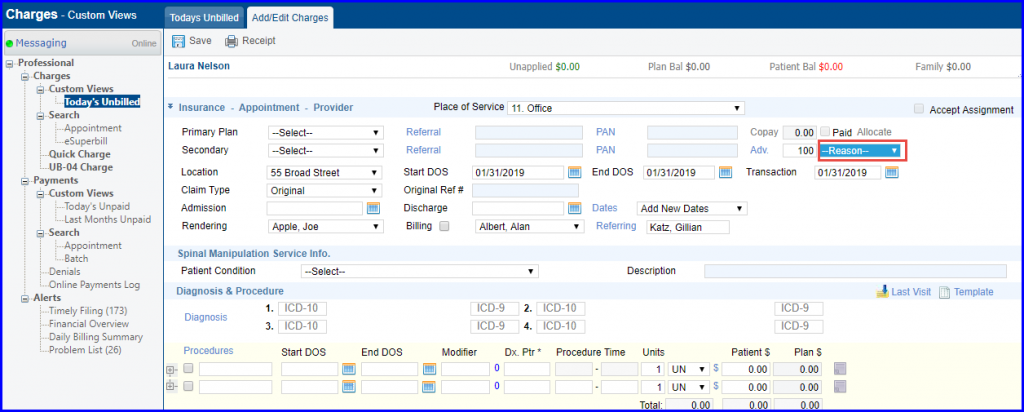
Navigate to “Today’s Unbilled” page by following the above mentioned workflow. Once there, select an ‘Appointment’ and click ‘Enter Professional Charges’ to get to “Add/Edit Charges” page. Here, user can choose to enter advances.
The advances entered while checking-in or checking-out the patient automatically populate on the charge when it’s created. User can also enter the amount in the ‘Adv.’ text box.
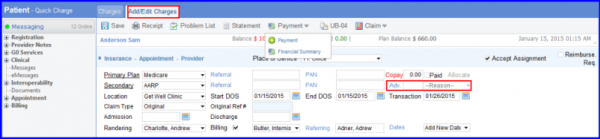
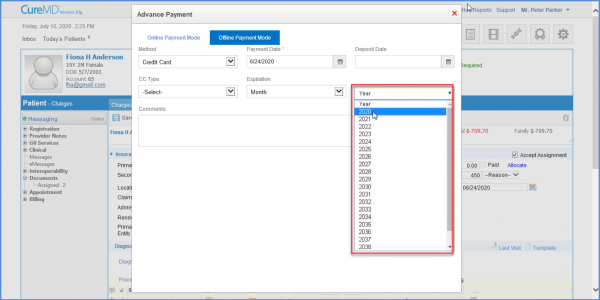
To select the payment method, click ‘Adv.’ hyperlink. Doing so, displays “Advance Payment” pop-up. Here, User can choose between different payment methods. By default, Cash is selected.
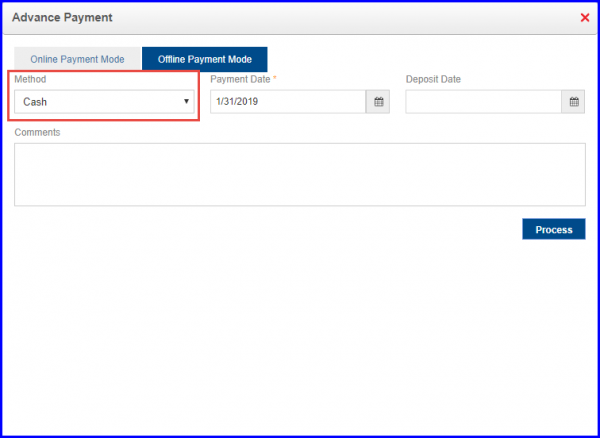
The expiration date year range in Offline Payments Mode is updated so that only present and future years appear in dropdown.
User clicks Offline Payment Mode and selects credit card option from the method drop down. When user tries to select the year, only present and future years populate in the list.
Once advance is paid, user can select a reason.
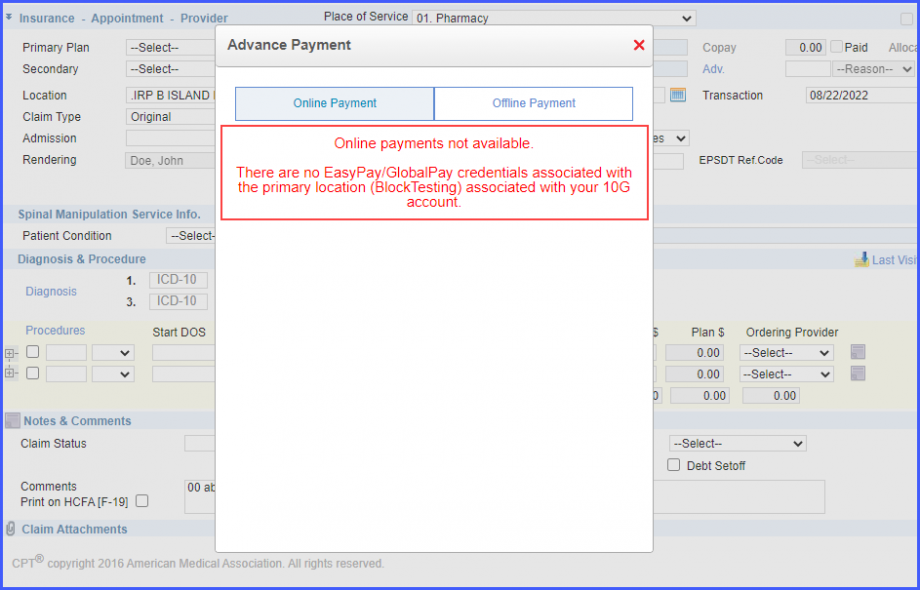
An error screen is displayed when payment is being made from a location having partially configured EasyPay/GlobalPay credentials.![]()
This ensures that payments are only made from locations that are completely configured.
The error is displayed on the ‘Advance Payment’ pop-up. The error message states:
‘Online payments not available. There are no EasyPay/GlobalPay credentials associated with the primary location (Block Testing) associated with your 10G account.’