How to Allocate Advances?
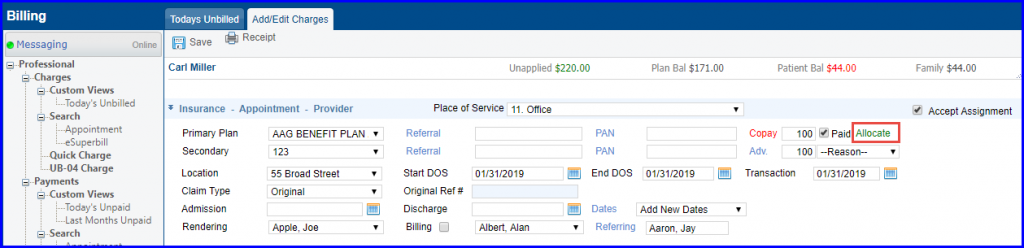
User can allocate copay from advances by clicking the ‘Allocate’ link. The Allocate link is enabled if copay is entered, and patient / family advances exist.
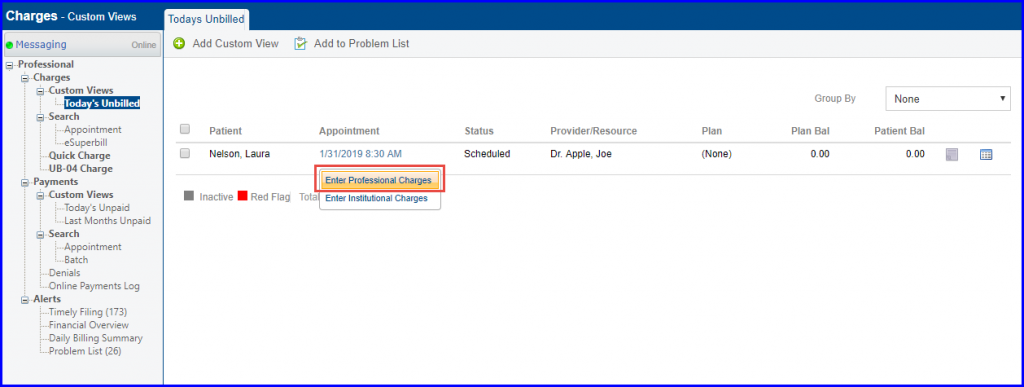
Navigate to “Today’s Unbilled” page by following the above mentioned workflow. Once there, select an ‘Appointment’ and click ‘Enter Professional Charges’ to get to “Add/Edit Charges” page.
On “Add/Edit Charges” page click ‘Allocate’ hyperlink to display “Patient Advance Balance” pop-up. “Patient Advance Balance” pop-up displays all appointments containing advances and unapplied amounts.

Each row shows the Date of Service containing the advance, the advance amount collected, amount applied previously, and the remaining balance.
In the ‘Apply $’ text box, user can type the amount to apply. It needs to be less than remaining balance.

User can also allocate copay using advances collected from patient’s family members. To see the details of family advances, click ‘Family Unapplied’.
After the advance is allocated, the Allocate link turns green.