How to Place Lab and Radiology Orders?
In Avalon, user has the option to order a lab test and add required details to the test.
Following the workflow user navigates to the “Menu” screen.
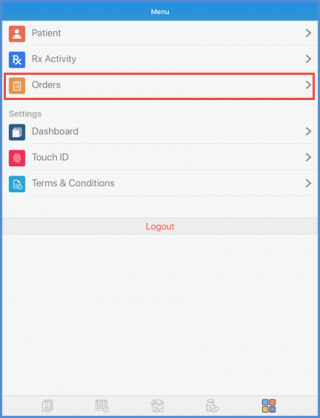
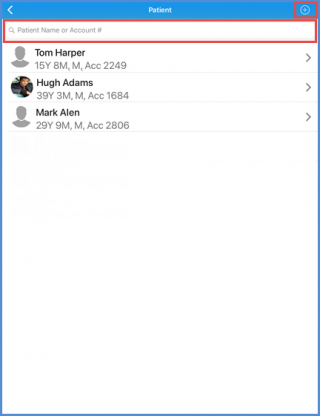
Tap the ‘Orders’ option from the screen. User is navigated to ‘Select Patient’ screen. Here, user search the patient with Last Name or Account Number. Select the desired patient to place the Lab or Radiology order.
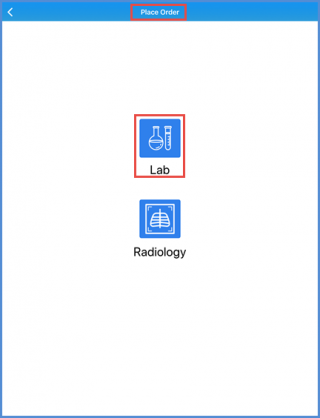
On the “Place Order” screen, user can see two options, ‘Lab Orders’ and ‘Radiology Orders’. Tap the ‘Lab’ option from the screen to place a lab order.
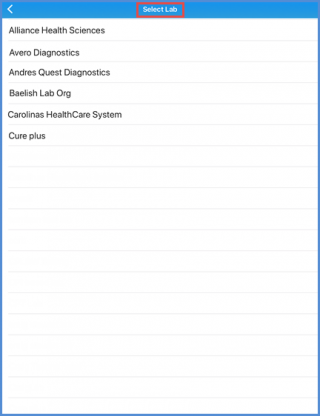
On the “Select Lab” screen user can see the list of available labs to place the order. Select a lab to place the order to.
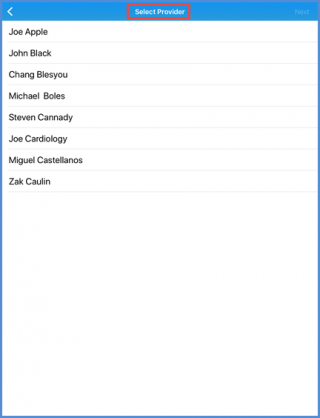
Next, tap on ‘Provider’ name to select.
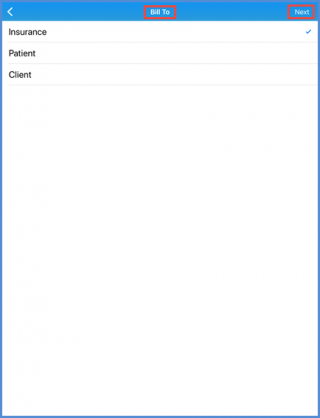
On the “Bill To” screen, select the responsible party.
Once done, tap on the ‘Next’.
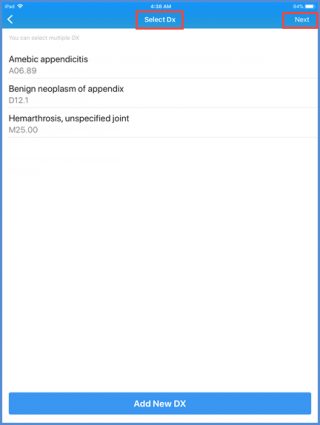
From the “Select Dx” screen, select the already added diagnosis and click ‘Next’.
User can also add a diagnosis to add an order against it. To add a diagnosis, click here.
After selecting the diagnosis, user is navigated to the search test screen.
Here, user can search for a test using the search bar.
Select the desired test from list to view the test details.
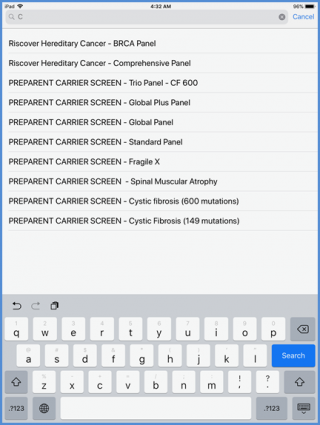
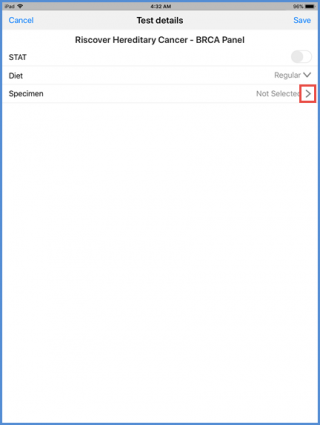
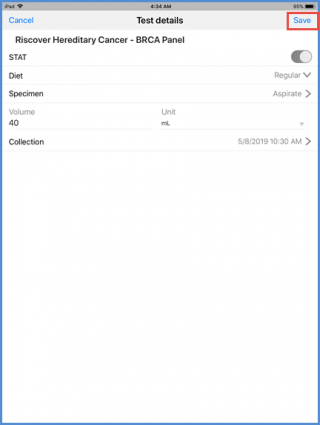
On the “Test details” screen, add the relevant details. User can see the ‘STAT’ toggle button on the screen. If the lab order is critical, user can turn on the toggle button. Add diet Unit(s) details and select the type of specimen required for testing.
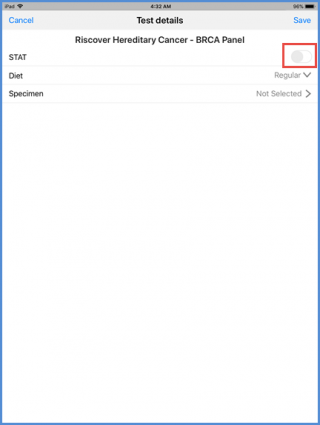
Tap on ‘Diet’ drop down to open the ‘Units’ pop up.
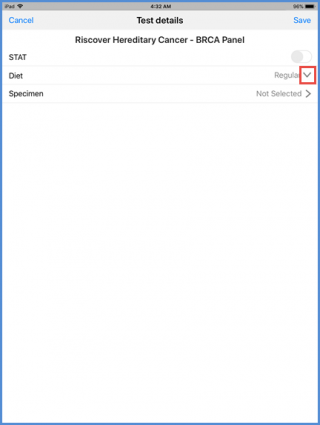
Select diet unit from the list to report the test and tap on ‘Done’.
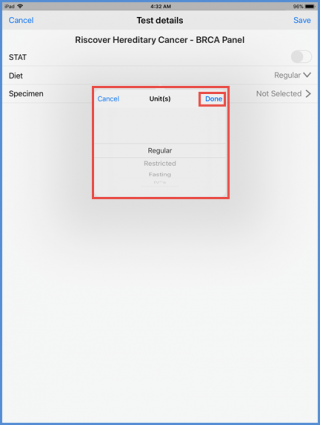
Next, tap on specimen arrow to open the ‘select specimen’ screen.
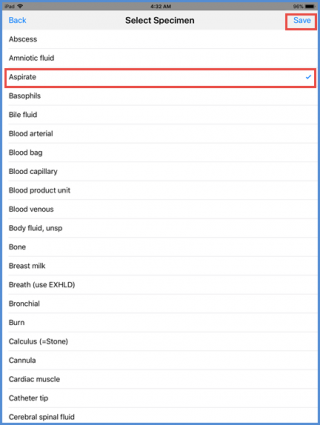
Tap on the Specimen name to mark the specimen. Once done, tap on ‘Save’
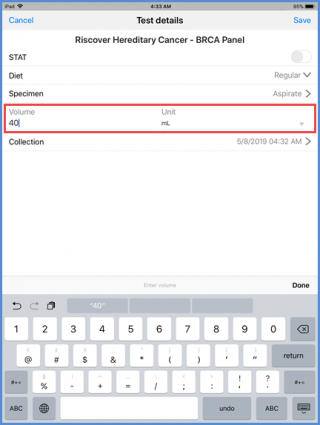
User is navigated back to the “Test details” screen. Here, volume of the sample can be added. Moreover, user also has the option to change the Volume unit.
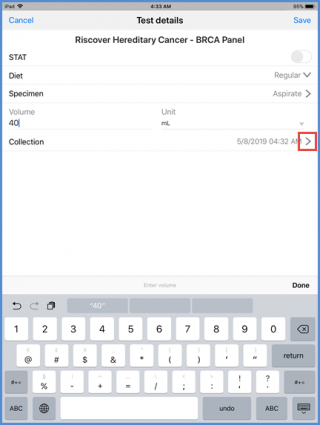
Click on collection arrow to add the collection details of specimen.
User can change the time and date on which specimen is collected.
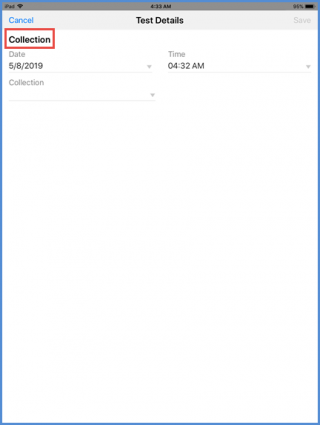
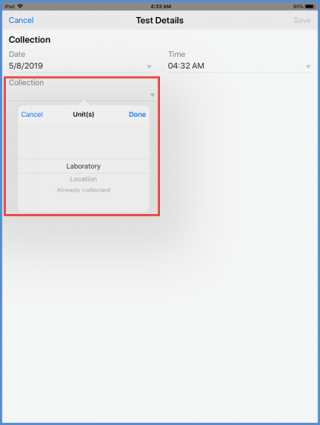
From the ‘Collection’ dropdown, select if the sample is collected from the laboratory, Patient’s location or it has already been collected.
Tap on ‘Done’ to save the changes.
After adding all the test details, tap the ‘Save’ button.
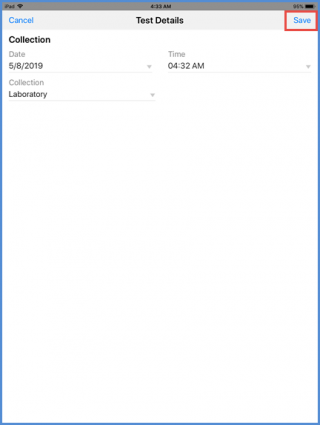
User is navigated back to the test details screen. If all the details are added, tap the ‘Save’ button at the top right corner of the screen.
On saving the test, user is navigated to the ‘Search Tests’ screen. Here, user add another test following the similar procedure.
Furthermore, user can see the ‘Review Order’ option at the bottom of the screen.
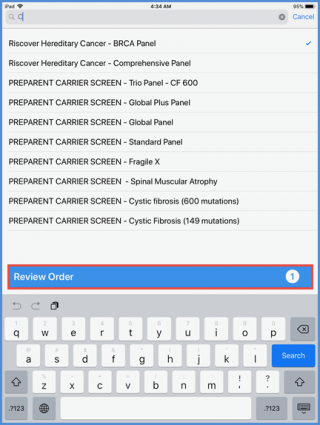
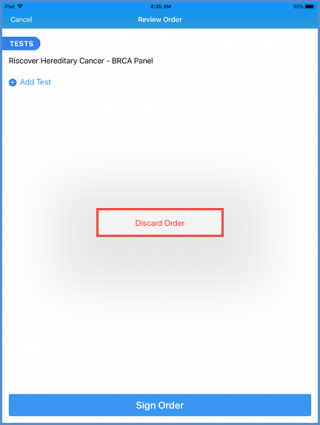
Here, user can tap on ‘Review Order’ bar to open the order. All test orders are listed on the ‘Review Order’ screen.
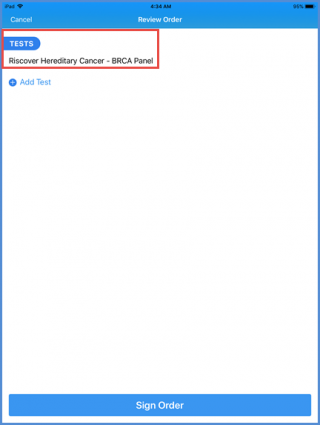
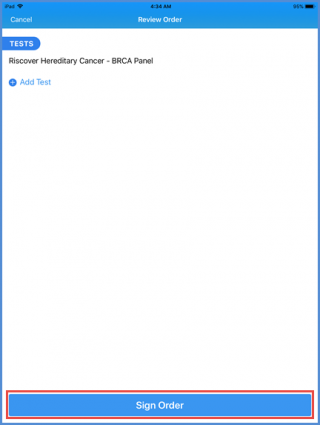
To proceed the order, provider has to sign it. Tap on ‘Sign Order’ bar.
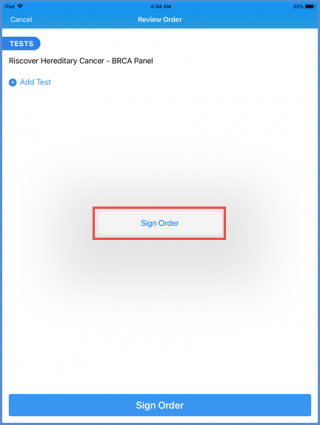
Next, sign the order by tapping on the ‘Sign Order’ button.
User also has the option to discard the order. For this, tap on ‘Cancel’.
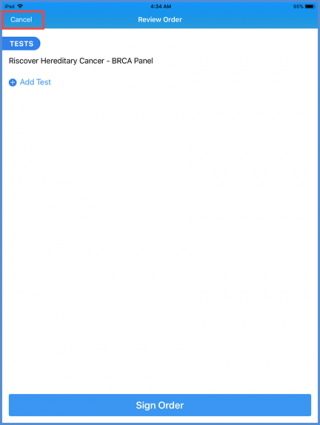
Doing so, user is given the option to tap on ‘Discard Order’ button. This action can delete the order.