How to Schedule an Appointment?
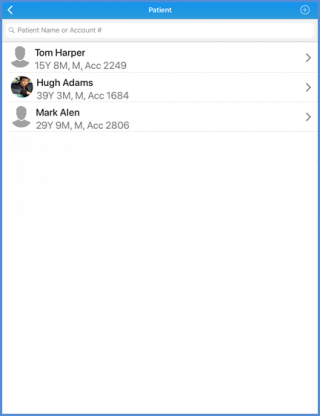
To schedule an appointment, search for the patient. To know how to search a patient, click here.
From the listed patients of search result, select the desired patient by tapping on the patient’s name.
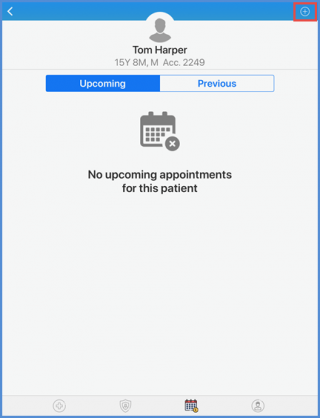
User is navigated to the patient’s clinical screen. Locate the ‘Scheduler’ icon from the tab bar of the screen.

Tap the ‘+’ icon from the top of the appointments screen to schedule a new appointment for the patient.
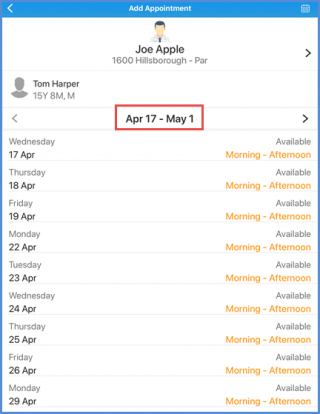
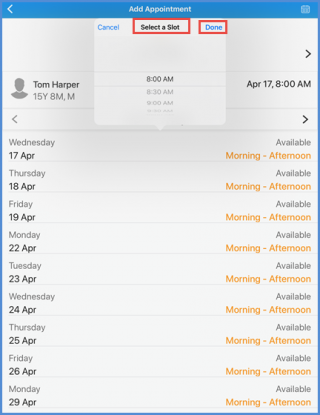
User is navigated to the ‘Add Appointment’ screen. Here, from the listed available slots for the given date range, select the suitable slot for the specific date.
Tapping the selected date, user can see the option to select the time slot. Select the time slot and tap ‘Done’.
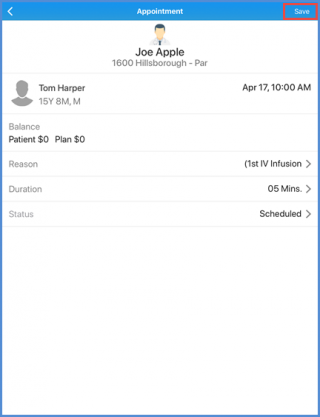
User can see the ‘Appointment’ screen. The date and time for the scheduled appointment can be seen on this screen.
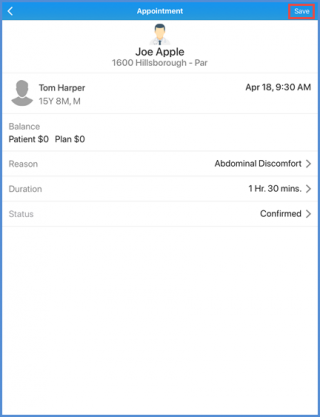
Patient account balance details, visit reason, appointment duration and status is listed on the screen. To save the appointment, tap the ‘Save’ button at the top right corner of the screen.
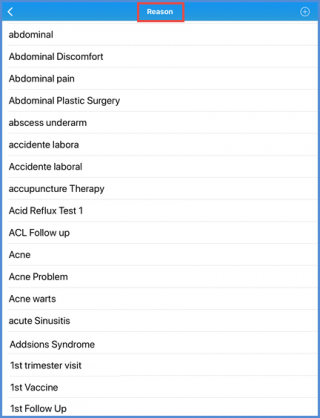
To change the appointment reason, tap the Reason option on the screen. User is navigated to the ‘Reason’ screen. Select a different reason from the reasons list.
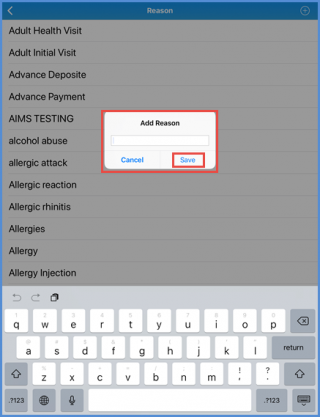
Furthermore, user has the option add a new reason other than the listed reasons. Tapping the ‘+’ icon at the top of the screen, user can see the ‘Add Reason’ popup. Add the reason and tap the ‘Save’ option from the popup screen.
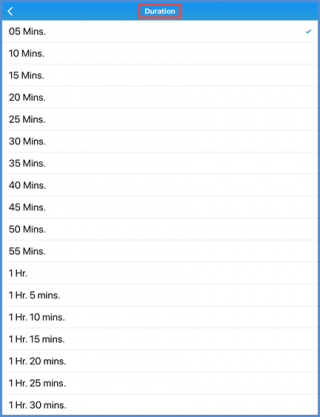
User can change the duration by tapping the duration option from the screen. Change the appointment duration from the ‘Duration’ screen.
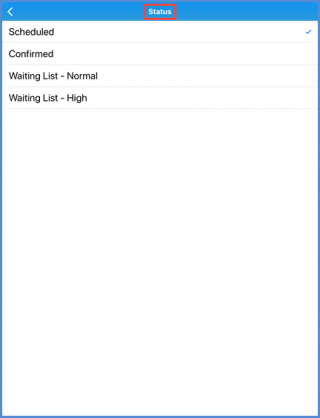
To change the status, tap the status option from the screen. User is navigated to the ‘Status’ screen. Here, select the status from the status list.
The updated appointment details can be seen on the ‘Appointment’ screen. Clicking the ‘Save’ button at the top right corner of the screen, changes are saved.
User is navigated to the patient’s appointments details screen. Here, under the “Upcoming” appointments options user can see all the scheduled appointments for patient.
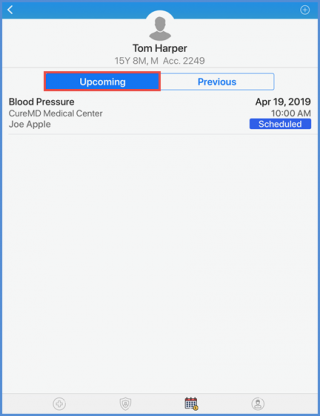
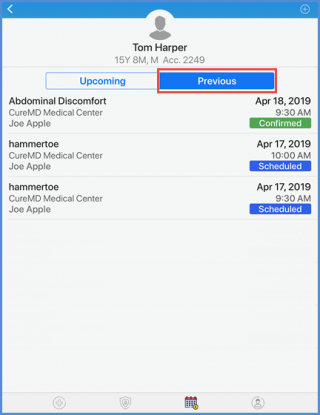
Under the “Previous” appointments option user can see appointments history of the patient.