How to Edit a Scheduled Appointment?
User have the option to edit the information of a scheduled appointment. To Edit an appointment, select the particular appointment from the appointments list.
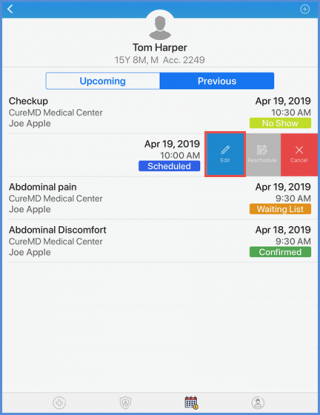
On the “Appointments” screen, user can see the appointment details. Here, Reason, Duration and Status of the appointment can be edited.
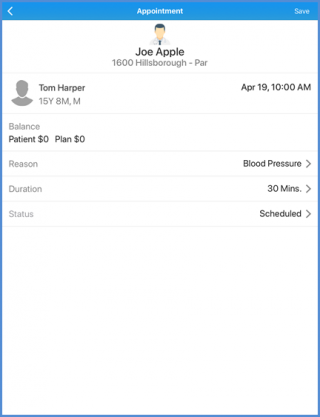
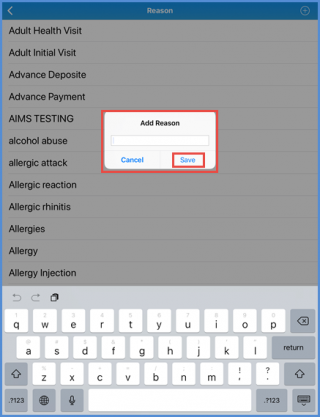
To edit the appointment reason, tap the Reason option. From the “Reason” screen, select the different appointment reason.
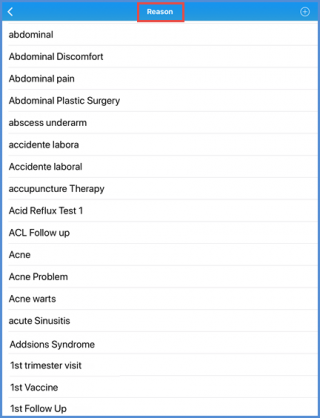
User can also add a different reason by selecting the ‘+’ icon at the top right corner of the “Reason” screen. From the ‘Add Reason’ popup screen, add the reason and tap the ‘Save’ button.
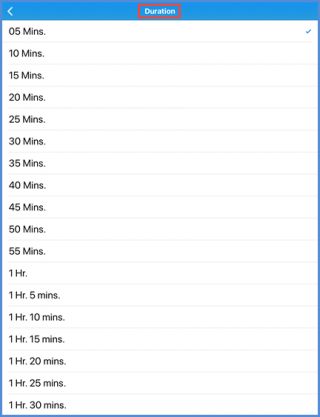
Tap the ‘Duration’ option from the appointment screen to edit the appointment duration. From the “Duration” screen, select a different duration.
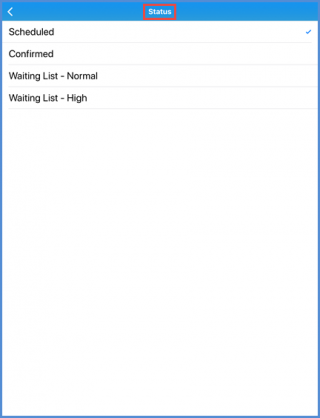
User can also edit the appointment status. Tap the ‘Status’ option on the appointment screens to change the status. From the “Status” screen, select the different status for the patient.
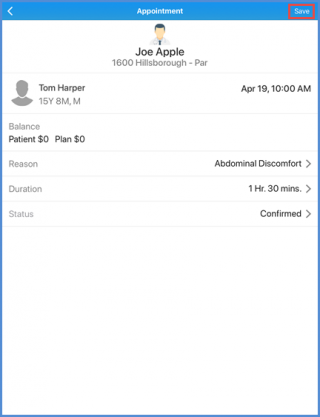
The updated appointment details are displayed on the “Appointment” screen. To save the changes, tap the ‘Save’ button at the top right corner of the screen.