How to Print Alerts/Recalls Report for the Practice?
Follow the workflow mentioned above to land on the ‘Basic Search’ screen.
Users can search for a patient using the search fields, or select a patient by clicking the patient name hyperlink. The ‘Alerts/Recalls’ tab will be displayed with a list of all the previous alerts/recalls for the selected patient.
To print all records, click ‘Print All’ button.
To print specific records, enable the checkmarks next to the records and click ‘Print’ button.

Users also have the option to either print detailed recalls or only the names of the patients.
Hover on the ‘Print’ button. The Print dropdown menu will be displayed.
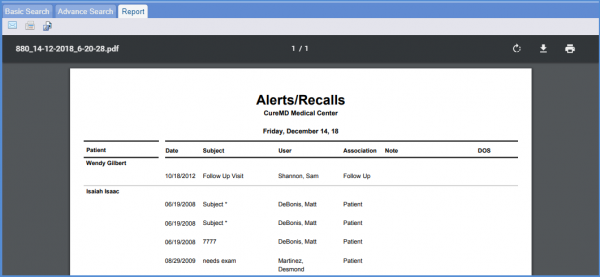
To print details, click ‘Alerts/Recalls’.”

The Alerts/Recalls Report contains complete details of recalls.

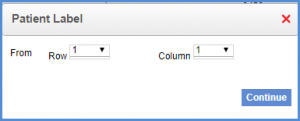
Click on ‘Patient Label’ from the drop-down.
The ‘Patient Label’ popup will be displayed. Users can specify which row and column criteria to print the labels from.

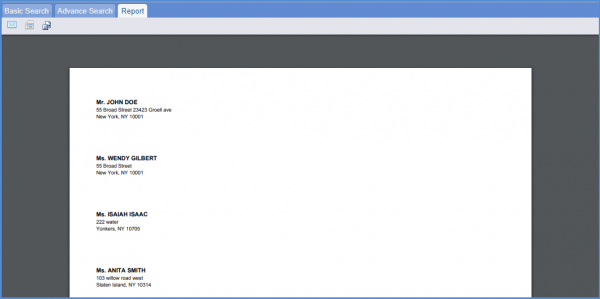
Once set, click on Continue to print the label Report.

