eFax – Inbox
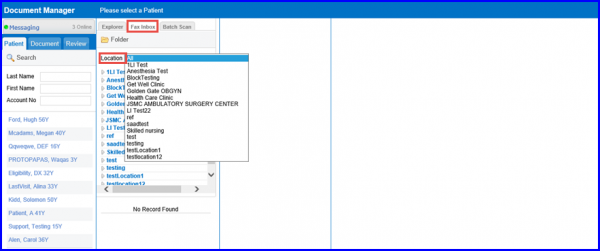
Navigate to Document Manager and click on Fax Inbox tab.

In case of having different fax numbers for various locations, users can filter the results by clicking on the location dropdown and selecting the desired location. In case ‘All’ is selected, the location name can be expanded by clicking on the dropdown arrow.

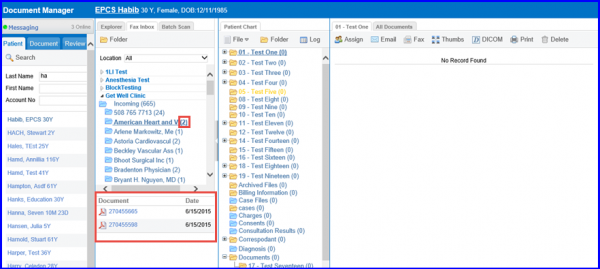
In this section, all incoming faxes are present in different folders. The number of faxes present in a folder is indicated by a count display next to that folder’s icon. Click on the required folder to view the faxes received. The document appears in the section below in PDF format. Click on the required document to open it in a separate window.

In order to sort these faxes into appropriate folders, select a patient to populate a new pane.
Locate the required folder to move the fax to and drag and drop the fax document into that folder. The Document Manager pop-up will be displayed.

Select the ‘Document Date’ and click on ‘Save’. The count next to the folder will be increased and the fax document will appear in the selected folder.
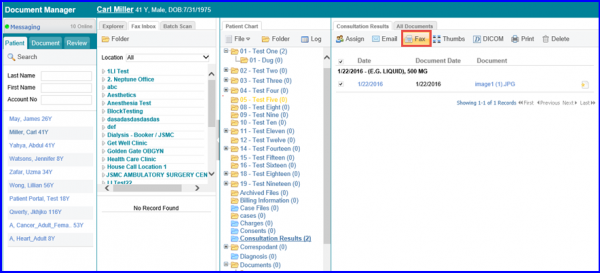
To fax a document received or uploaded in the document manager, locate the patient whose document is to be faxed using the patient search fields in the first pane. Click on the patient’s name to open the folder which contains the document. Enable the checkbox next to the document and click on the ‘Fax’ icon.

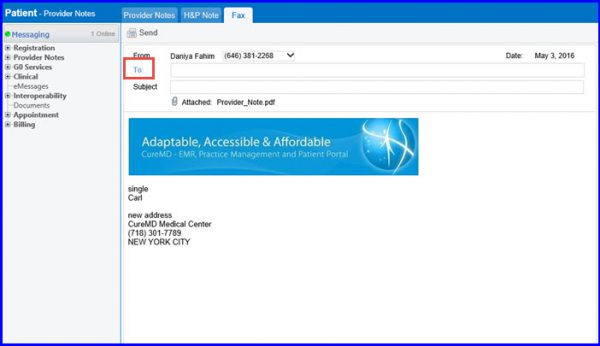
The Fax Cover Sheet Pop up will be displayed. To learn how to use the eFax console, click here.

