How to Add Tasks?
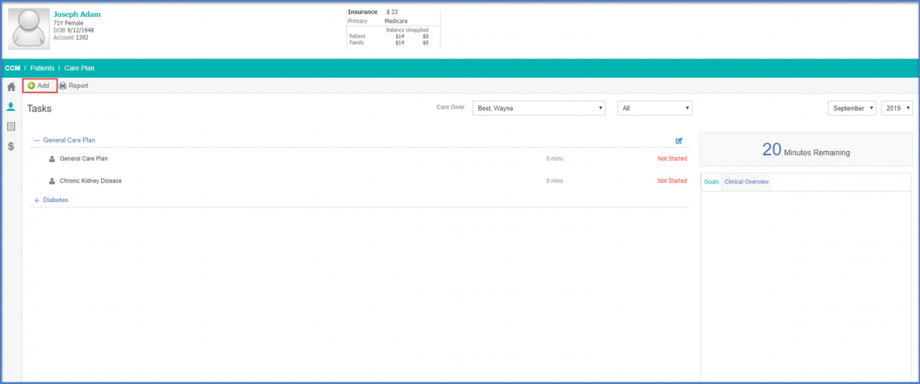
The user is able to create tasks for a patient. To add tasks to the “General Care Plan”, click the ‘Add’ button.
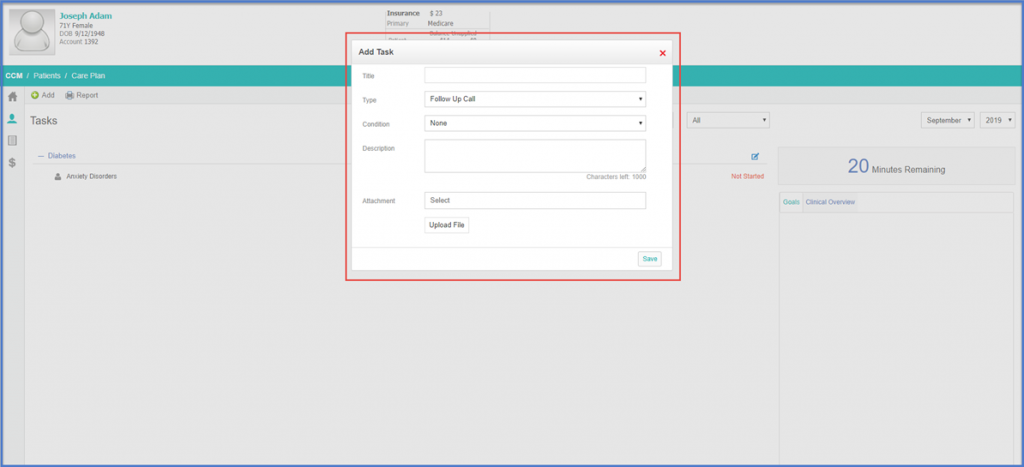
‘Add Task’ screen will be displayed. It contains following dropdowns:
- ‘Title’
- ‘Type’
- ‘Condition’
These dropdowns contain conditions associated to the user
Users can add a ‘Description’ of the task and add ‘Attachment’ if required.
Click ‘Save’.
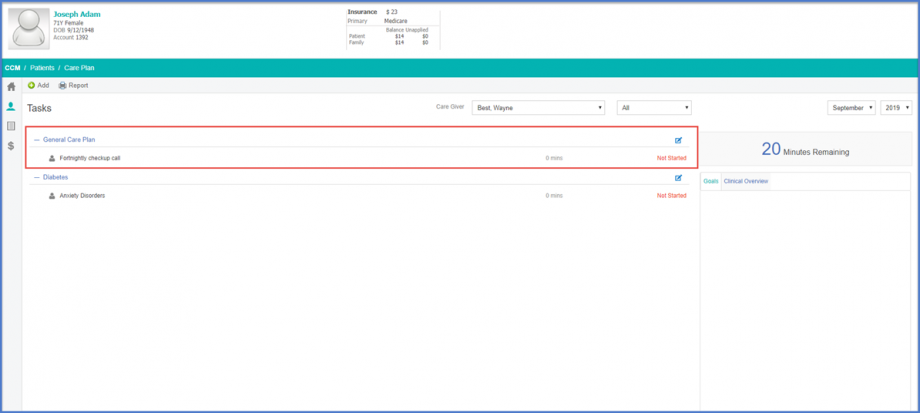
Saved task is populated under ‘General Care Plan’ heading.
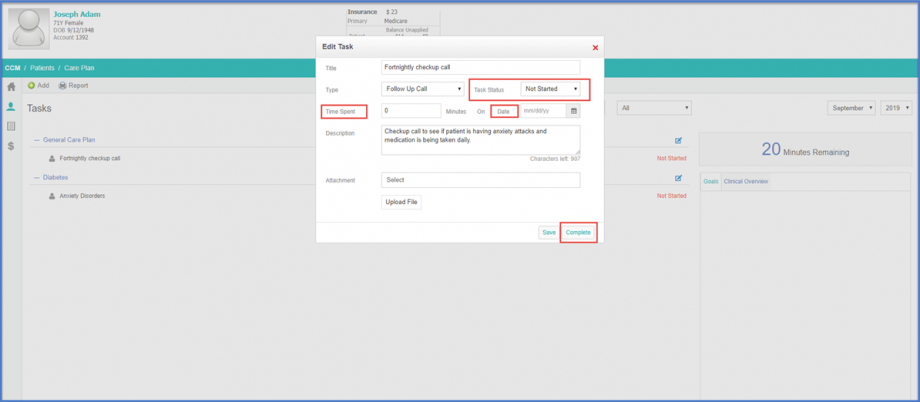
Clicking the added Task opens up the ‘Edit Task’ window. User can add minutes spent on this task on a specific date and change the ‘Task Status’ from ‘Not Started’ to ‘In Progress’.
If the task is ‘In Progress’, ‘Time Spent’ and ‘Date’ becomes a mandatory field to save the task.
If the task is completed, click ‘Complete’. ‘Time Spent’ cannot be changed once a task is completed.
To view or add a task under an existing heading, click pencil icon next to that heading.
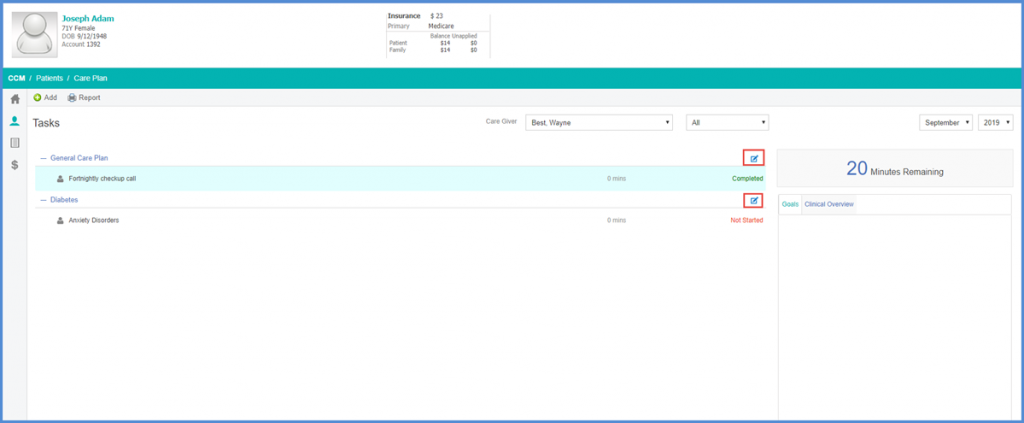
A list of predefined tasks is displayed. User can add custom task by clicking ‘Add’.

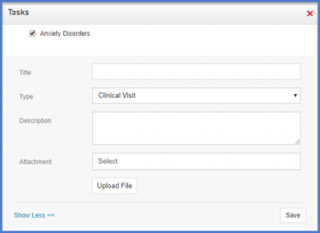
To add more details about the task, click show details.
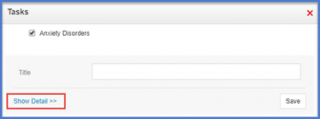
Similar to the ‘Add Task’, fields are displayed except the ‘condition’ field already has a specified condition. Fill in the data and Click ‘Save’.
Once all the goals and tasks have been saved, users is navigated to a screen that displays the patient’s detailed plan.
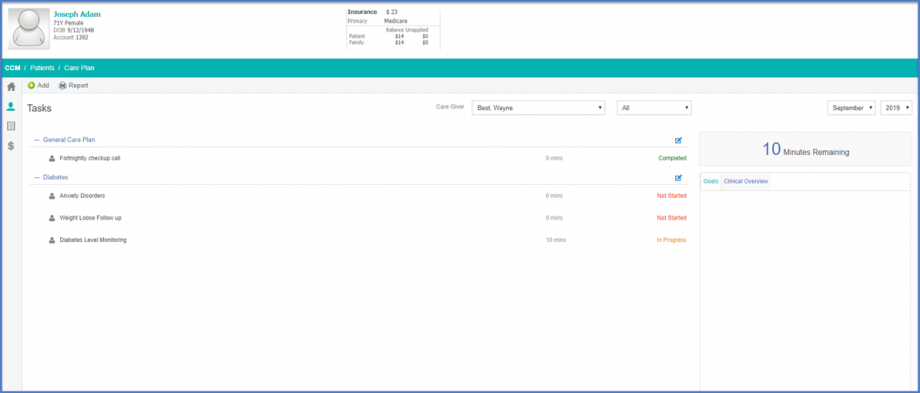
Hovering over number of minutes remaining displays a tooltip showing a log of time spent on patient’s care plan.

