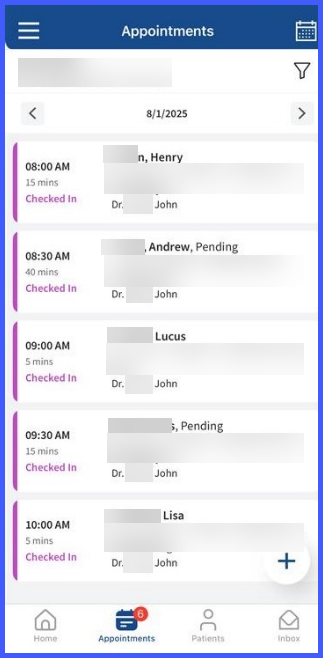
Avalon: Patient Registration and Add Insurance using CureLENS – Insurance while Booking Appointment
What’s New
- Patient Registration: Capture patient demographics by scanning a driver’s license or ID using CureLens.
- Insurance Management: Quickly add patient insurance details by scanning insurance cards during registration or from Patient Demographics
- Insurance Addition while Booking Appointment: Add insurance details during appointment scheduling for instant eligibility verification.
- Real-time Insurance Eligibility: Check insurance eligibility upon booking appointments.
- Reduced Manual Entry: Minimize data entry tasks, increasing accuracy and productivity.
- Enhanced Workflow: Streamline the patient onboarding process within the Avalon app.
Privacy & Security:
- Secure Data Capture: All scanned ID and insurance data are securely processed and stored.
- Controlled Access: Access to patient data captured via CureLENS is limited to authorized Avalon app users only.
Tips for Optimal Results:
- Ensure clear lighting when scanning IDs or insurance cards for accurate data extraction.
- Hold your mobile device steady and align the ID or insurance card within the camera frame.
- Confirm network connectivity is strong for quick data processing and eligibility verification.
- Review extracted data before submitting to ensure accuracy.
Feature Guidelines:
- Ensure CureLens has permission to access your device’s camera for capturing IDs and insurance cards.
- Scanned data may require verification; always review the extracted patient details before saving.
- Insurance eligibility verification relies on accurate input; ensure details are correct to avoid verification errors.
- Verify network connectivity for optimal performance of patient registration and insurance checks.
Requirements:
- OCR Service URLs should be whitelisted on all the client and county servers.
- Avalon mobile app version 20.1.1
- Device with a functional camera
- Camera permissions are enabled for Avalon application
- Stable internet connection
- Valid user credentials with appropriate permissions
How it Works:
- Open the Avalon EMR app and log in with your CureMD Credentials.
- Go to Home > Patients > Scan ID
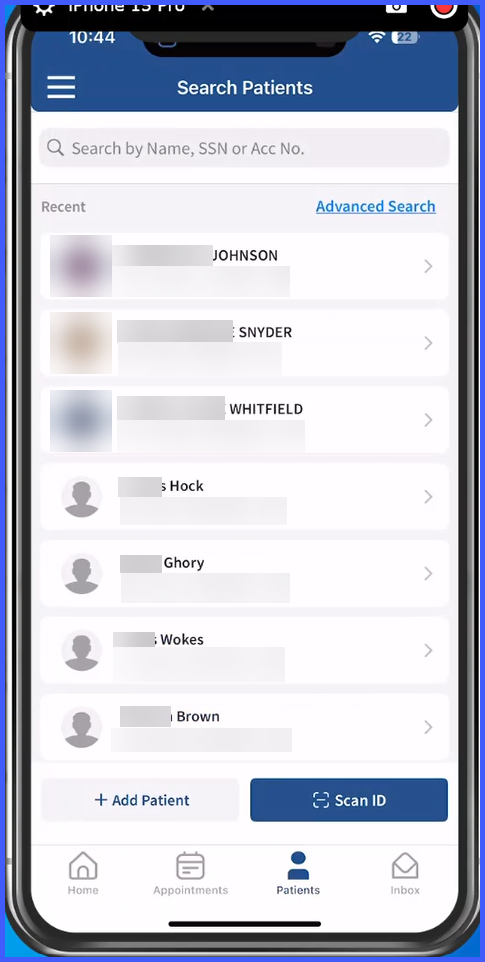
- Or Go to Home > Patients > Add Patient
Tap the CureLENS icon on the top right of Patient Registration screen to initiate scanning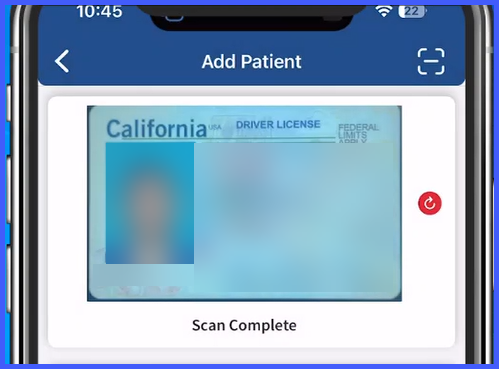
Scan ID or Driver’s License:
Align the patient’s ID or driver’s license within the camera frame and capture the image.
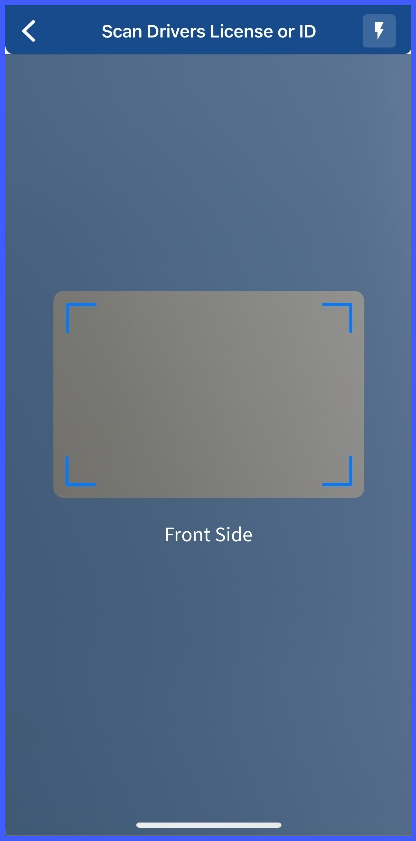
Scan Insurance Card:
- Go to Home > Patients > Scan ID > Register Patient > Add Insurance
- Go to Home > Patients > Clinical Overview > More > Insurance > Scan Insurance Card.
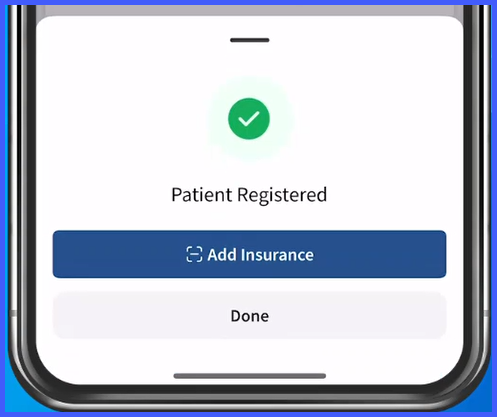
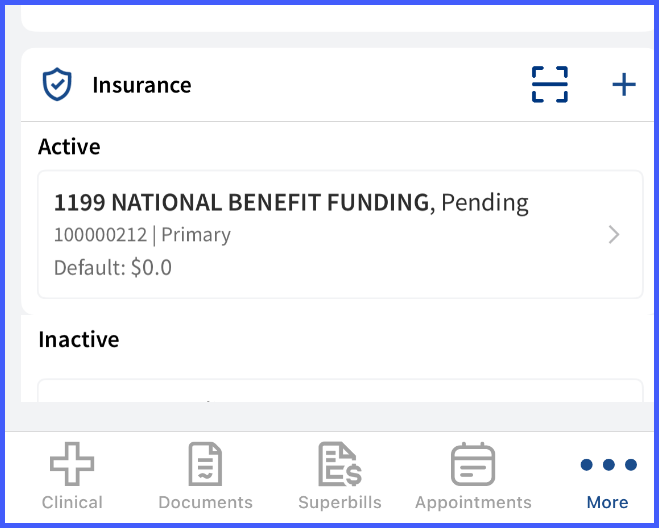
Tap the CureLENS icon to scan and auto-populate insurance details.
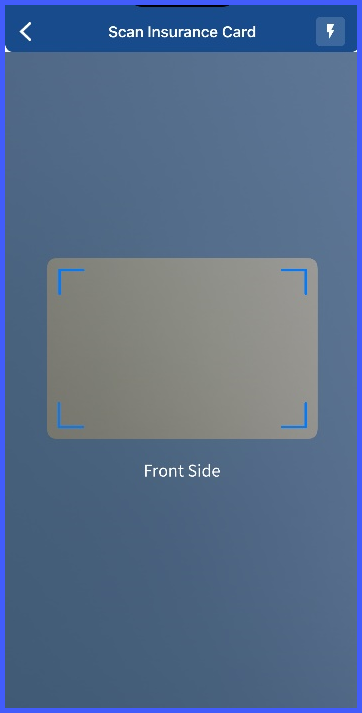
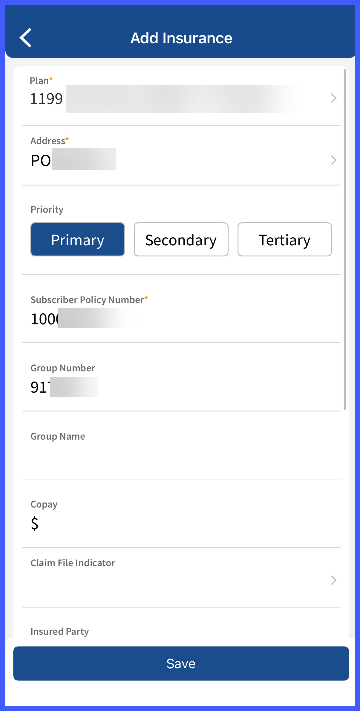
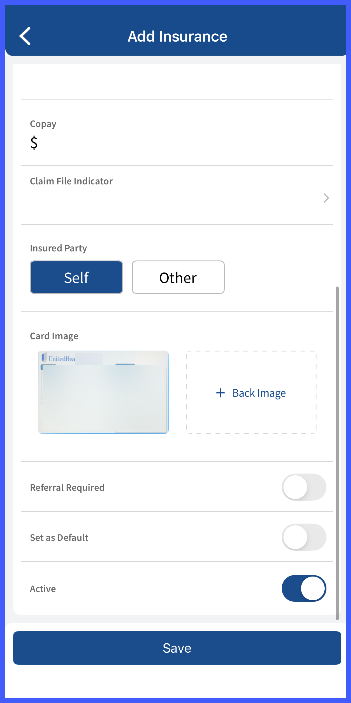
Note: Review all extracted or entered details for accuracy before saving. Submit the form to finalize Patient Registration and Insurance Addition.
Insurance Selection During Appointment Booking:
Go to Home > Appointments > Book Appointment
Complete all required steps
Select Primary, Secondary and Tertiary Insurance on Appointment Booking Screen > Press Save
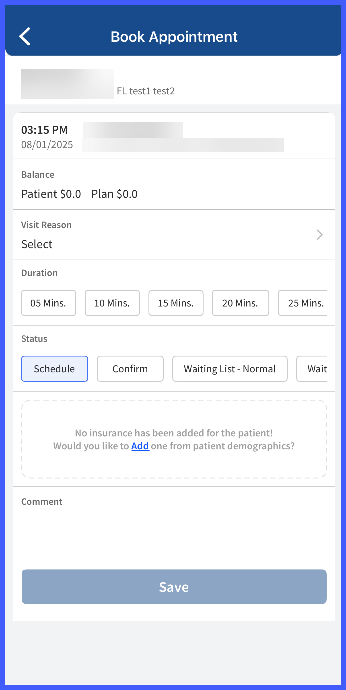
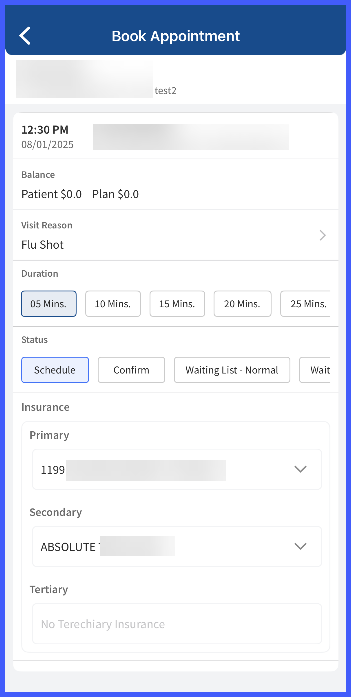
The selected insurance will be linked to the appointment and display eligibility status for the patient.