How to Access Patient Portal from Settings?
Follow the workflow above to land on the Patient Portal ‘Setup’ screen.
In the Web Address bar, copy the URL and paste it into an internet browser address bar.
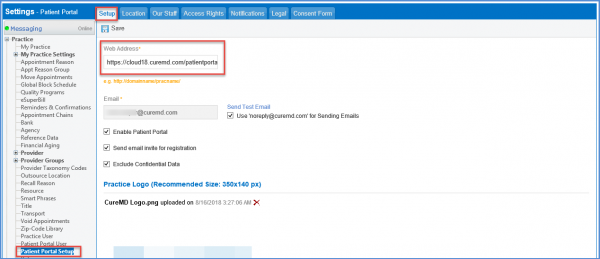
Doing so, takes user to the Patient Portal Home Screen.
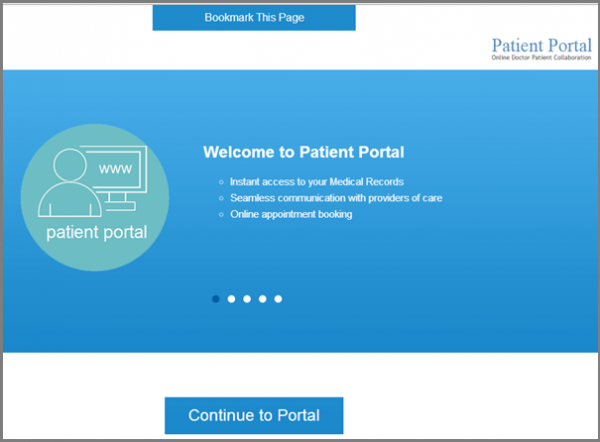
Once on “Patient Portal Home” Screen, click on ‘Continue to Portal’ button to get to the Patient Portal Login screen.
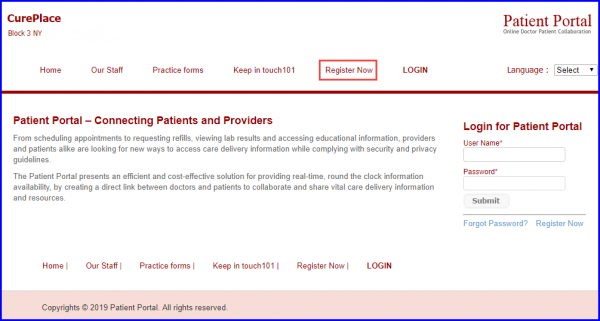
Register a patient on the portal, by clicking on the Register Now option from the Login screen.
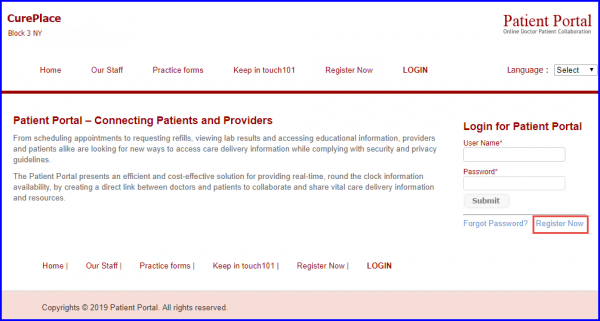
User can also register by clicking ‘Register Now’ hyperlink.
This takes user to the Patient Registration screen.
Here, user can fill in the required demographics information, e.g. First Name, Last Name etc. in their respective fields.
In the Portal Username field type the username for patient portal and enter a password of choice.
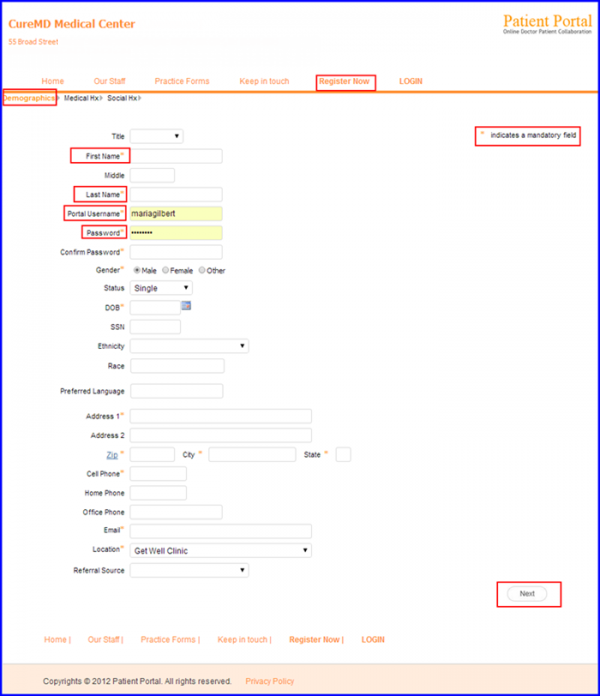
Click on Next button to proceed to the next screen.
Once done, click on the Finish button. A Request popup is displayed. Click on OK in order to proceed the request.
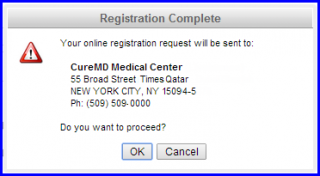
After the patient sends the Registration Request, it gets queued in the CureMD application for the provider to accept it. In order to process this request:
Go to the Personal module and expand the Patient Portal Request bucket from the left menu.
Clicking on the Registration option, opens up the Registration Requests tab.
Select the required Request by clicking on the checkbox next to it.
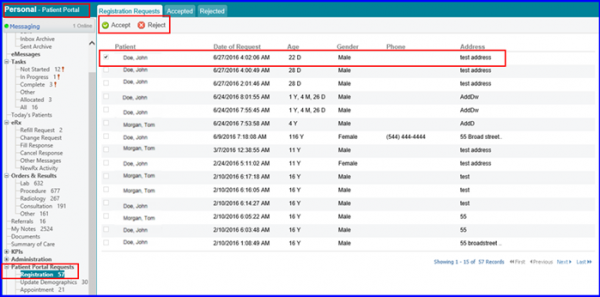
Click on the Accept button, in order to accept the patient registration request.
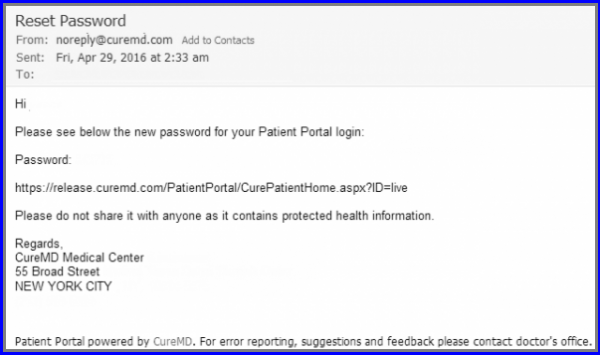
The specific patient receives response of the Registration Request via email on their personal email address.
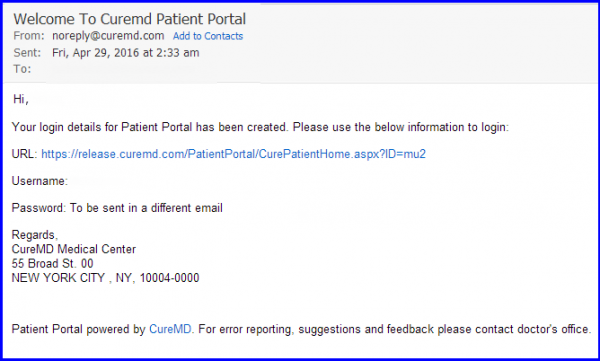
User also receives Username/Password as registration response email.
User can also create a portal login from the patient’s Profile, Settings and Scheduler.
To learn how to sort provider profiles for patient portal, click here.
To learn how to associate URL with logo, click here.
