How to Register a New Patient?
In order to register a new Patient, navigate to the ‘Patient’ module and click the ‘Add’ button.
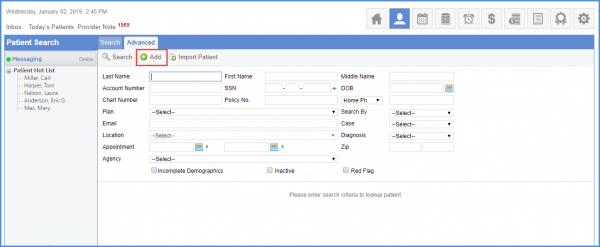
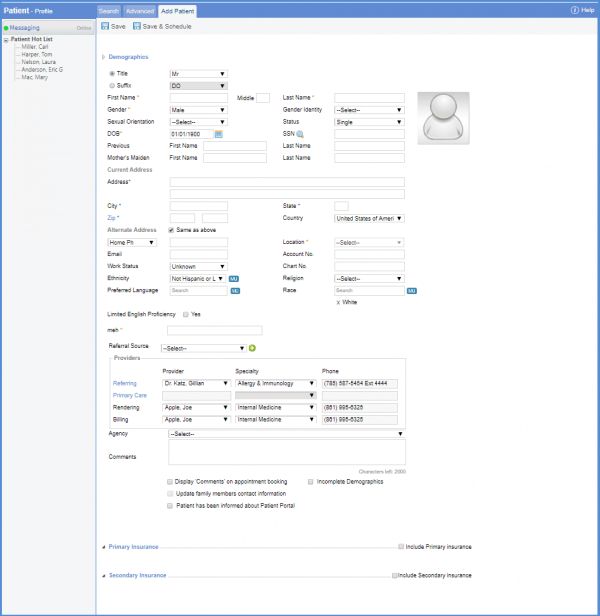
Doing so opens the ‘Add patient’ tab.
Gender Identity and Sexual Orientation is also recorded. User can select the desired option from the dropdown. If the patient does not want to disclose these demographics, they can select ‘Choose not to disclose’ option from the dropdown.
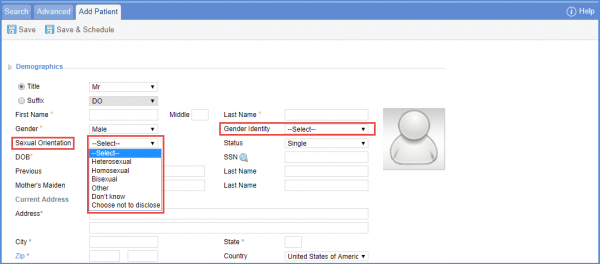
‘Sexual Orientation’ and ‘Gender Identity’ fields can be made mandatory to be filled by the user. For this kindly contact CureMD Support Portal.
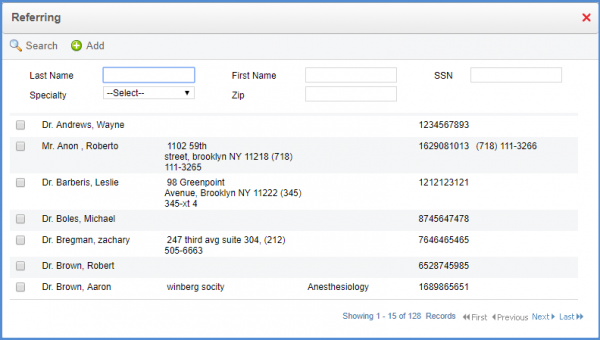
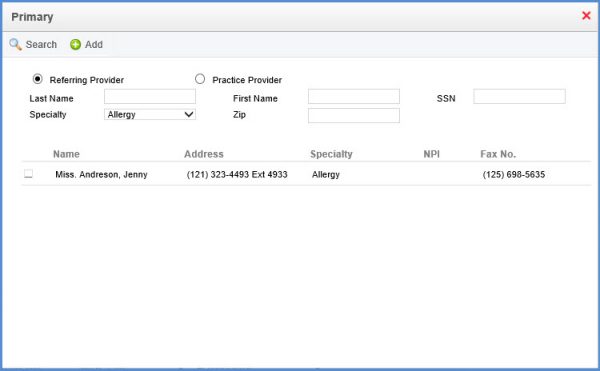
Moving further, select the Practice Location that the patient is visiting. User can enter information regarding the Referring Providers and Primary Providers by clicking on their respective blue links.
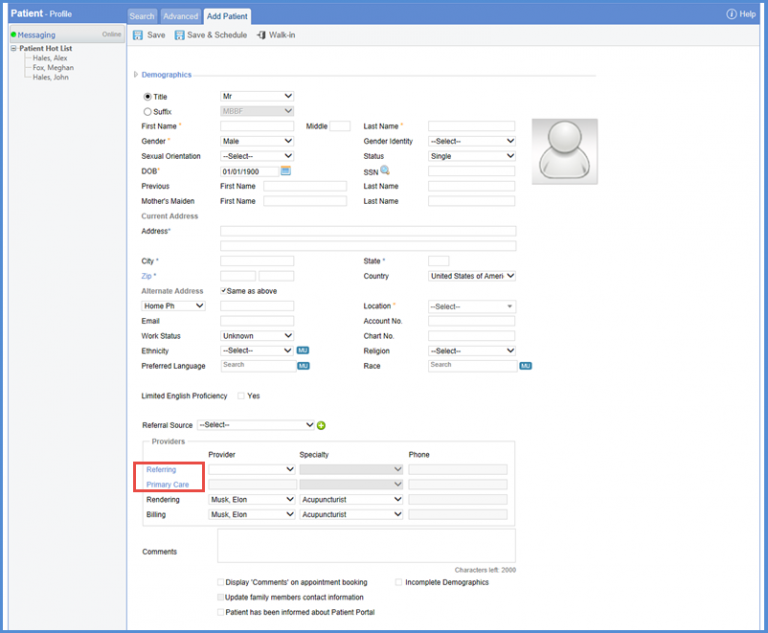
A new window opens up where the user can select ‘Referring Provider’ information.
Clicking ‘Primary Provider’ opens a window where user can select ‘Primary Provider’ information.
Once done, click Save.
Duplicate patient notification has been redesigned to prevent duplicate patient creation.
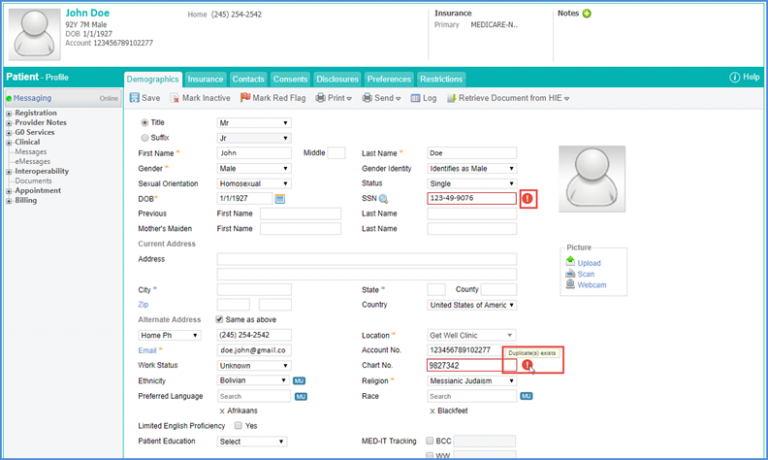
An error is shown if the checkbox is enabled from the settings to show an error if a duplicate SSN and/or Chart Number exists. To view how, click here.
When adding a new patient (or updating an existing patient), if users enter an SSN and/or Chart Number that is already recorded for a patient, a notification is shown as the user focus out of the field.
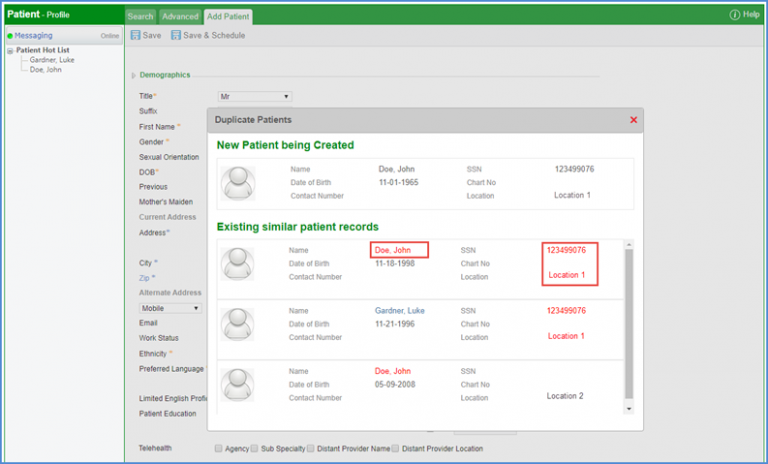
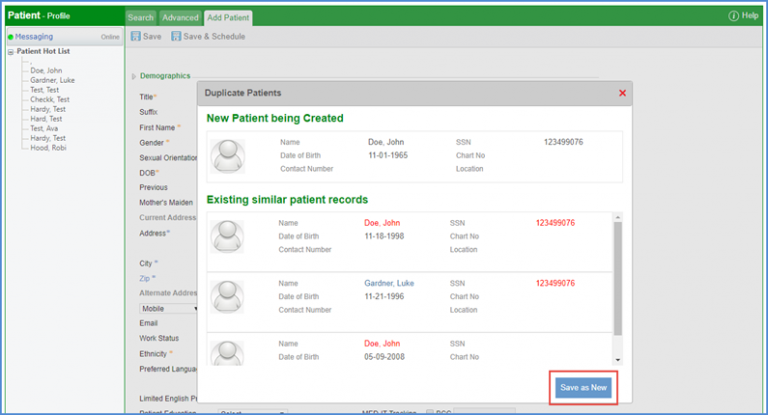
If user wants to view the possible duplicate patients, click notification icon to open the ‘Duplicate Patients’ popup where users can see the information of the new patient that is being created as well as the data of existing patients with the exact matched highlighted in red.
The possible duplicates can be seen arranged in descending order of matching fields i.e. the record with the best possible match is shown at the top.
If users close the pop-up, it is displayed docked at the right side of the screen. Users can click the docked notification to open the ‘Duplicate Patient’ pop-up again.
The names of existing patients in the pop-up are hyperlinks. Users can click the name of the patient to view the complete patient demographics in a read-only mode (provided they have the access rights to view the patients’ profile).
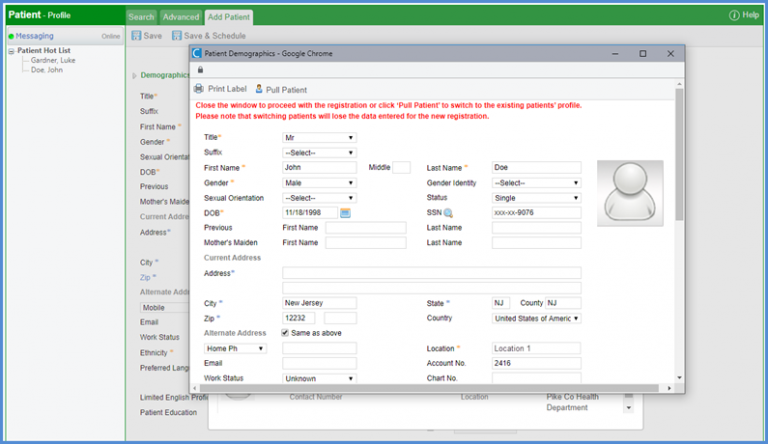
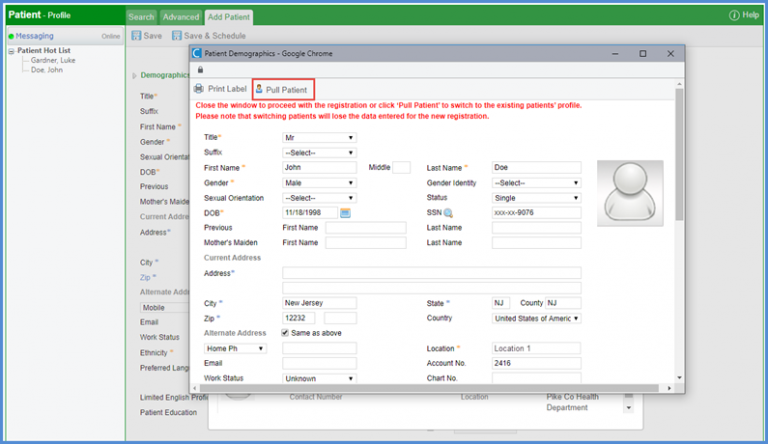
Here, users have the option to pull the existing patients’ profile by clicking ‘Pull Patient’.
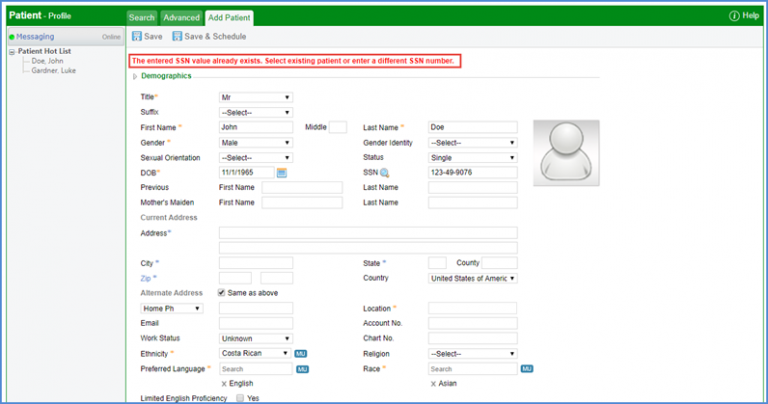
Since the settings are enabled, if a possible duplicate based on SSN/Chart Number is found, system does not allow users to save the patient until unique data is entered. Clicking ‘Save’ displays an error message.
In case the settings for duplicate patient check is disabled, the ‘Duplicate Patient’ notification warns the users that duplicates exist but allows the users to override the notification and save the patient as new.

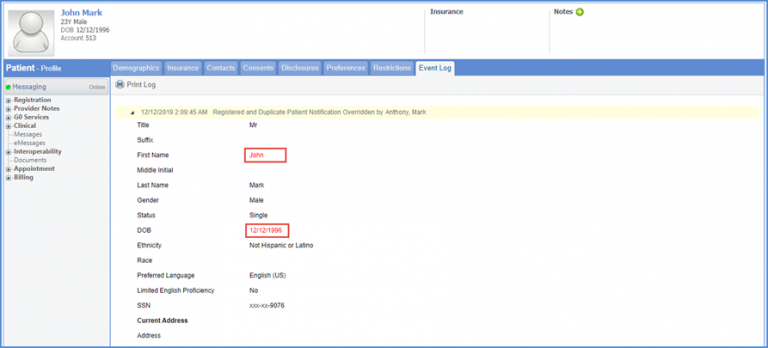
If overridden, a log entry is created to record the user overriding the notification with the duplicate fields highlighted.
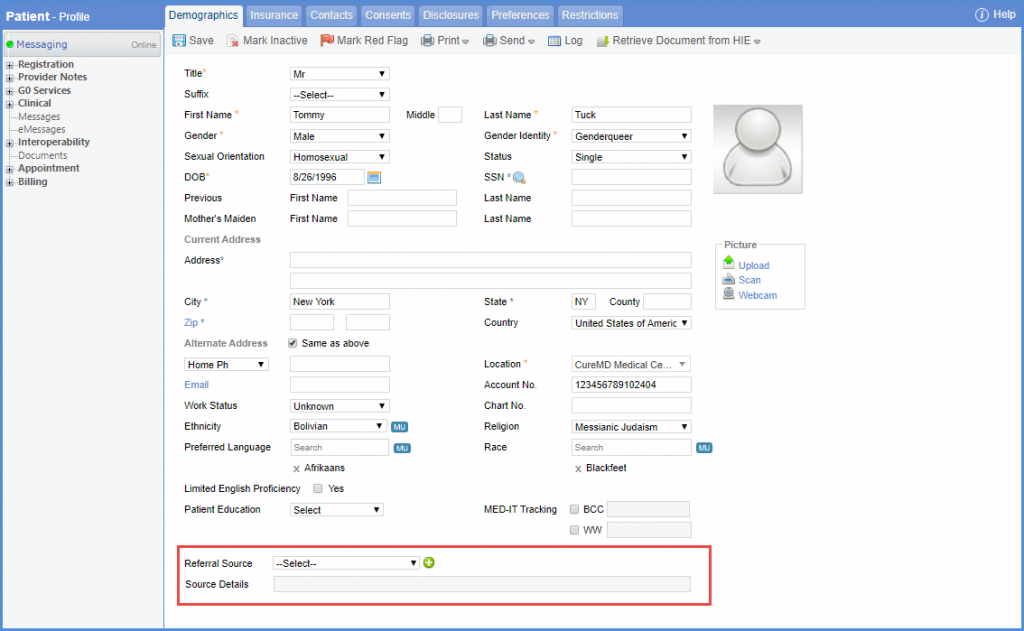
Users can record the details of a referral source for a patient as well.
In addition to the ‘Referral Source’ drop-down, an additional text field for ‘Source Details’ field has been added which appears disabled unless a referral source is selected.
Once enabled, users can add extra details related to the selected referral source if needed.
However, this needs to be enabled from User Permissions. To view how, click here.
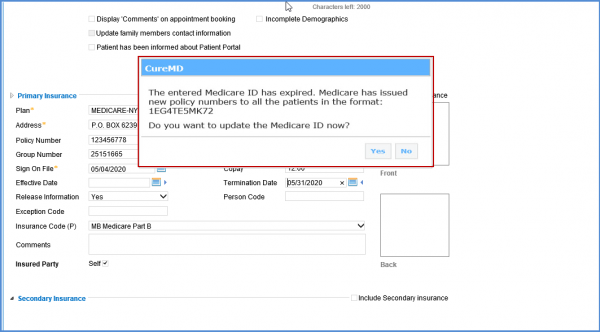
The user can register a new patient for the Medicare benefit in the Patient Demographics tab.
The user receives an alert after entering a patient’s policy number in the Health Insurance Claim Number (HICN) format instead of the Medicare Beneficiary Identifier (MBI) format.
This warning is meant to alert the user that proceeding with registering a patient using policy number in HICN format can lead to claim rejection.
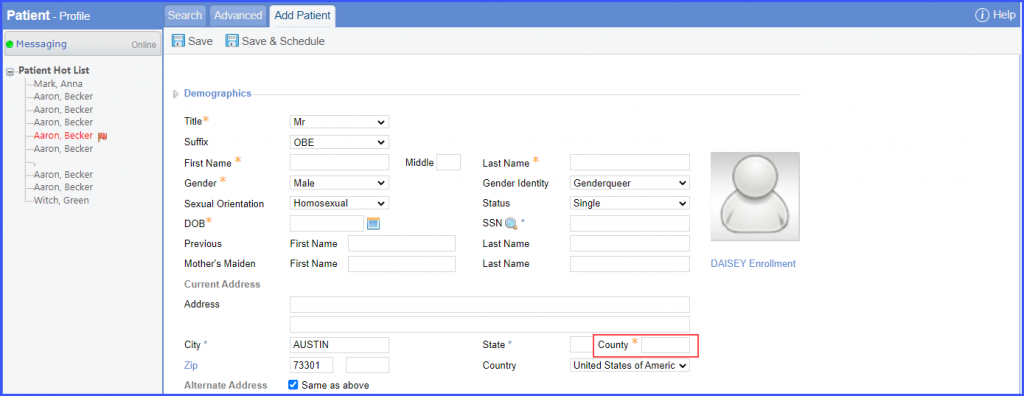
Users have the option to make the county field mandatory on the patient’s demographics page.
To enable settings for making the county field mandatory, click here.
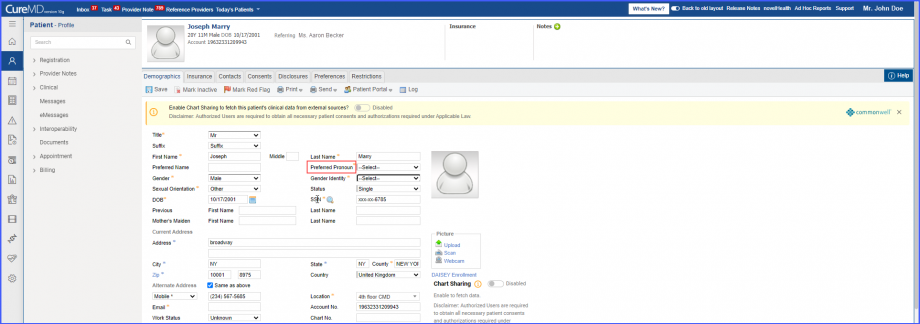
Users have the option to make the preferred pronoun field mandatory on the patient’s demographics page.
To enable settings for making the preferred pronoun field mandatory, click here.
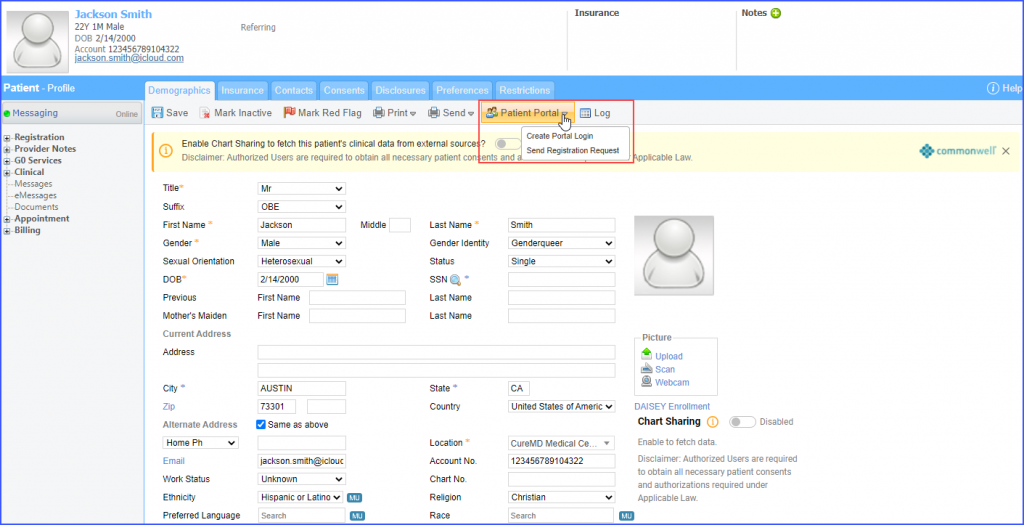
Users can send registration request for patient portal to all patients irrespective of the workflow followed.
This allows the patients to register themselves on the patient portal.
When users hover over the ‘Patient Portal’ button, the system displays a dropdown containing ‘Create Portal Request’ and ‘Send Registration Request’ options.
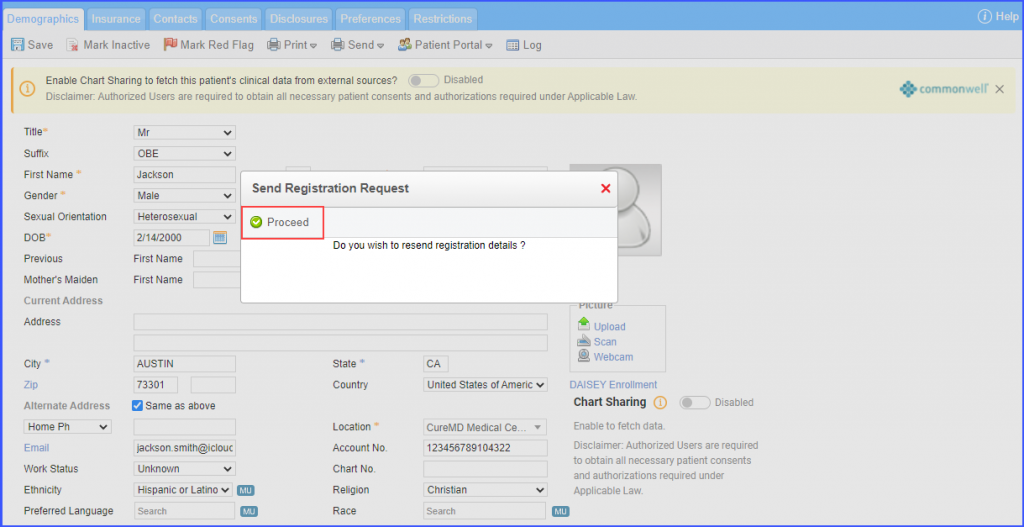
If the patient’s email address is recorded in the system, clicking on ‘Send Registration Request’ option displays a prompt with the ‘Proceed’ option.
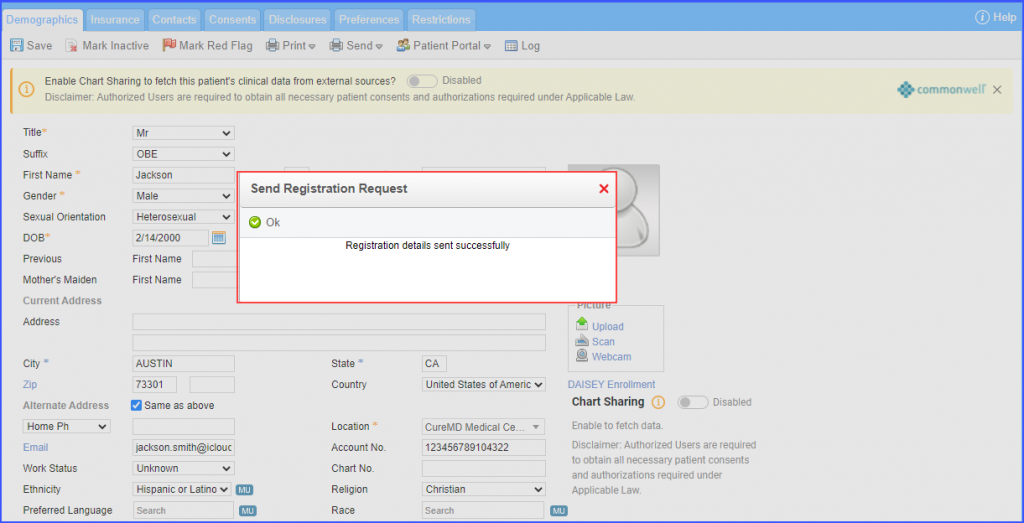
When the user clicks on ‘Proceed’ the system sends the registration details on the recorded email and displays a ‘Registration details sent successfully’ text in the popup.
However, if the patient’s email is not recorded in the system, clicking on ‘Send Registration Request’ displays a prompt with the text ‘Enter email address’.
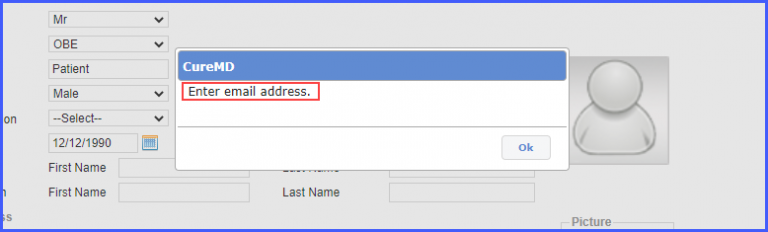
The user can add the email address in the demographics to get the proceed option for registration.
Click here to learn how to create Patient Portal from Scheduler.
To learn about Patient Portal Settings, Click here.
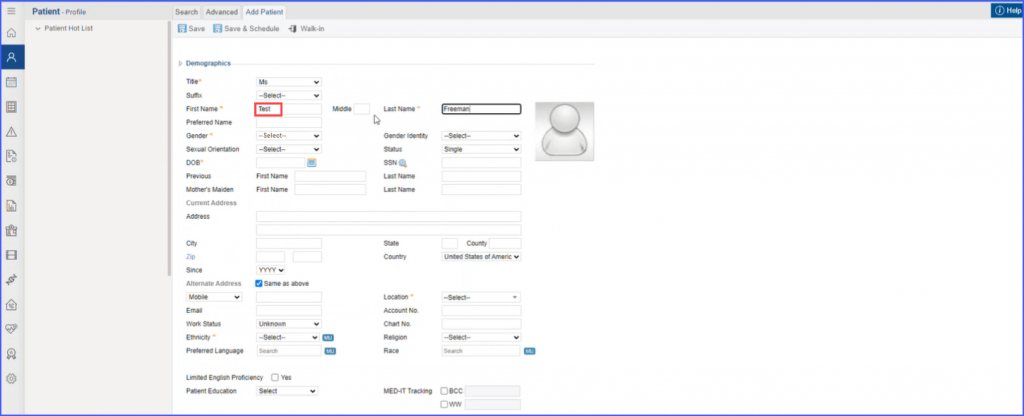
Test Patients can be recognized as being for test purposes based on the information in ‘First Name’ and ‘Last Name’ fields. ![]()
When registering a new patient, the ‘First Name’ and ‘Last Name’ fields are mandatory. If the patient’s first or last name contains the words ‘Test’ or ‘Patient’, and the user clicks ‘Save’, the application identifies them as a potential test patient. A prompt is then displayed to the user to verify that the patient being registered is a test patient.
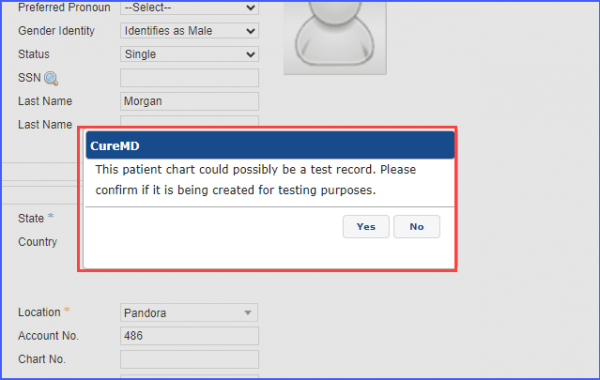
User has the option to select ‘Yes’ or ‘No’. If the user selects ‘Yes’, the patient is automatically marked as a test patient in the system.
