What is Research?
The ‘Research’ tab focuses on patients on clinical trials, allowing the research coordinator to closely monitor events that might influence the outcome of a clinical trial.
Note: This feature is available for Oncology Clients.
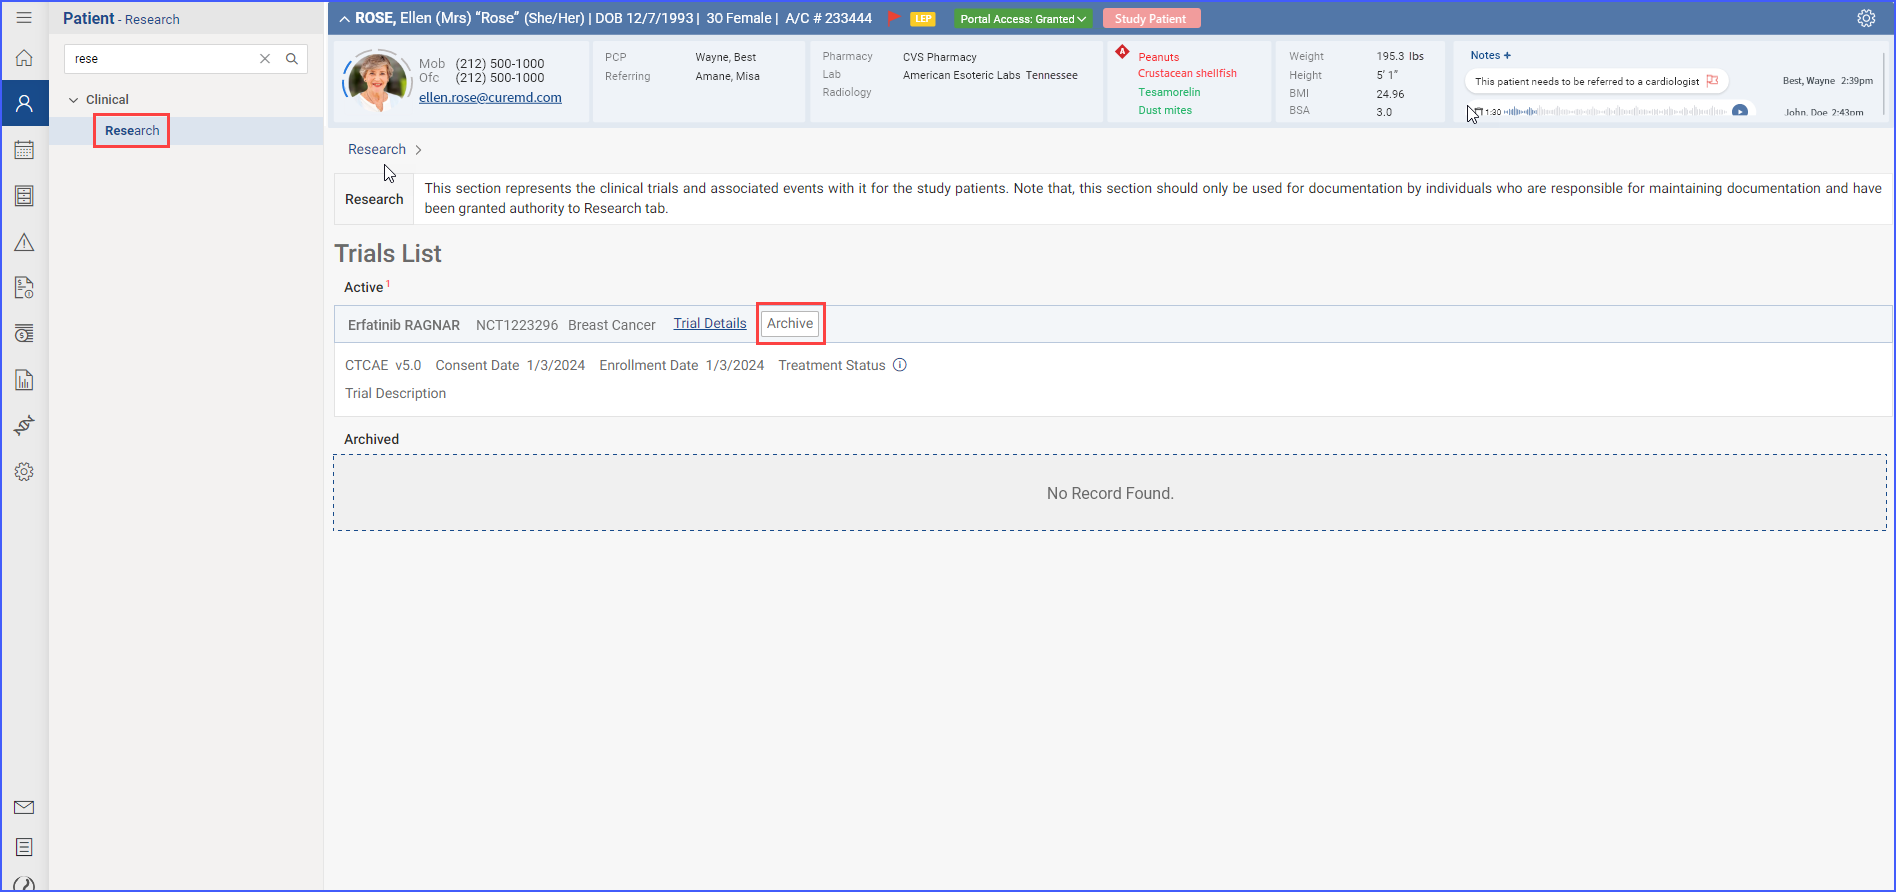
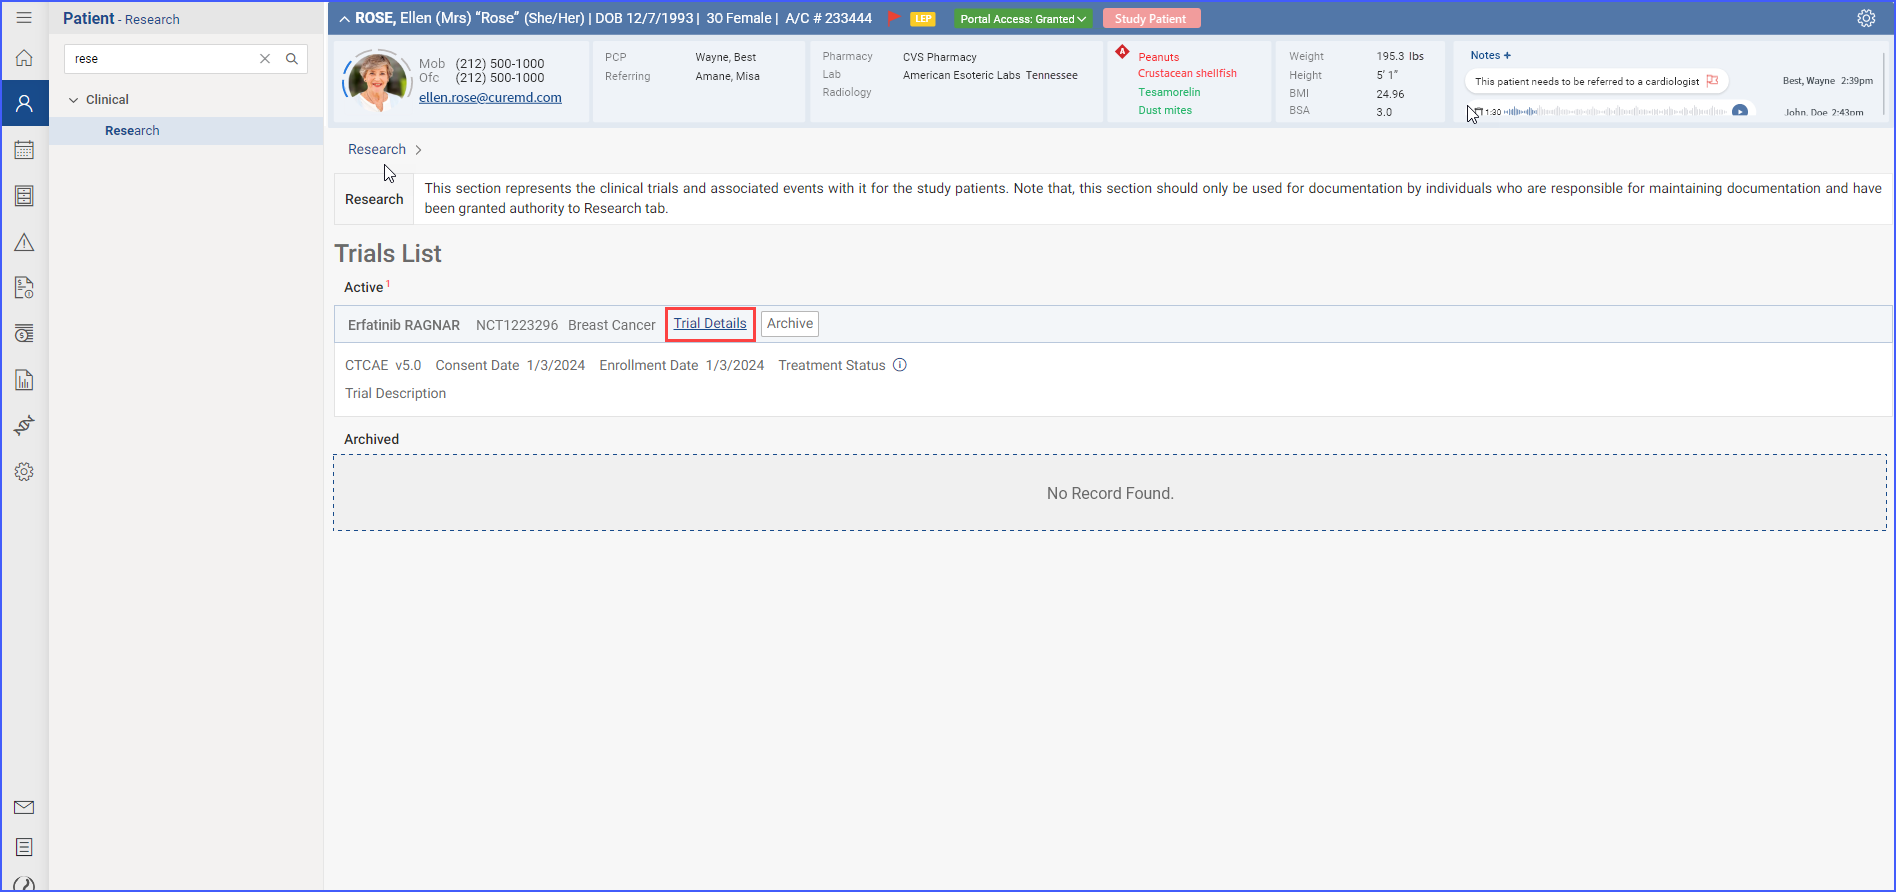
When the user navigates to the “Research” tab in a patient’s clinical section, they can view a list of all clinical trials the patient is currently enrolled in or has participated in previously.
- Archive Clinical Trials
The user can archive active trials by clicking the “Archive” button found in each trial entry.
2. View Trial Details
Users can delve deeper into specific trial details by accessing sections like Adverse Events, Concomitant Medications, and History. This facilitates a more detailed data management and tracking within trials. To access these details, users click the ‘Trial Details’ link available in the trial band.
Clicking on this link displays trial details in their separate dedicated tabs.
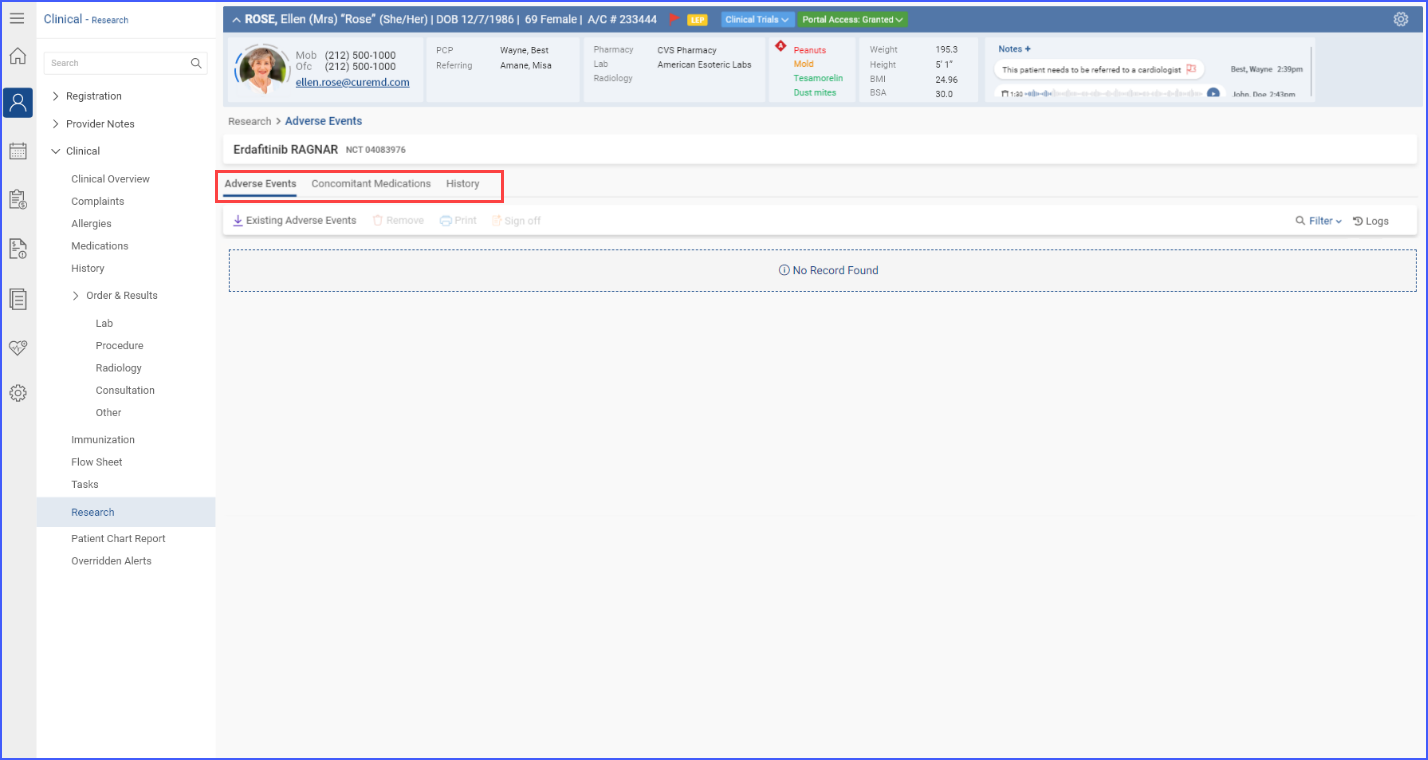
Each individual section allows for importing of data, printing of detailed reports, and requesting sign-offs, which are essential for maintaining rigorous documentation and ensuring compliance in clinical trials.
- Import Clinical Trial Data
Users with “Import/Add” permissions can import adverse events, concomitant medications, and histories and link them to the currently open trial. This can be done by clicking the ‘Existing Adverse Events/Concomitant Medication/History’ button.
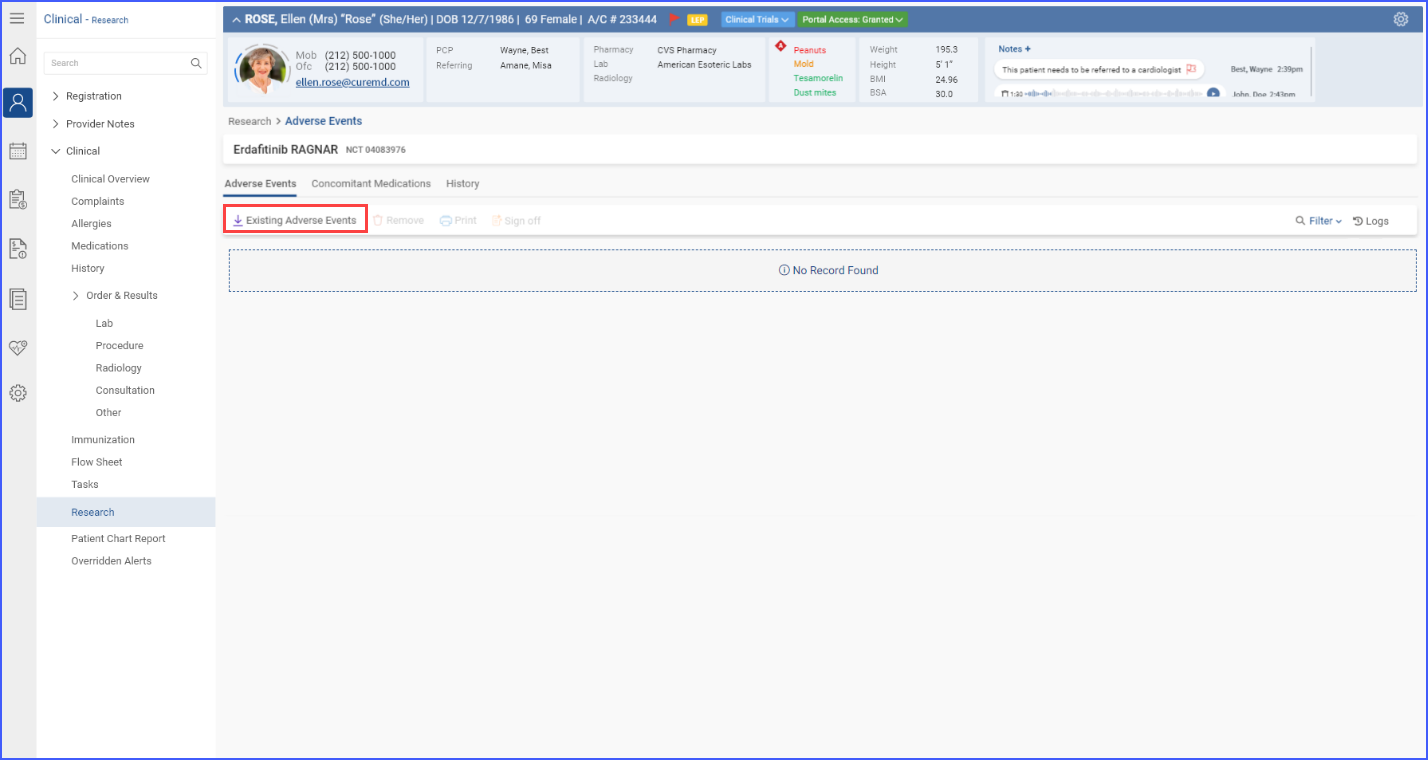
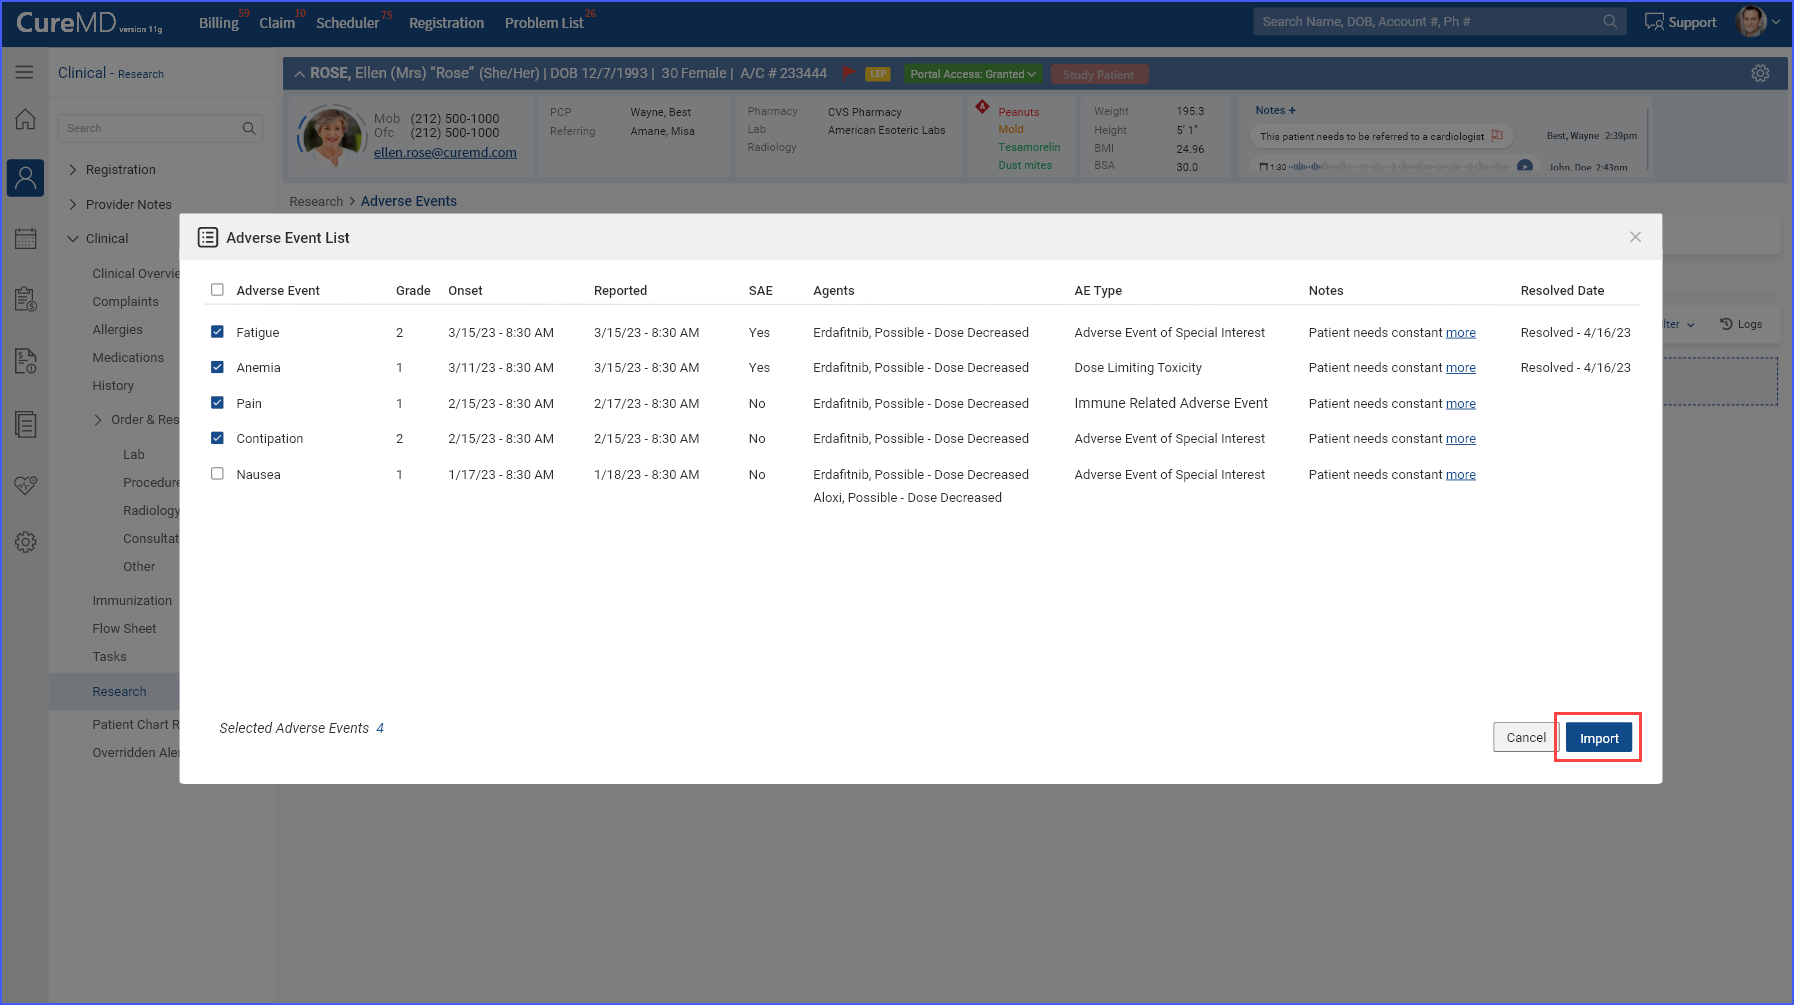
This displays a list of available data, allowing users to select items for import by checking the corresponding checkbox and then clicking the ‘Import’ button to proceed.
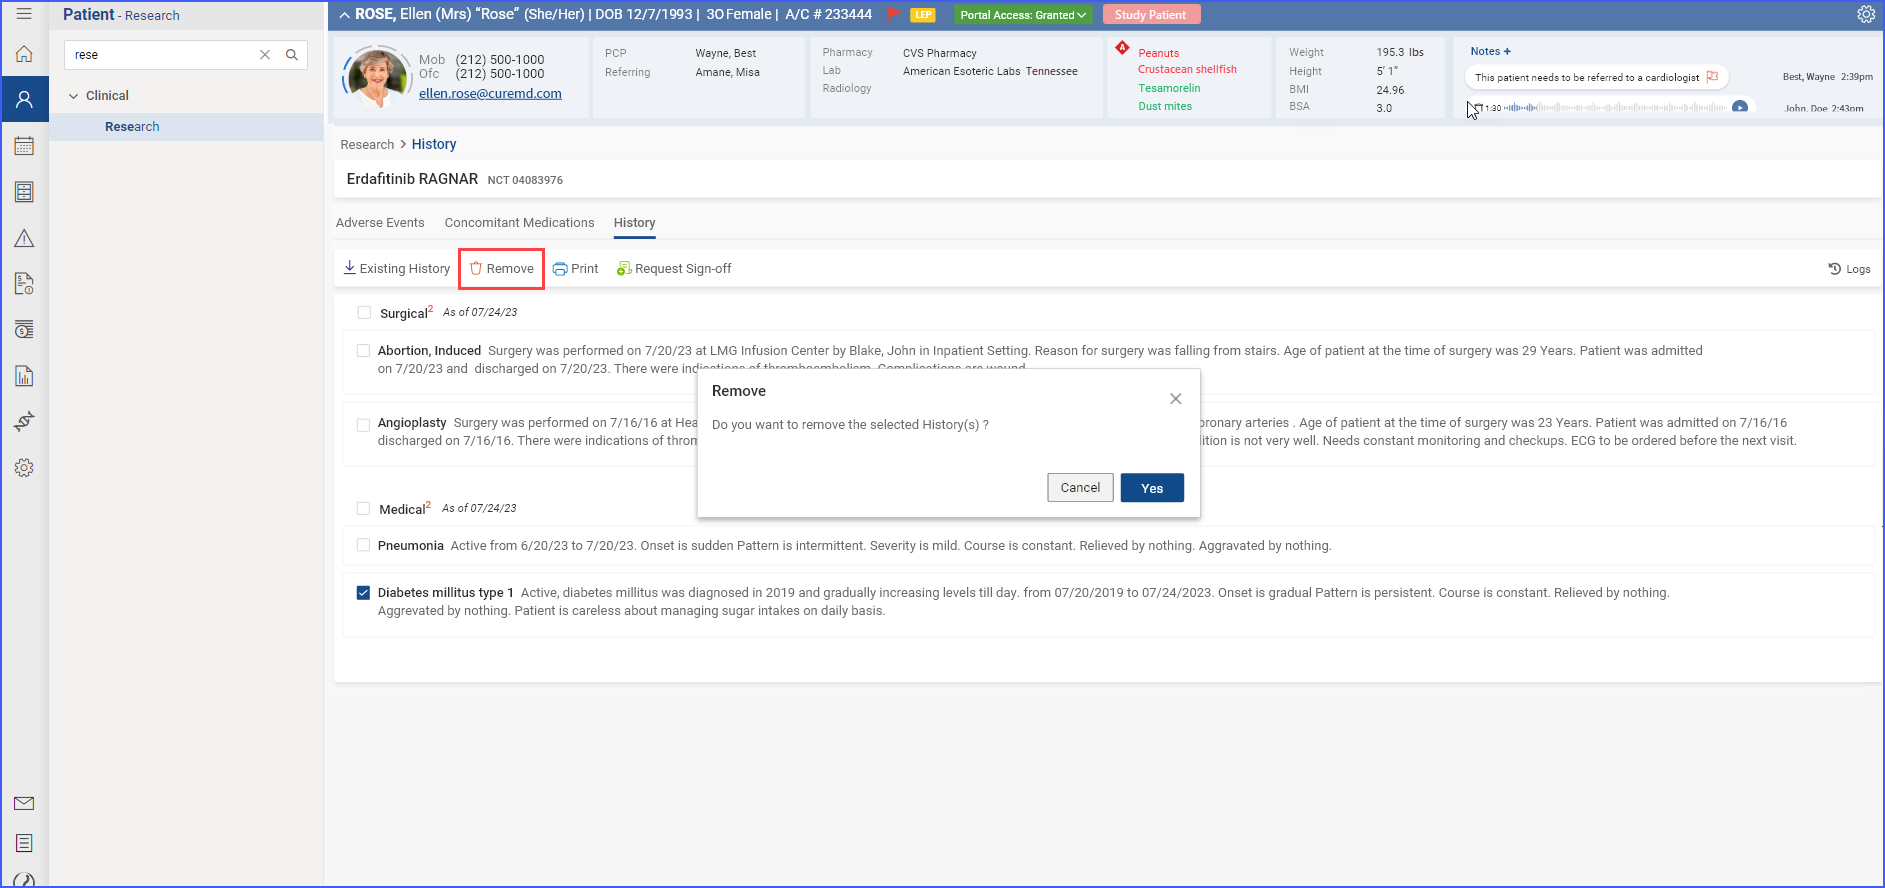
b. Remove Clinical Data
To remove adverse events, concomitant medications, or histories associated with a current clinical trial, users can select these items using checkboxes and then click the “Remove” button. A confirmation prompt appears, and upon clicking “Yes,” the selected items are successfully disassociated from the trial.
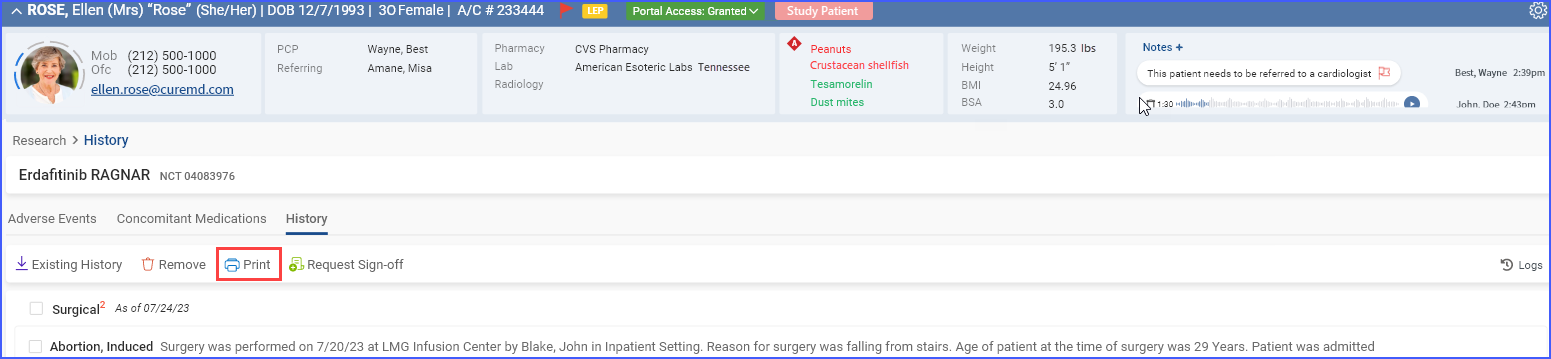
c. Print Reports
To print preview reports for data within a specific section, users can click the “Print” button.
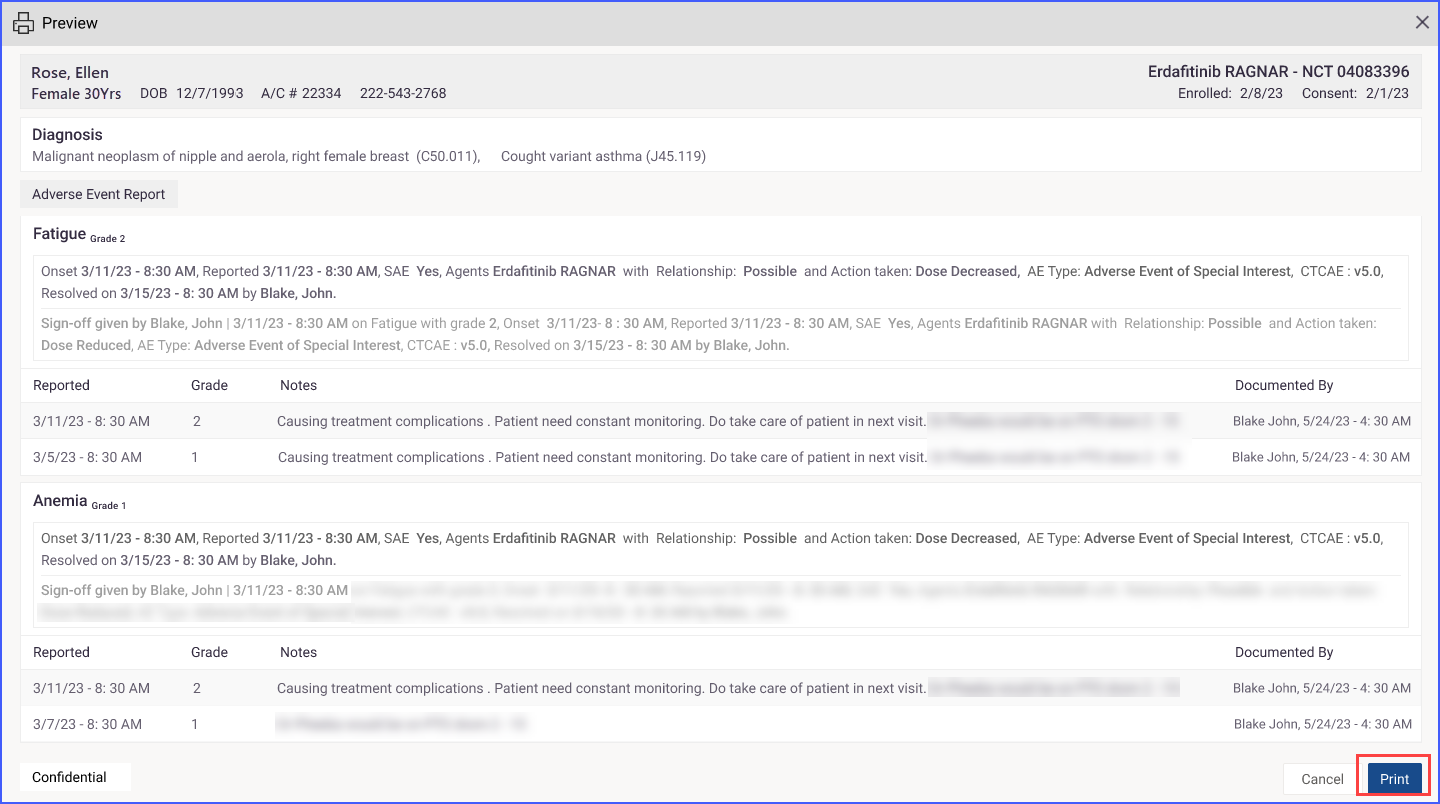
They can choose to print all the information or select specific details. After reviewing the selections in a print preview, clicking the “Print” button within the preview executes the printing of the report.
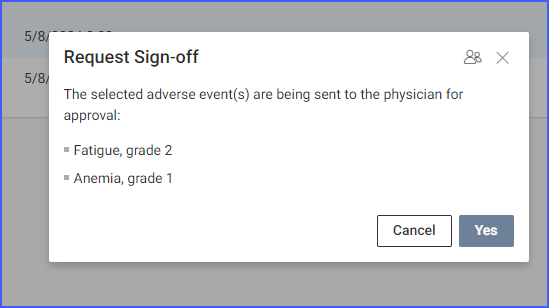
d. Request Sign-off on Clinical Data
To obtain sign-off against any added information, users can select the checkboxes for relevant records and click the ‘Request Sign-Off’ button.

On the ‘Request Sign-Off’ screen, the information pending sign-off is displayed.
Users also have the option to assign tasks to specific users or roles, ensuring they are notified that their sign-off is required. Assigning of tasks can be done by clicking the user icon available at the top of this screen.

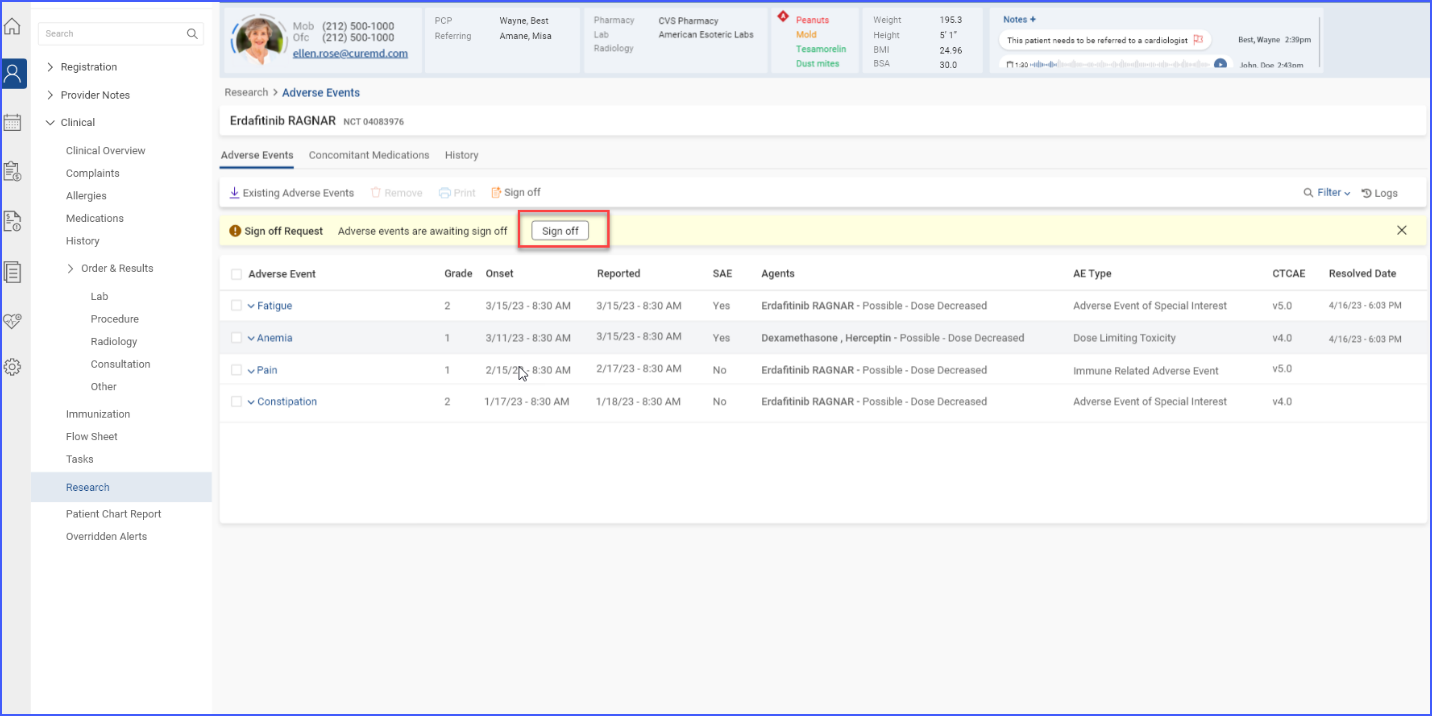
e. Approve Sign-off Requests
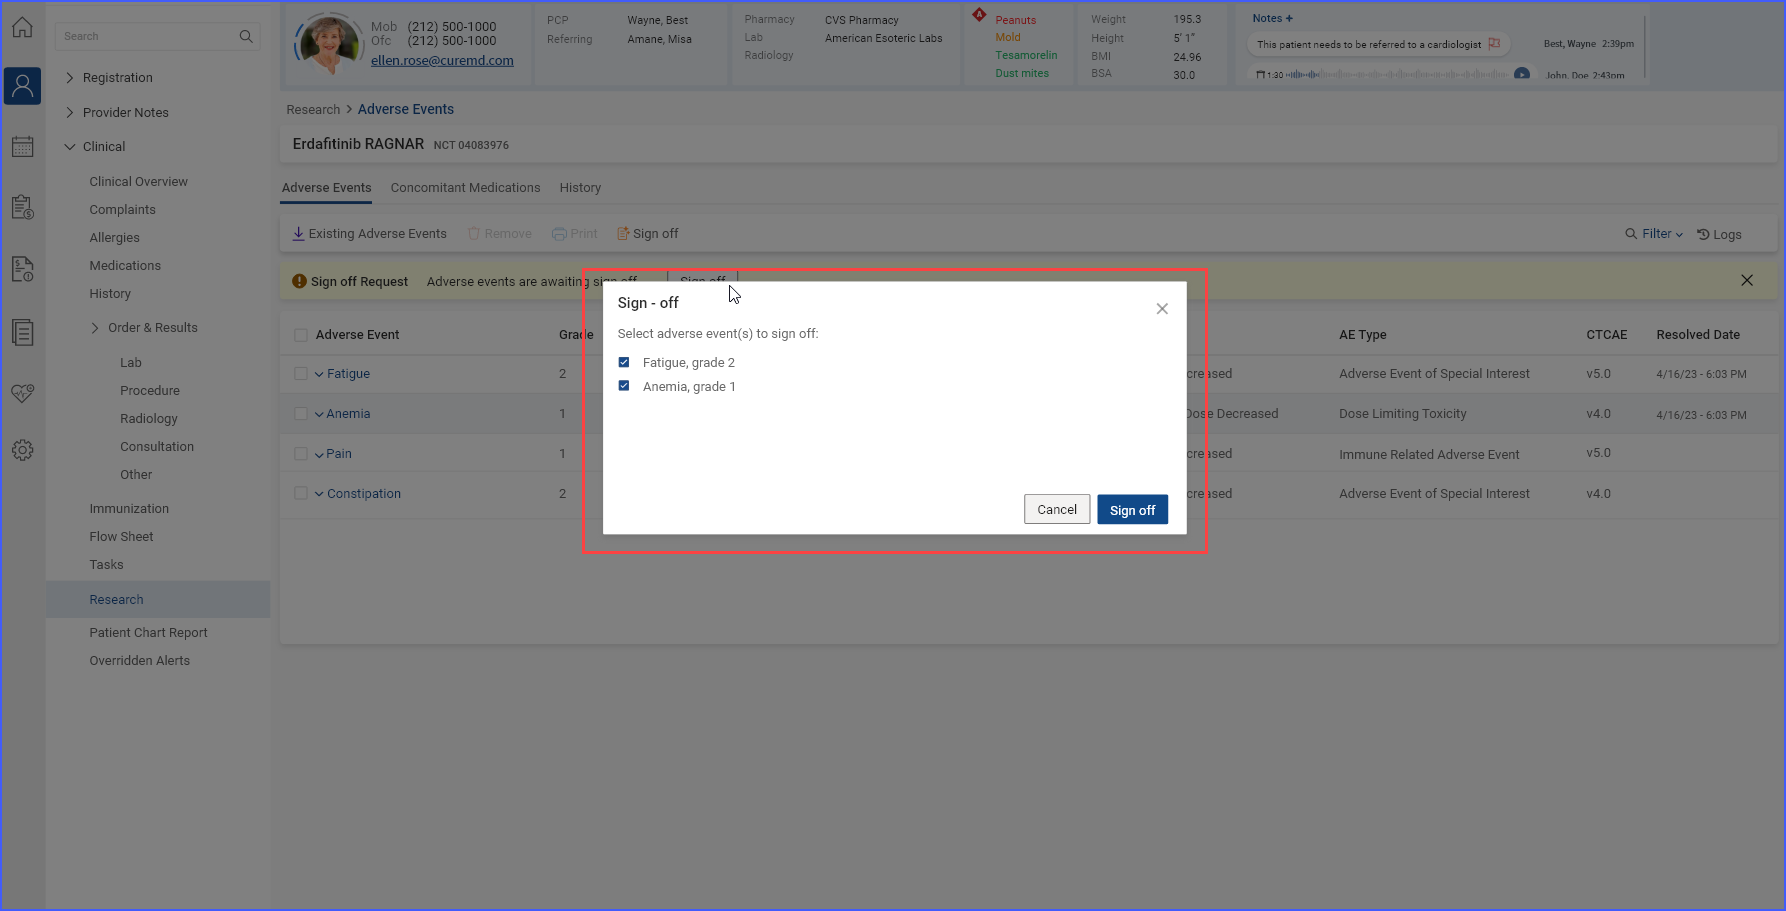
Once a sign-off request is submitted, users with sign-off authority can approve and sign off on the requested information by clicking the ‘Sign off’ button.
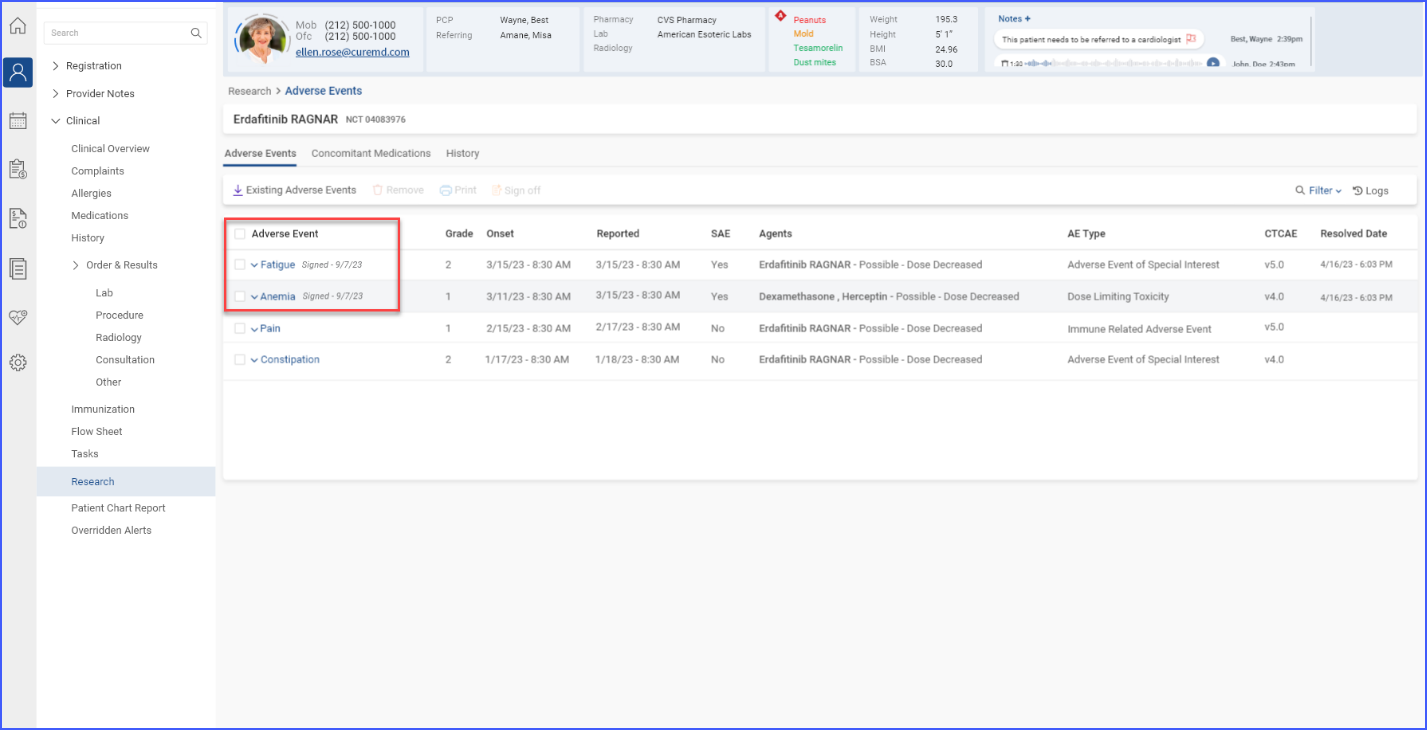
The information that has been signed off is then marked as ‘Signed’ in the listing.
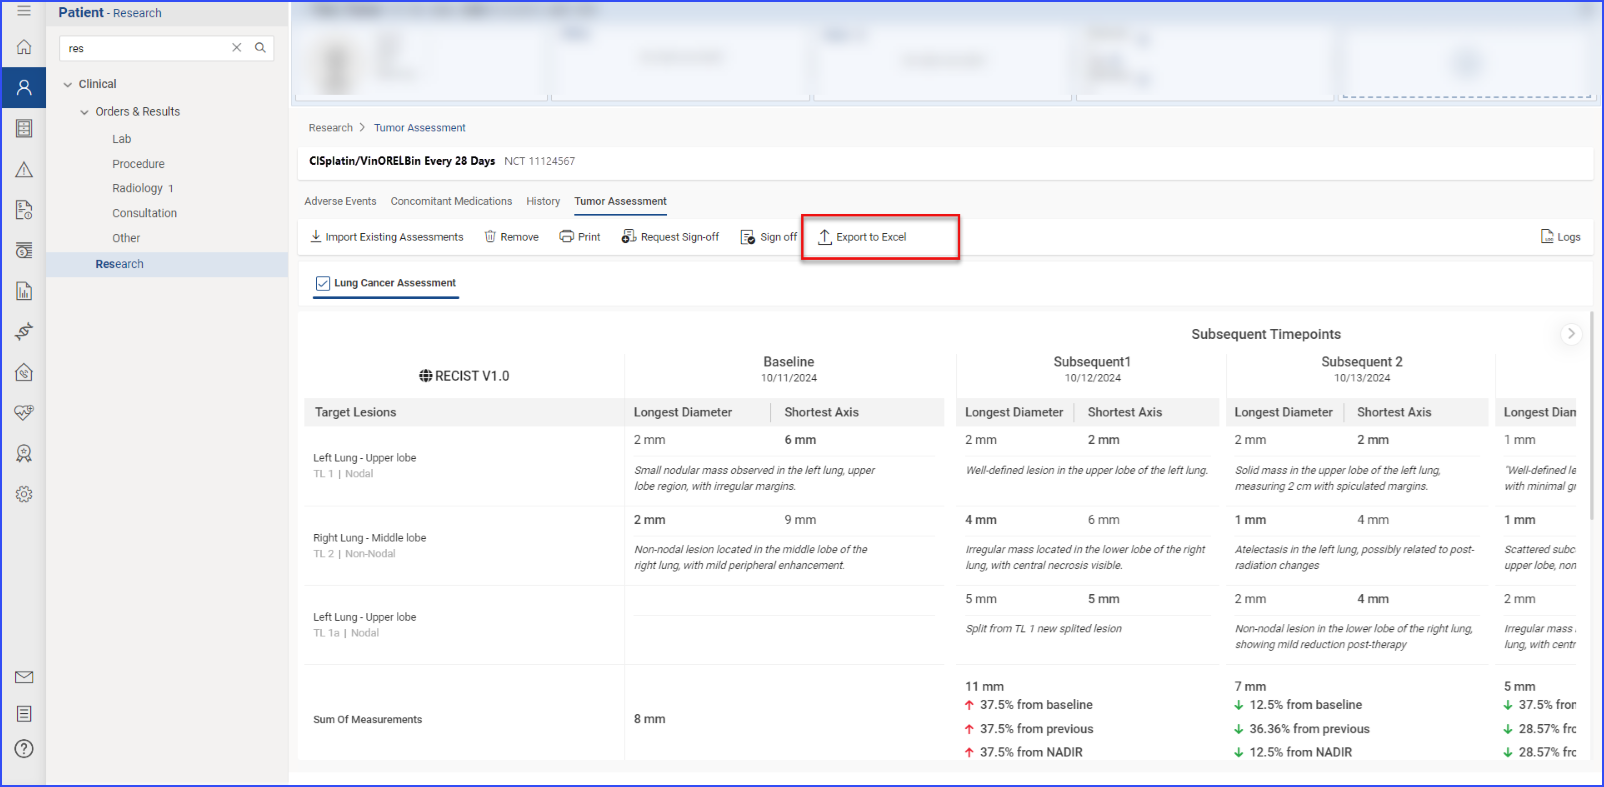
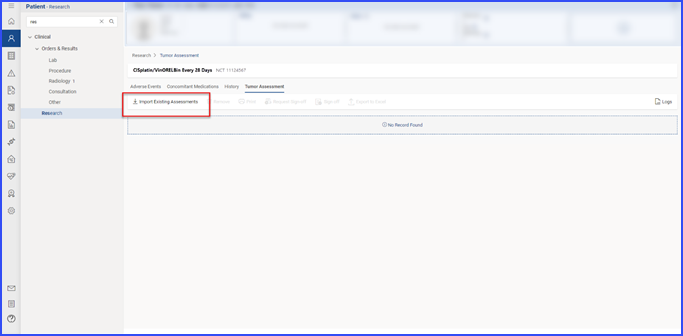
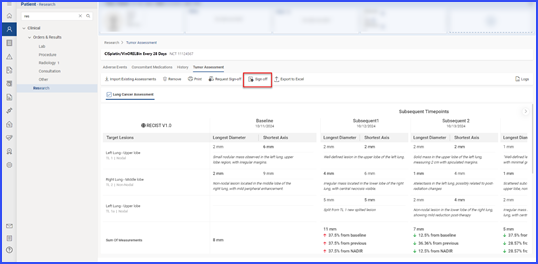
Users access the Tumor Assessment section within the “Research” tab of a patient’s clinical details by clicking the “Tumor Assessment” button. 
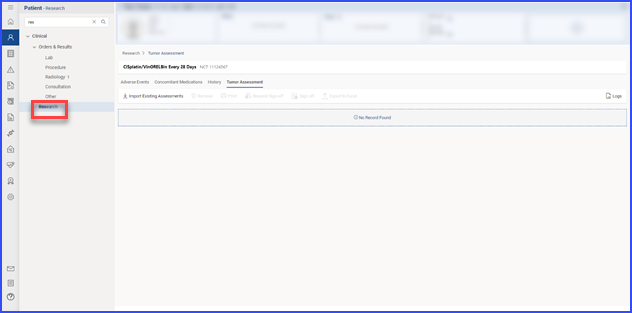
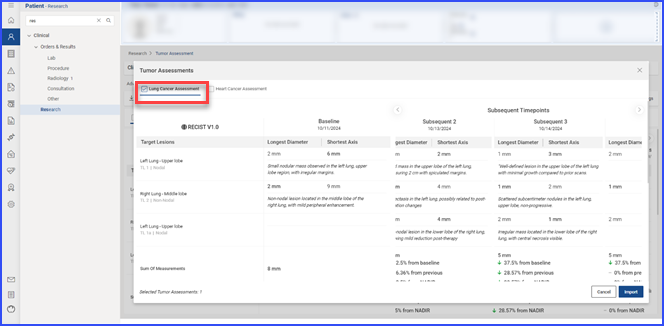
This directs the user to the specific Tumor Assessment section associated with the clinical trial open in context. Users with “Import/Add” permissions can import tumor assessment data by clicking the ‘Import Existing Tumor Assessment’ button, displaying a list of available data. Users select items by checking the corresponding checkboxes and click “Import” to proceed.
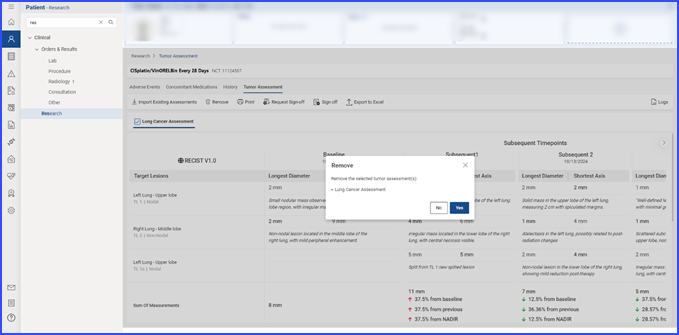
To remove tumor assessments linked to the current clinical trial, users select the relevant items and click the “Remove” button.
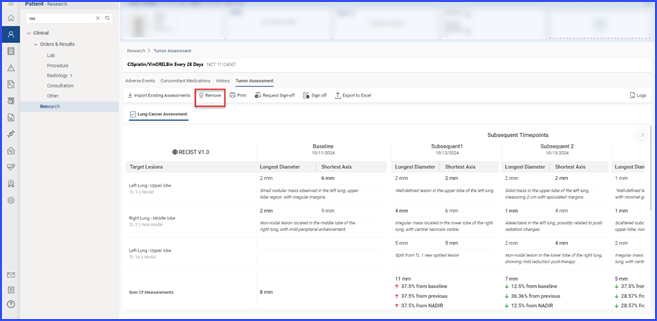
A confirmation prompt appears, and the user confirms by selecting “Yes” to disassociate the selected items from the trial.
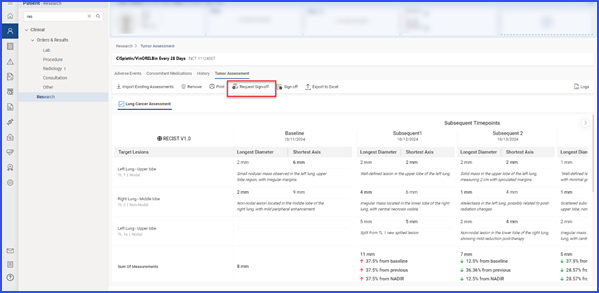
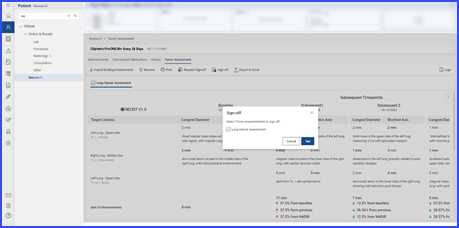
Users can request sign-off by selecting relevant records and clicking the ‘Request Sign-Off’ button.
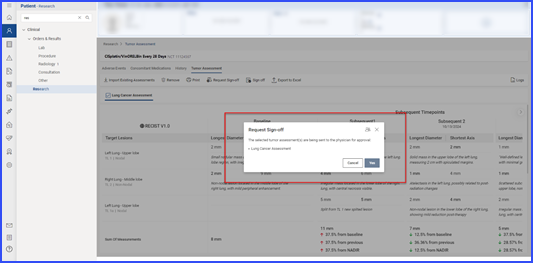
The pending sign-off information is displayed on the ‘Request Sign-Off’ screen, and users can assign tasks to specific individuals by clicking the user icon.
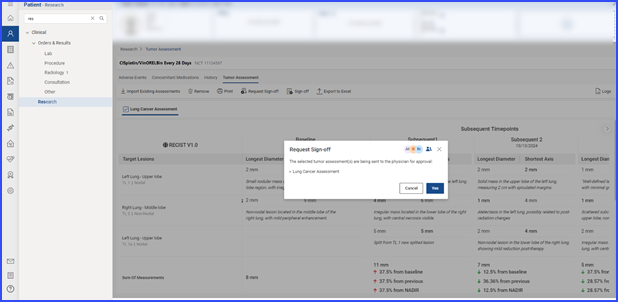
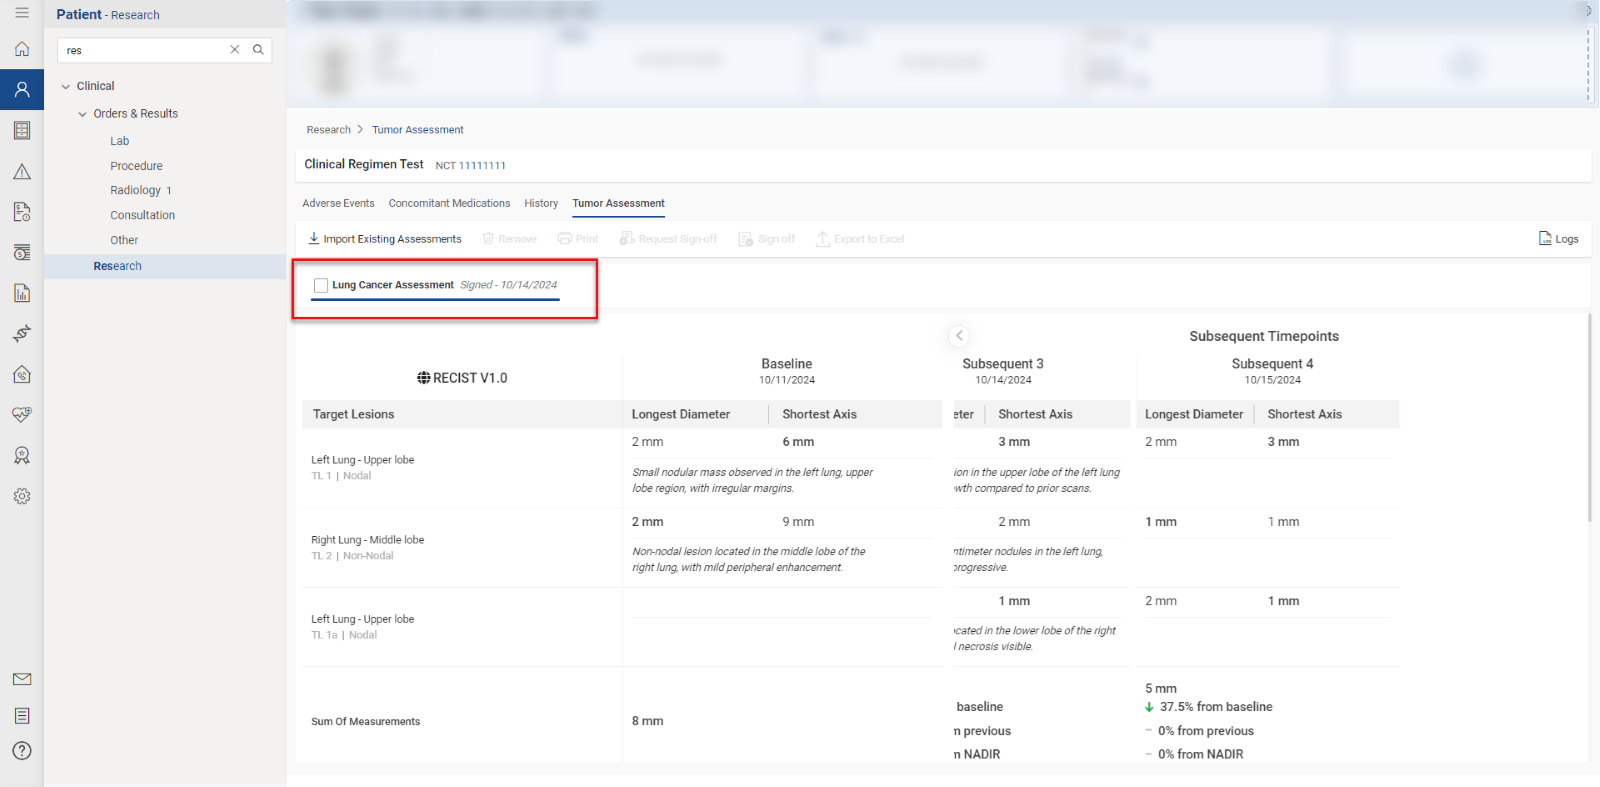
Once submitted, users with sign-off authority can approve by clicking the ‘Sign off’ button, after which the record is marked as ‘Signed.’
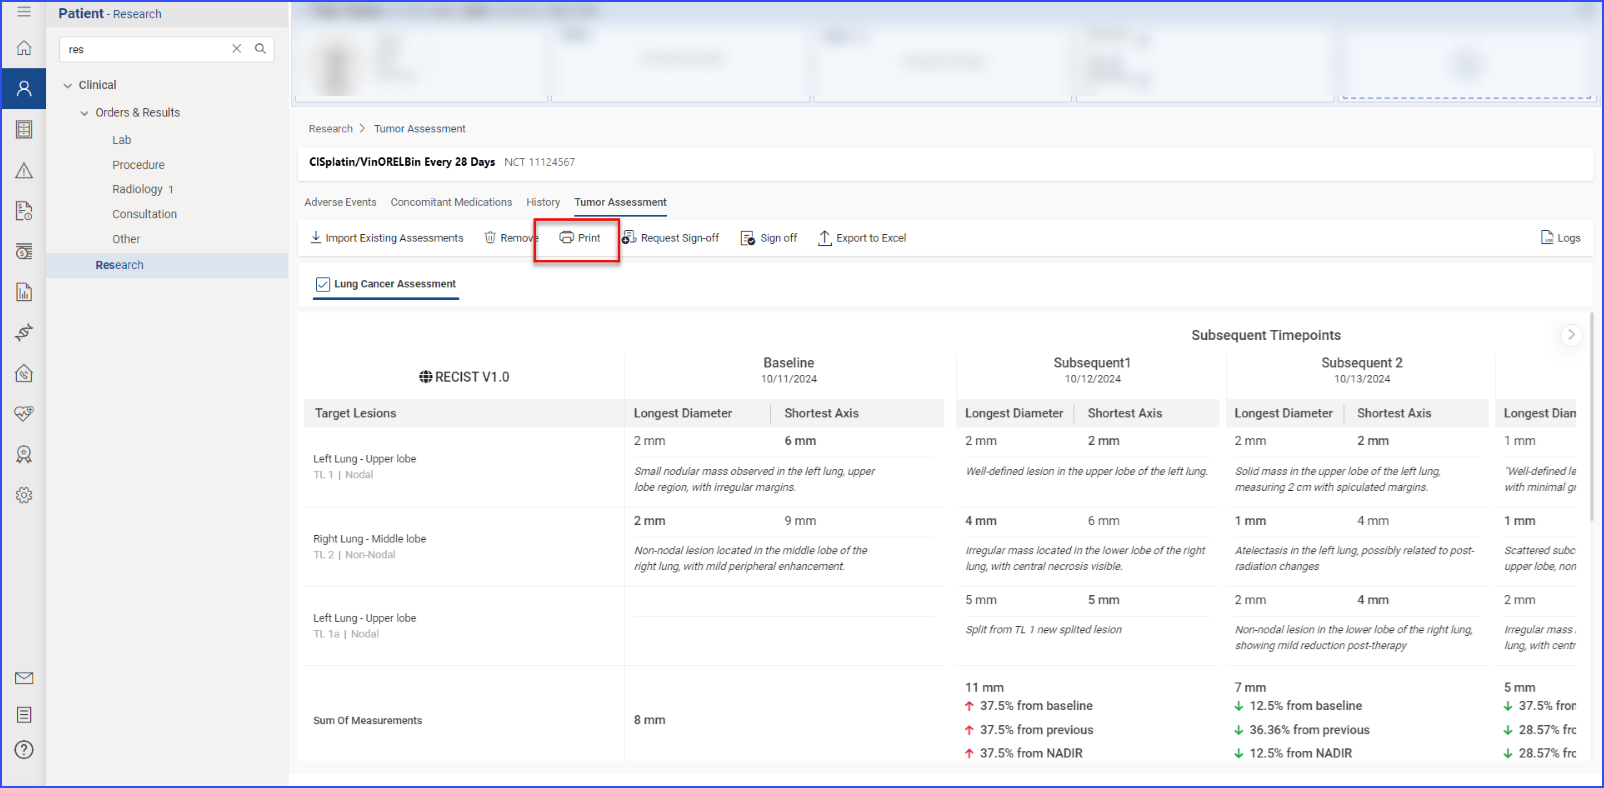
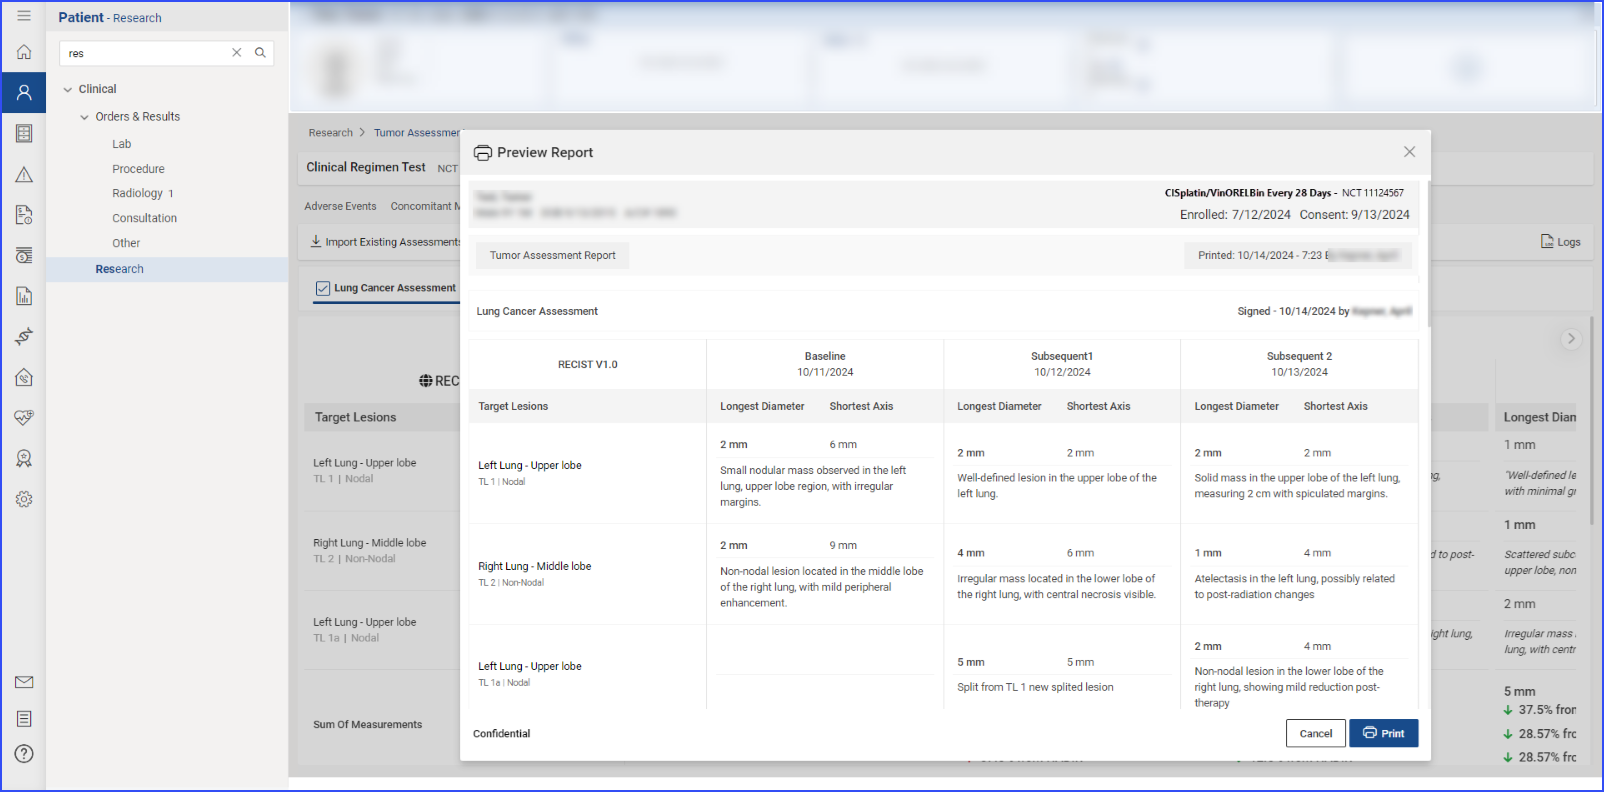
To print a report, users click the “Print” button, review the selections in the print preview, and click “Print” again to execute the printing process.