How to Auto-populate PAN field on Quick Charge?
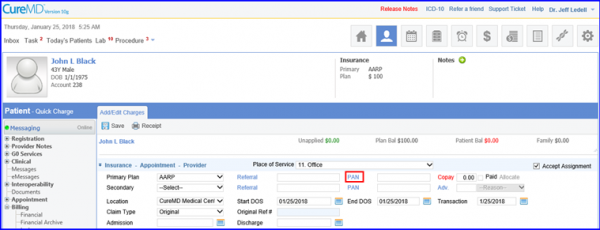
Select Quick charge to see the following screen.

Clicking on the PAN hyperlink prompts the system to highlight PAN list.
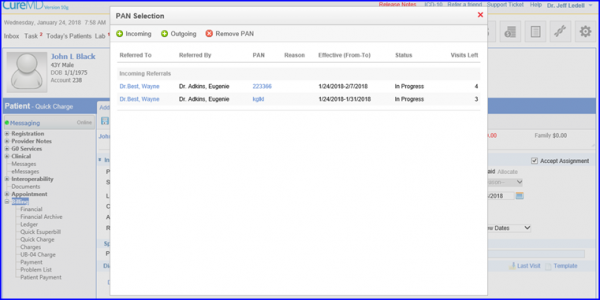
Select one of the listed PAN’s and the system auto-populates it in the PAN field on Quick Charge page.
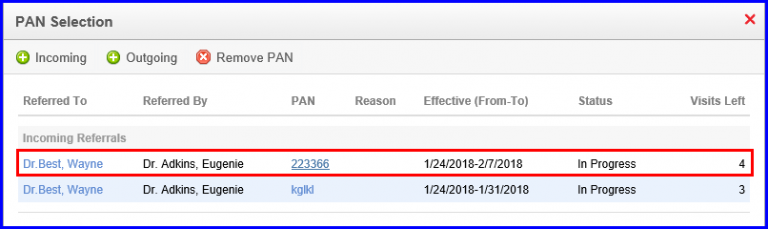

If a different PAN has to be selected then just click on the PAN hyperlink and click on the desired PAN. This action prompts the system to ask for confirmation. Once acknowledged, the system auto-populates this PAN on Quick Charge page.

Users can collect an advance from a patient for an appointment on ‘Quick Charge’ page.
Click here, to see how.
Once an offline collected patient advance is added to a charge and saved, it can be edited.
Enter an advance amount in the ‘Adv.’ text box and click ‘Save’.
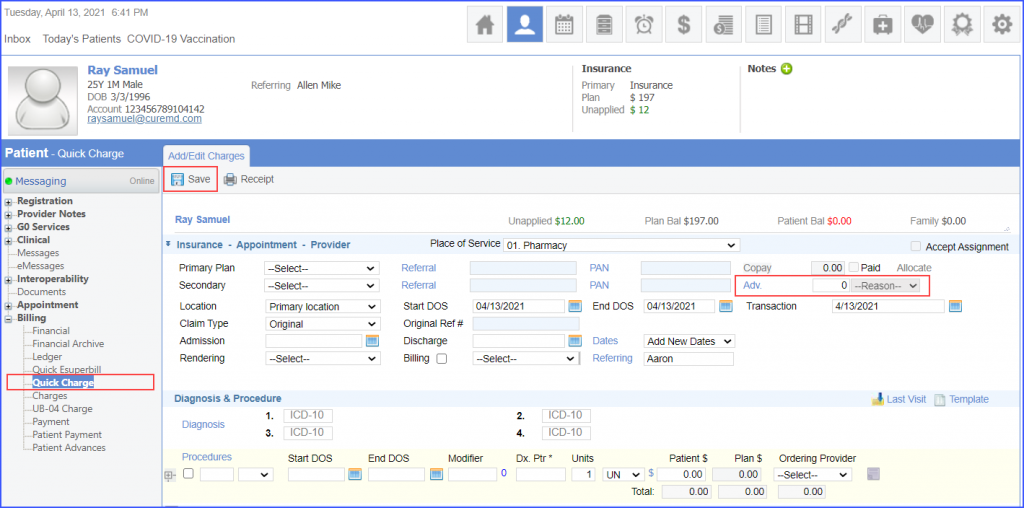
An edit icon is displayed next to the ‘Reason’ drop-down.
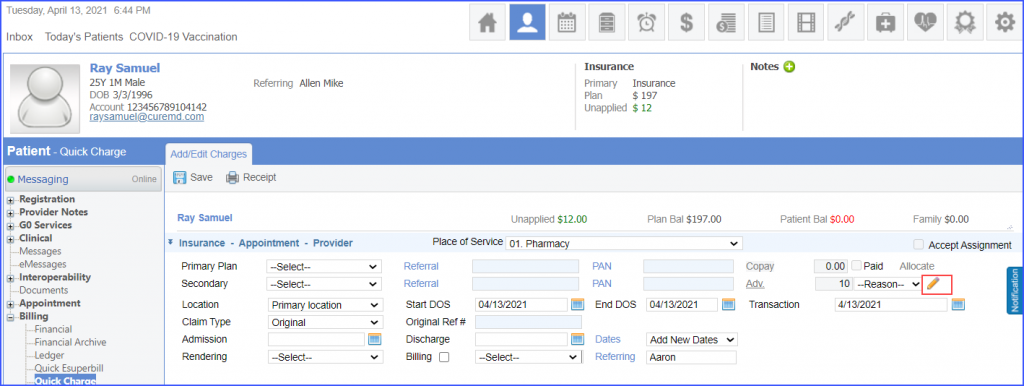
User can click the edit icon and change the advance amount. The previously entered advance amount is voided and the system maintains a log for it on the ‘Patient Advances’ page.
Clicking the edit icon and saving the charge without entering any advance amount, voids the previously entered advance amount. To view the log for the voided payment, click here.
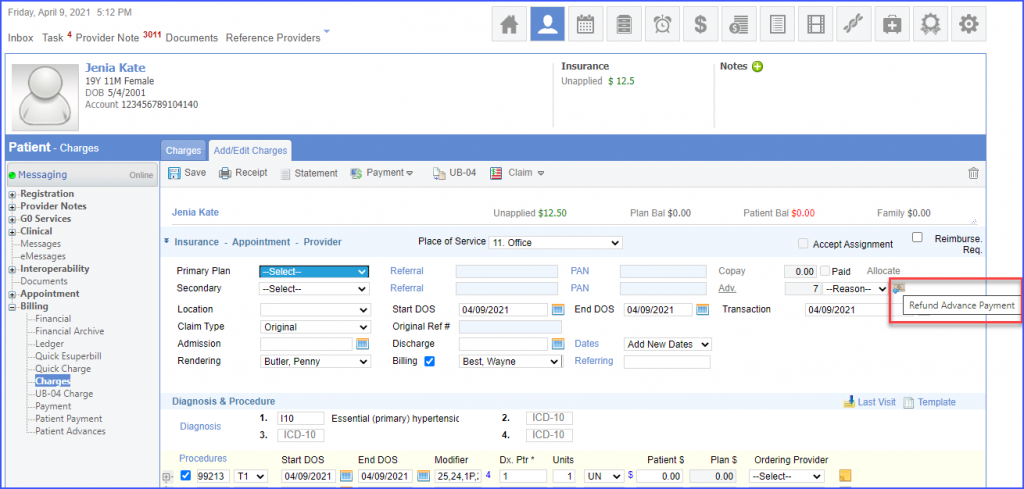
If the patient advance amount has been partially refunded from the ‘Patient Advances’ page, then refund icon is displayed next to the ‘Reason’ drop-down.
Moreover, if the patient advance amount has been fully refunded from the ‘Patient Advances’ page, then edit icon is displayed next to the ‘Reason’ drop-down.
Similar changes are made on the ‘Scheduler’ page. To view, click here.
Support users cannot void or refund an online payment. ![]()
For support users, ‘Adv.’ text box is greyed out and the edit icon is not displayed.
However, offline payments can be voided/refunded by the support users.
