How to Create Custom Views?
Users can create ‘Custom Views’ to view specific type of payments.
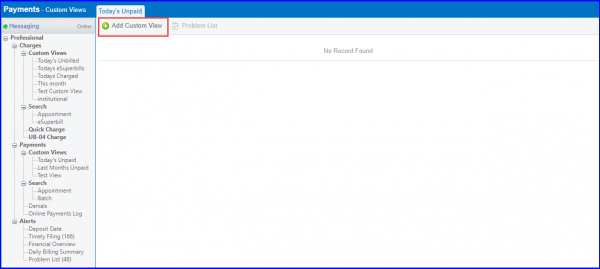
Land on the ‘Today’s Unpaid’ screen using the above mentioned workflow. Create a custom view by clicking ‘Add Custom View’ button.
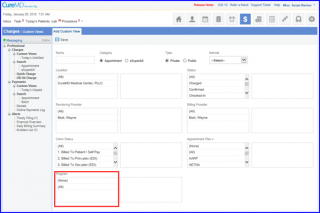
Define criteria for custom view as required and select the required number of programs in the ‘Program’ section.
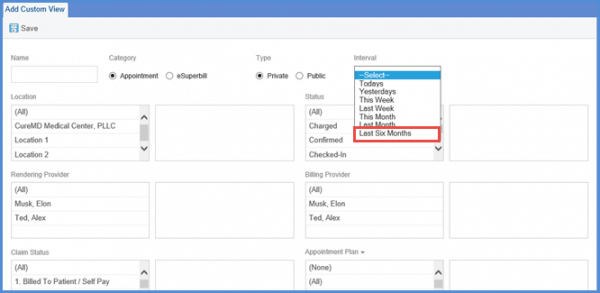
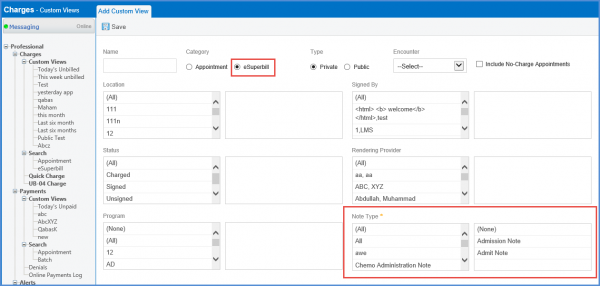
User can click the ‘Interval’ dropdown to see the ‘Last Six Months’ added as a value. Similar addition can be seen if ‘eSuperbill’ is selected as category.
Selecting ‘eSuperbill’ as category, the user can open the ‘Encounter’ dropdown to see ‘Last Six Months’ as an interval value.
For ease of users, the ‘Note Type’ control, for eSuperbill, has been changed to a multi-select.
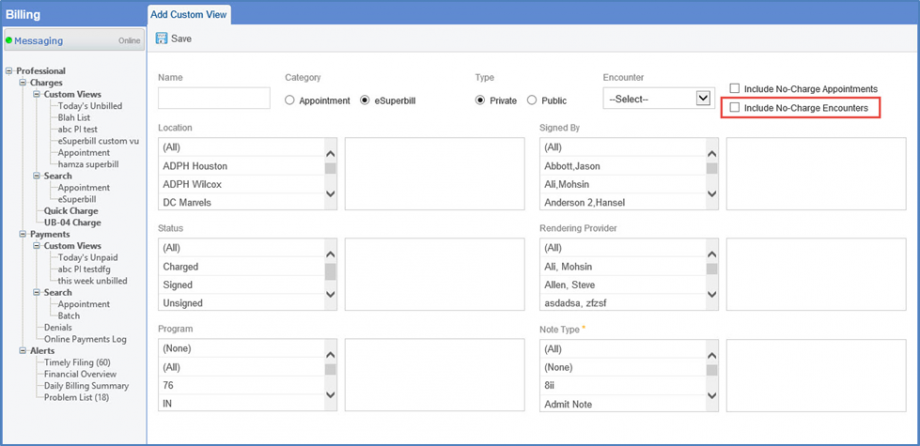
Checking the ‘Include No-Charge Appointments’ checkbox displays No-Charge appointments in the search results listing.
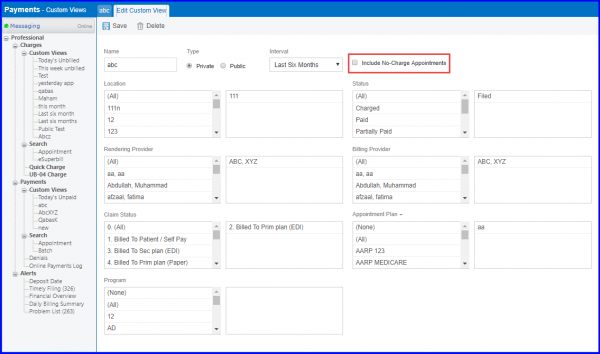
Similar changes have also been made to the custom views for ‘Payments’.
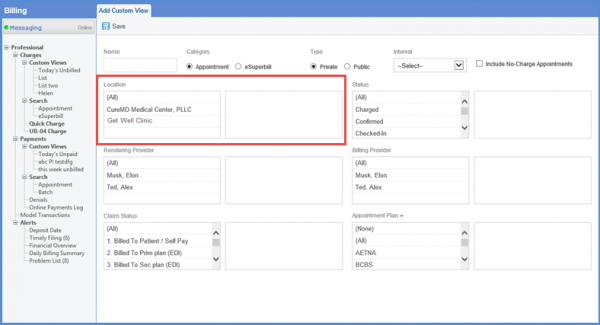
User can see the “Location” section on the screen while adding a custom view. Here, all the locations allowed to the user to view the financial records of the patients are listed. User can select only those locations attached to the user profile.
Once done, click ‘Save’ button.
Mark the ‘Include No-Charge Encounters’ checkbox to view no charge encounters along with regular encounters.![]()