How to Create a Block?
A Block may be created by an authorized user to prevent scheduling of a Provider/Resource when they are unavailable for Patient appointments.
Follow the workflow above to land on the ‘Scheduler’.
No appointments can be scheduled in the Block without unblocking the time slot. Blocked appointments can be unblocked at any time.
If a block is made on an active calendar, there will be affected appointments. These can be viewed by clicking on Affected Appointments and making the changes from there.
User can block a ‘Calendar’ or a ‘Patient’.
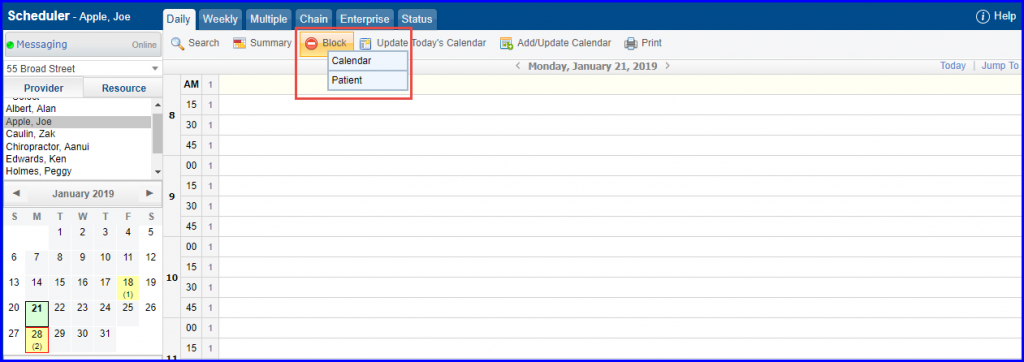
Block Calendar:
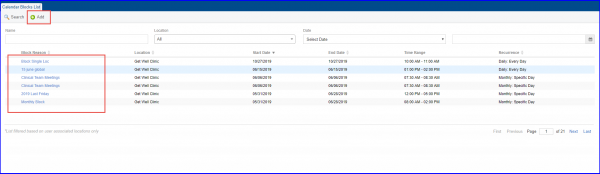
Selecting calendar takes the user to ‘Calendar Blocks List’ page. Click ‘+Add’ to add a calendar block, or edit an existing block by clicking ‘Block Reason’.
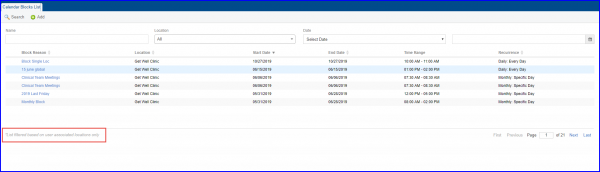
The “Calendar List” window displays the list of calendars for user associated locations only, if enabled from Settings.
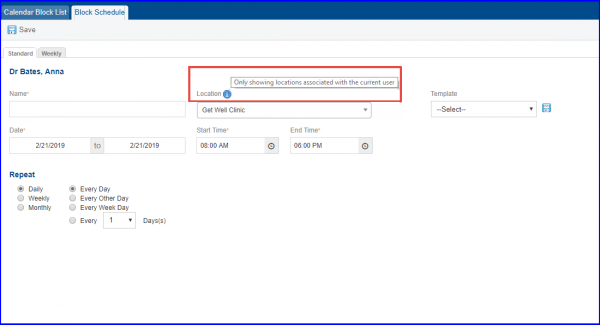
Clicking the ‘+Add’ button takes the user to ‘Block Schedule’ page. Here, a standard or weekly block can be created. Click ‘Save’ to save the created block.
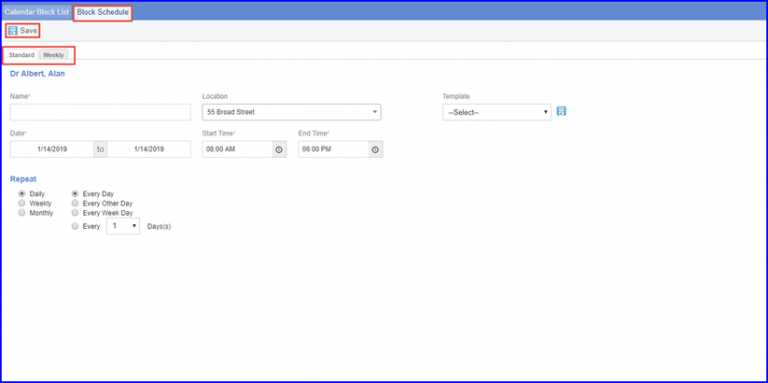
‘Location’ drop-down lists only the locations associated with logged-in user, if ‘Display only user associated locations’ checkbox is checked in scheduling settings.
Further, ![]() icon is displayed against location drop-down. Upon hovering over it, “Only showing locations associated with the current user” text is displayed.
icon is displayed against location drop-down. Upon hovering over it, “Only showing locations associated with the current user” text is displayed.
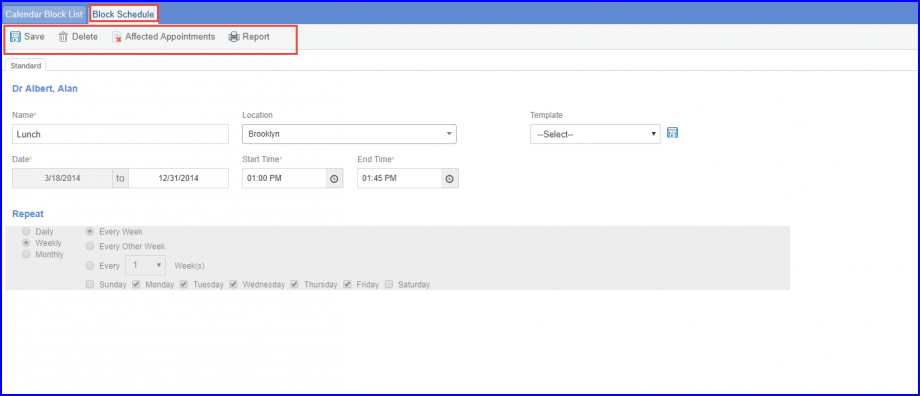
Editing a Schedule, takes the user to ‘Block Schedule’ page. Here, the user can ‘Edit’ or ‘Delete’ the block, or view ‘Affected Appointments’ by clicking their respective buttons. User can also generate ‘Report’ of the blocked schedule.
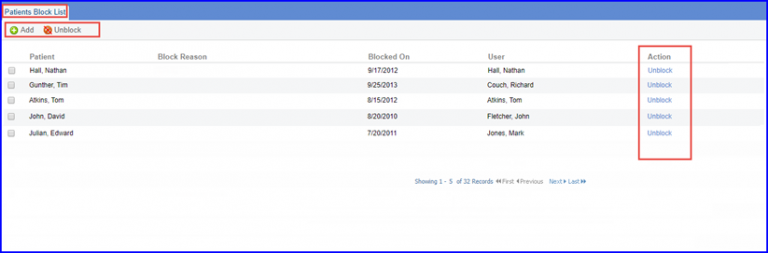
Block Patient:
Patients can also be un blocked by marking the respective patients’ checkboxes and clicking ‘Unblock’ button or clicking ‘Unblock’ text from ‘Action’ column, respective to each patient.
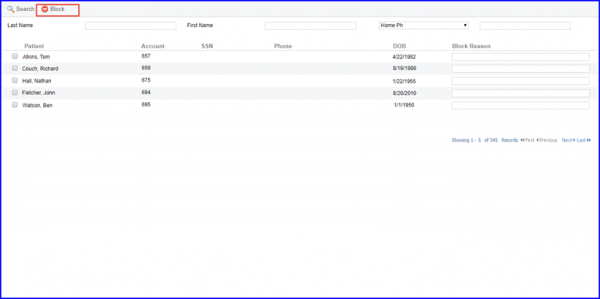
A patient can be blocked here. Click ‘Save’ when finished.
User can create a bulk block directly from the Scheduler module.
However, user permissions need to be enabled for this feature. To learn more about this, click here.
Select the desired appointment slot(s) from the calendar and click ‘Block’. Doing so displays a dropdown.

Clicking ‘Selected Slots’ displays the ‘Add Block’ window prompting user to enter ‘Block Name’.

Blocks are added on the selected slots.

Navigate to any of the tab from Daily/Weekly/Multiple. This implementation works for all tabs.
